
 Pin it
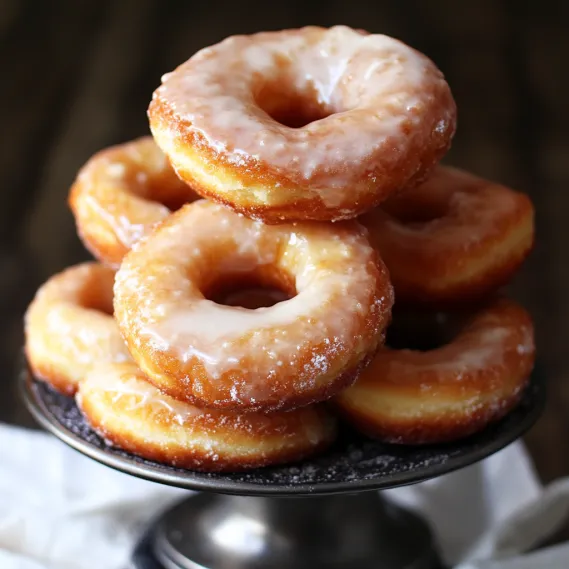
Get bakery-quality treats right at home with this classic sour cream doughnut. The sour cream adds a fantastic tang and keeps everything super moist, making these doughnuts absolutely amazing once that sweet glaze goes on top.
I stumbled on this gem during a cold, snowy weekend when we needed something extra special for breakfast. The first batch vanished in minutes, and now it's our Sunday family tradition—everyone jumps in to help shape the dough while chatting around the kitchen.
Ingredients
- Cake flour: Gives you that soft, delicate texture you can't get from regular flour
- Nutmeg: Creates that unmistakable doughnut shop taste everyone loves
- Sour cream: Keeps everything moist for days and adds that lovely tang
- Room temperature butter: Should be soft but still cool for the best mixing results
- Corn syrup: Gives the glaze its beautiful shine and keeps sugar from forming crystals
- Canola oil: Works great for frying since it can handle high heat without smoking
Step-by-Step Instructions
- Prepare the Dry Ingredients:
- Run the cake flour through a sifter along with the baking powder, salt and nutmeg. This gets rid of lumps and mixes in some air. You need this step to get that soft, tender bite everyone wants in an old-fashioned doughnut.
- Create the Base:
- Mix the butter and sugar until it feels sandy instead of fluffy. This texture difference matters—it's what makes those signature cracks appear during frying. The egg yolks bring everything together and add richness to the mix.
- Combine Wet and Dry:
- Switch between adding dry stuff and sour cream so you don't overwork the dough. Stop mixing right when everything comes together and feels slightly sticky. If you mix too much, you'll end up with tough doughnuts nobody wants.
- Chill the Dough:
- Don't skip this hour in the fridge. Your dough needs to firm up so it keeps its shape when you cut and fry it. The cold fats create those awesome jagged edges when they hit hot oil. If your kitchen's warm, you might need extra chill time.
- Roll and Cut:
- Aim for dough that's half an inch thick—this gives you the perfect rise while cooking. Too skinny and they'll be all crunch; too fat and they'll stay doughy inside. Use lots of flour on your counter to stop sticking, and work fast to keep everything cool.
- Fry with Precision:
- Keep your oil at exactly 325°F for perfect results. Too hot and the outside burns before the inside cooks; too cool and they'll soak up oil and turn greasy. Look for that classic crack forming around the middle—that's how you know they're cooking right.
- Glaze While Warm:
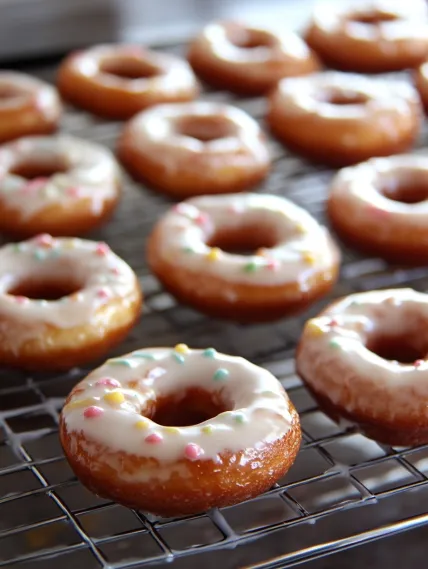
- Dip your doughnuts into the glaze while they're still warm. This helps the glaze really stick and soak in a bit. The hot water in the glaze recipe gives you just the right thickness that will dry into that perfect crackly finish.
 Pin it
Nutmeg really makes these doughnuts stand out. I once added twice as much by accident and found my family actually liked them better! Now I always throw in an extra pinch, especially in fall and winter when those warm spicy notes feel just right.
Storing Your Doughnuts
These treats stay surprisingly fresh in an airtight container on your counter. The sour cream keeps them moist for up to three days, unlike yeast doughnuts that get stale fast. If you want to save them longer, freeze them before glazing, then thaw and add glaze when you're ready to eat. A quick 10-second zap in the microwave makes them taste freshly made again.
 Pin it
Troubleshooting Sticky Dough
If you're in a humid place, your dough might stay sticky even after chilling. It's totally fine to add flour one tablespoon at a time until it feels workable. You've got it right when the dough doesn't stick to your fingers but still feels a bit tacky. Just go easy on the extra flour—too much will make your doughnuts heavy and dense.
Perfect Pairings
These doughnuts taste amazing with strong coffee that balances out the sweetness. For a fancy breakfast, serve them with fresh berries and whipped cream on the side. They can even work as dessert when you cut them open and stuff ice cream inside. When hosting friends, try making both glazed ones and some rolled in cinnamon sugar to give everyone options.
The History Behind the Recipe
These old-fashioned treats first showed up in the early 1900s as an alternative to yeast doughnuts. Bakers figured out that putting a hole in the middle helped everything cook evenly, creating those distinctive cracked edges. The sour cream version got popular in the 1940s when dairy companies wanted home bakers to use more cultured products. Now they're staples at fancy doughnut shops where people love their rustic look and rich flavor.
Frequently Asked Questions
- → How can I stop my dough from sticking?
Lightly dust the dough with flour while handling. Also, dip your cutters in flour to keep them from sticking.
- → What if I don’t have a thermometer for frying?
A thermometer’s great for precise oil temperature (325°F), but you can add a small piece of dough to test. If it sizzles and floats, the oil’s ready.
- → Can I mix the dough early and fry later?
Absolutely. You can chill the dough in the fridge for up to one day before you cut and fry it.
- → No cake flour? What now?
If you don’t have cake flour, use all-purpose flour and mix in a little cornstarch to get a similar texture.
- → Is baking instead of frying an option?
While frying gives that classic texture, you can try baking them. Just know they’ll turn out a bit different in texture.