
 Pin it
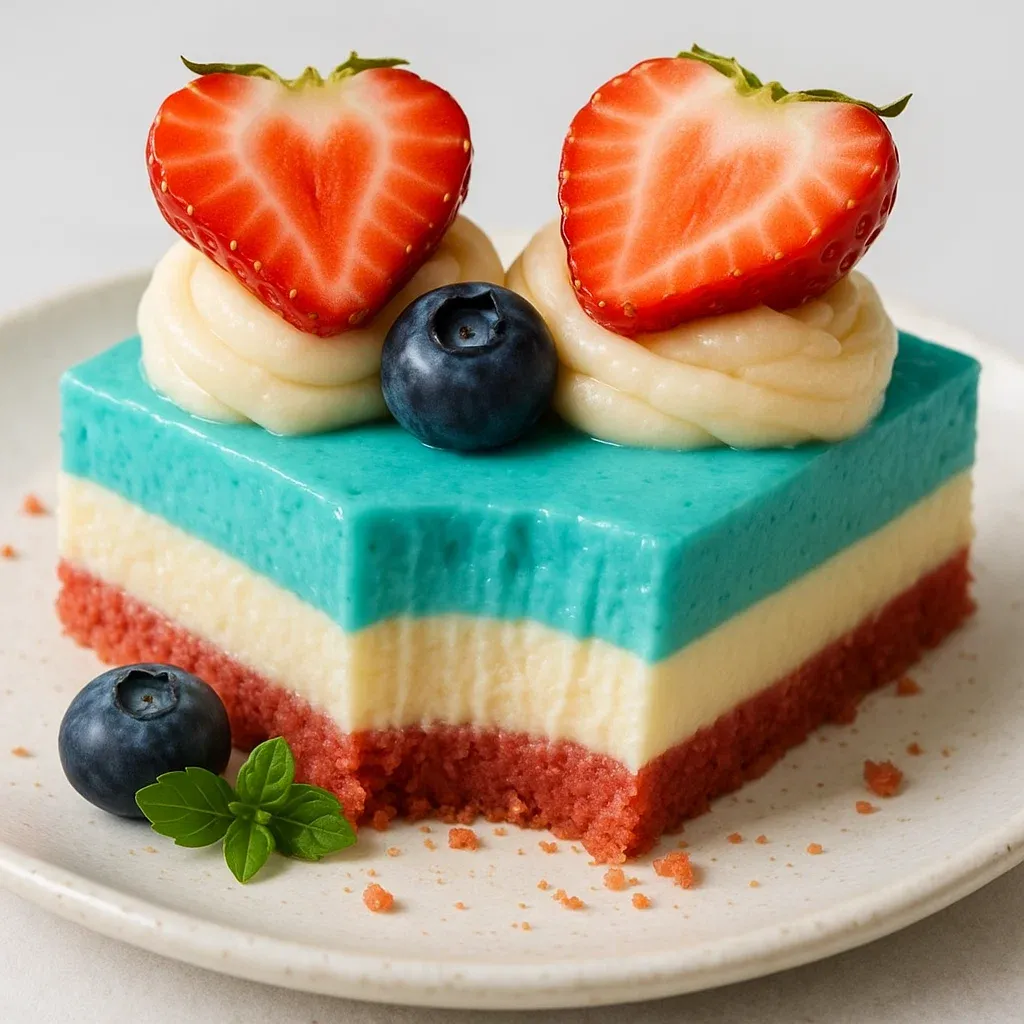
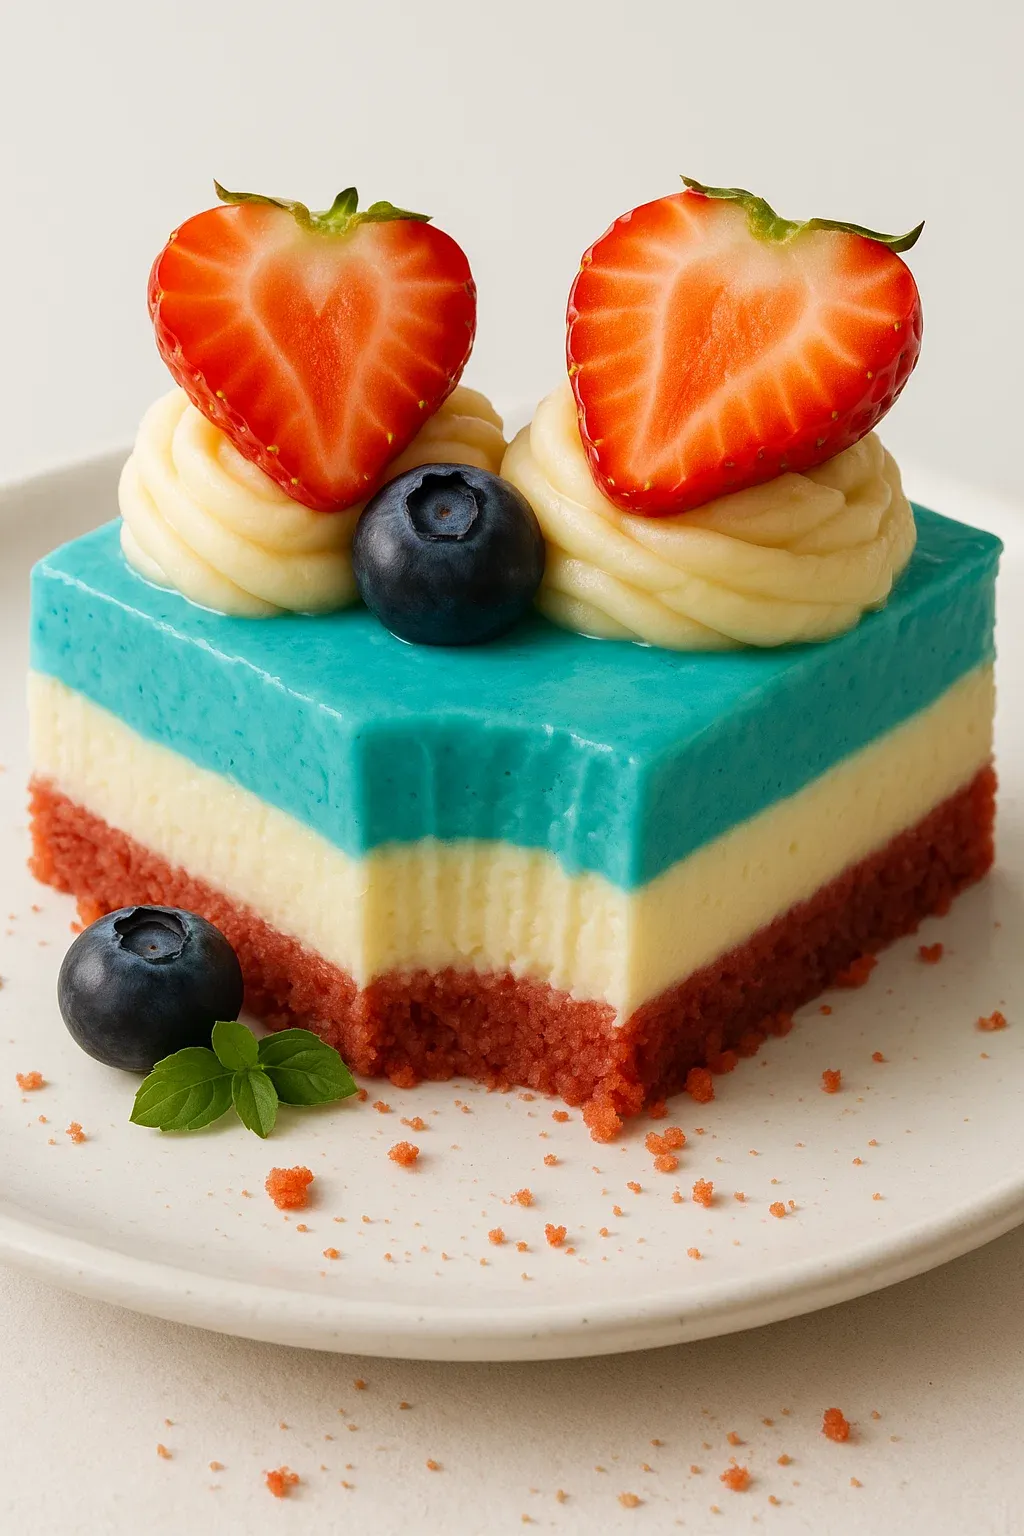
I've turned this no-bake layered cheesecake into my go-to summer treat for parties and gatherings. The eye-catching red, white, and blue design perfectly matches the holiday vibe while offering a smooth, tasty dessert that wows everyone without turning on the oven during hot weather.
The first time I whipped up this cheesecake was for a July Fourth block party, and it vanished in moments. These days, my buddies always ask me to bring along this colorful treat to summer get-togethers.
Ingredients
- Golden Oreo crumbs: Give a wonderful vanilla foundation that works really well with the cheesecake layers
- Cream cheese: Delivers that signature tangy flavor you need for a proper cheesecake taste
- Blue raspberry JellO: Makes a stunning blue section that holds its shape without getting too stiff
- Heavy whipping cream: Adds airiness for that cloud-like, fluffy texture
- Red gel food coloring: Builds a bright bottom layer that won't fade after chilling
- Fresh berries: Top everything off with natural colors and sweet-tart flavors
How To Make No Bake Patriotic Cheesecake
- Prepare the Crust:
- Crush golden Oreos into fine crumbs then mix with melted butter, salt, and red coloring until it looks like damp sand. The red should spread evenly throughout. Pack firmly into the springform pan, forming a level base with slightly higher edges. Freezing helps the crust set up for clean-looking layers.
- Prepare the Whipped Cream Base:
- Beat heavy cream with powdered sugar and vanilla until it forms soft peaks. Getting this just right matters a lot—keep a close eye since too much whipping makes it grainy. You're aiming for fluffy, soft cream that keeps its shape but isn't stiff.
- Create the Cream Cheese Layer:
- Mix the cream cheese until totally smooth before adding sugar and vanilla. Keep beating for five full minutes to get rid of any bumps that might make the dessert feel gritty. Gently folding in half the whipped cream makes it lighter but still stable.
- Create the Blue Layer:
- Let the blue JellO mix cool a bit before adding the remaining whipped cream. If it's too hot, your cream will collapse; too cold and it'll start setting too fast. Aim for room temp before mixing them together for a perfectly smooth blue layer.
- Assembly and Setting:
- Put down the white cream cheese mix first, smoothing it completely flat before carefully adding the blue layer on top. The clean split between colors creates that wow factor. Give it plenty of time to set so the layers stay put.
- Decorate with Precision:
- The cream cheese frosting works as a tasty border to hold your fruit in place. Squeeze out even swirls around the edge and place berries in a pattern that alternates colors for the prettiest look.
 Pin it
Blue raspberry JellO is what makes this cheesecake stand out from others. I figured this out after trying natural blue coloring several times, which always turned grayish when mixed with dairy products. Now my kid says summer officially starts when she spots this dessert chilling in our fridge.
Prep-Ahead Perks
This dessert actually gets better after sitting in the fridge overnight. The tastes blend together nicely and it becomes even more velvety smooth. I usually make mine a day early, which not only improves the flavor but also cuts down on last-minute rushing before guests arrive.
Substitution Options
Can't find golden Oreos? Graham crackers work great too, though you won't get the same color contrast. If you need gluten-free, try gluten-free vanilla cookies instead. Regular Oreos can do the job but you'll end up with a dark chocolate base rather than the lighter vanilla foundation.
Serving Suggestions
This cheesecake tastes best when it's really cold. For pretty slices, dip a thin knife in hot water between cuts. Don't leave it sitting out too long, especially during summer parties, as the layers will start to soften quickly once it warms up.
 Pin it
The History Behind Patriotic Desserts
Food with red, white, and blue colors became a big hit during World War II when folks wanted to show their national pride through cooking. This updated version keeps that tradition going with modern ingredients. The stacked design reminds people of the flag while giving you different flavors in each bite.
Frequently Asked Questions
- → How can I keep the layers neat?
Wait until one layer is completely set before pouring the next. This keeps the layers sharp and pretty.
- → Is the crust interchangeable?
Yep, try switching to graham crackers or even gluten-free cookies! Just note that the taste and look might differ slightly.
- → How early should I make it?
Make this dessert up to two days ahead. Letting it chill overnight actually makes it taste even better.
- → How do I stop the Jell-O from setting too soon?
Ensure the Jell-O cools all the way to room temp before mixing it with the whipped cream. This keeps it smooth and perfect.
- → Best way to slice and present it?
Chill it well and use a hot, sharp knife for perfect slices. Cut right before serving to keep things fresh and pretty.