
 Pin it
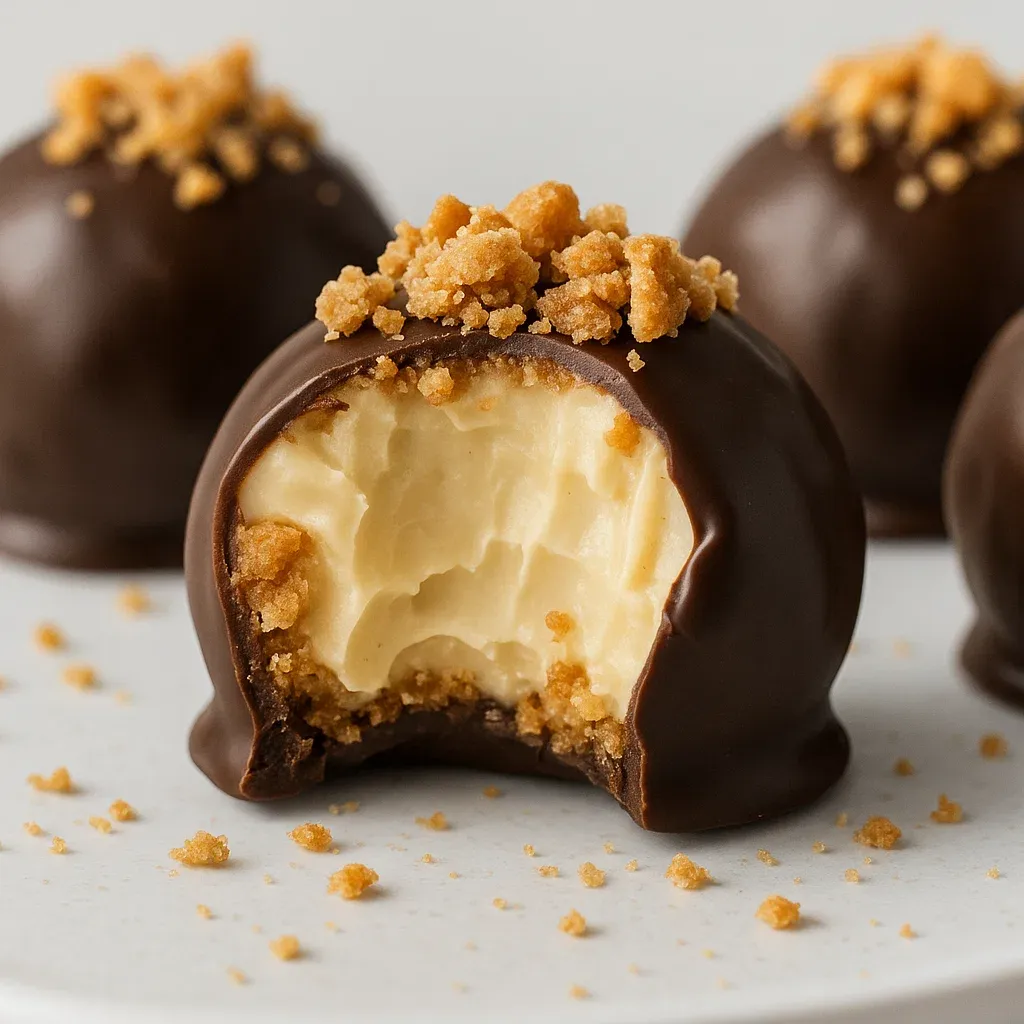
This crunchy Butterfinger chocolate ball treat turns basic stuff into mouthwatering little bites that always wow everyone at parties. The mix of crispy Butterfinger bits, velvety caramel, and decadent chocolate makes an amazing texture combo you just can't turn down. These no-cook goodies became what I'm known for at holiday get-togethers ever since I whipped them up with my nieces during a stormy afternoon three years back.
I came up with this when our electricity went out and I needed something sweet but couldn't turn on my oven. What started as just trying stuff in my kitchen has turned into the treat everyone asks me to bring to family dinners and community potlucks.
Ingredients
- Crushed Butterfinger candy bars: they bring that special taste and snap that makes these chocolate balls stand out. Try to use new bars instead of ones sitting around for ages.
- Caramel sauce: brings a smooth sweetness that holds everything together. Go for thick, fancy caramel for the best outcome.
- Chocolate chips: semisweet ones work great since they balance out the sweetness. Good chocolate really makes a big difference in how these taste.
- Coconut oil: makes the chocolate coating smooth and shiny with perfect hardness. It stops the chocolate from cracking when cold.
- Crushed pretzels: adds that salty crunch that works so well against the sweet inside. Thin pretzel sticks crush up best.
How To Make Caramel Crunch Butterfinger Truffles
- Prepare the mixture:
- Mix the smashed Butterfinger pieces with caramel sauce until they're totally blended. You want it sticky but firm enough to roll into shapes. If it feels too soft, cool it in the fridge for about 15 minutes first.
- Shape the truffles:
- Grab tablespoon-sized chunks and roll them between slightly wet hands to make balls. Work fast since they get soft in warm rooms. Put each ball on parchment paper with some space between them.
- Chill the centers:
- Stick the shaped balls in the freezer for at least 30 minutes until they're hard. This important step keeps them from falling apart during dipping and helps the chocolate stick better.
- Prepare the coating:
- Melt your chocolate chips with coconut oil in the microwave using 30-second bursts, stirring after each one. Keep going until it's completely smooth. The coconut oil makes it extra silky for easy dipping.
- Coat the truffles:
- Take one frozen center at a time and dunk it in the melted chocolate. Lift it out with a fork so extra chocolate can drip off. Gently tap the fork on the bowl to get rid of more chocolate before putting it on the paper.
- Add crunchy topping:
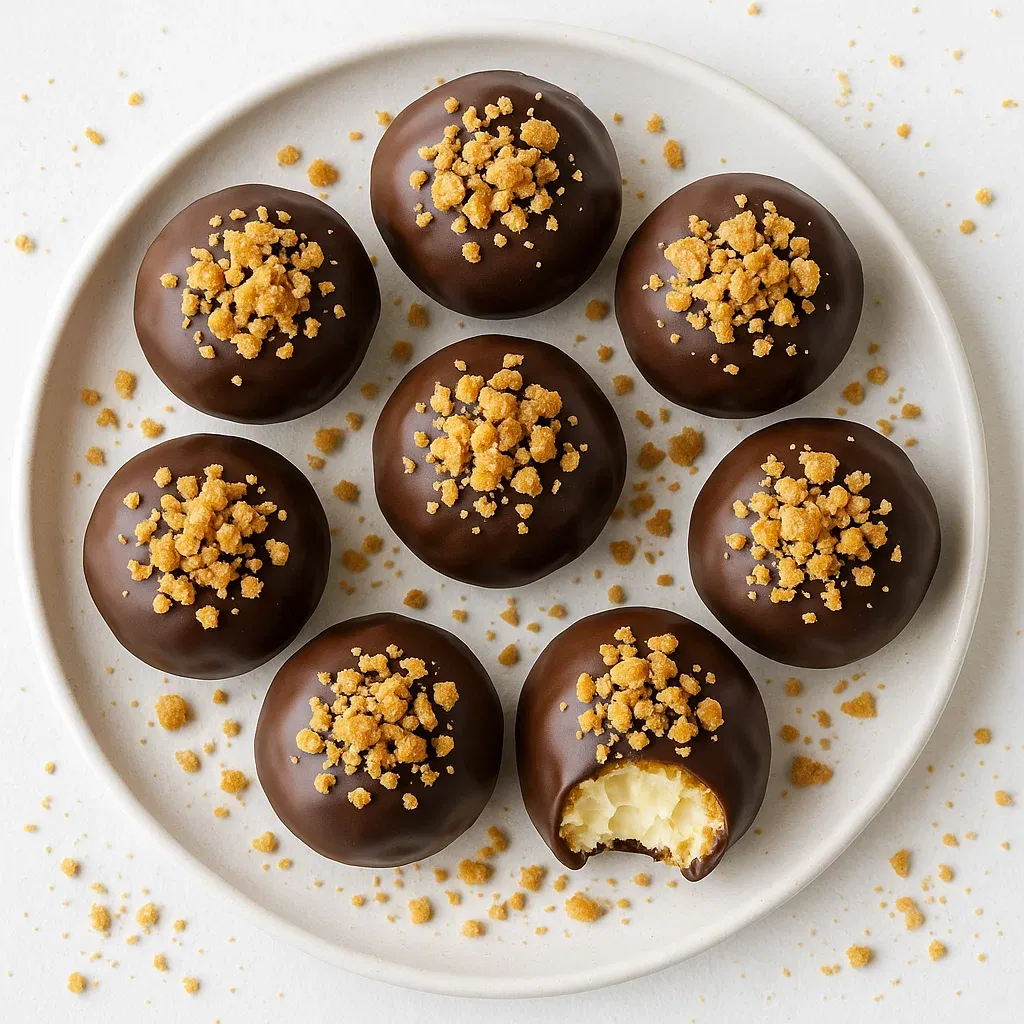
- While the chocolate's still wet, quickly sprinkle crushed pretzels on top and press lightly so they stick. Don't waste time since the cold centers make the chocolate harden fast. Finish one ball completely before starting the next.
 Pin it
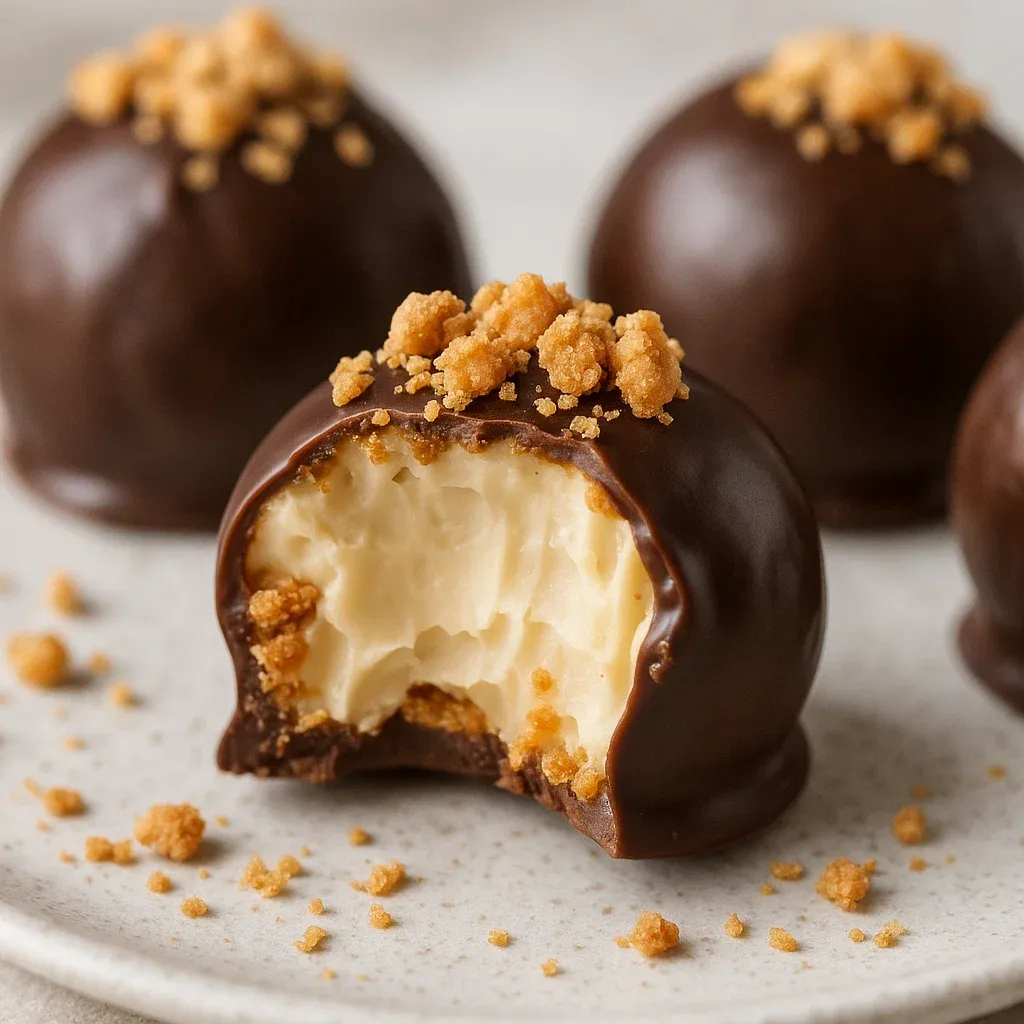
The smashed pretzels really take these chocolate balls from just okay to totally memorable. I found this out by chance when my kid suggested adding something crunchy to go with the soft filling. Now I always keep pretzels around just for making these since that sweet-salty mix creates such an amazing flavor combo.
Storage Solutions
These treats keep best when stored in the fridge in one layer inside a sealed container. Put parchment paper between layers to keep them from sticking together. They'll stay tasty for up to 7 days, though at my house they never last nearly that long.
If you want to store them longer, freeze the finished balls on a baking sheet until they're solid, then move them to a freezer container. When stored right, they'll keep their taste and texture for up to 3 months. Let frozen ones thaw in the fridge for about an hour before eating.
 Pin it
Flavor Variations
While the original Butterfinger version is amazing, you can switch things up easily with this flexible formula. Try using Snickers for more nutty flavor or Twix to add a shortbread element. For grown-up parties, mix a spoonful of bourbon or rum into the caramel for a fancier, deeper taste.
Using white chocolate makes them look really cool and gives a sweeter taste that goes nicely with the crunchy inside. Dark chocolate creates a stronger, less sweet experience that chocolate lovers often prefer. Just pick your coating based on what your friends and family like best.
Serving Suggestions
These chocolate balls look awesome as part of a dessert snack board next to fresh berries, chocolate-covered strawberries, and shortbread cookies. The different textures and matching flavors make an impressive spread for guests without much work.
For a fancier look, put each one in a mini cupcake paper and arrange them on a stacked serving tray. This not only looks classy but makes it easier for people to grab them without getting chocolate on their hands. For special events, dust them with some edible gold powder to make them look extra fancy.
Frequently Asked Questions
- → How can I stop truffles from sticking while shaping?
Wet your hands just a little. It keeps the mix from sticking and makes rolling a lot smoother.
- → Can I swap out Butterfinger candies in this?
Definitely! Use any other candy bars you love, like Snickers or Heath bars, for a twist in flavors.
- → What's the easiest way to melt chocolate?
Use the microwave in 30-second intervals, stirring each time. Or, try a double boiler for more control.
- → Can I prep these ahead of time?
Yep! Store in the fridge for up to a week, or freeze them airtight for up to three months.
- → How can I make these nut-free or dairy-free?
Switch to nut-free caramel and dairy-free chocolate. They still work just as well!