
 Pin it
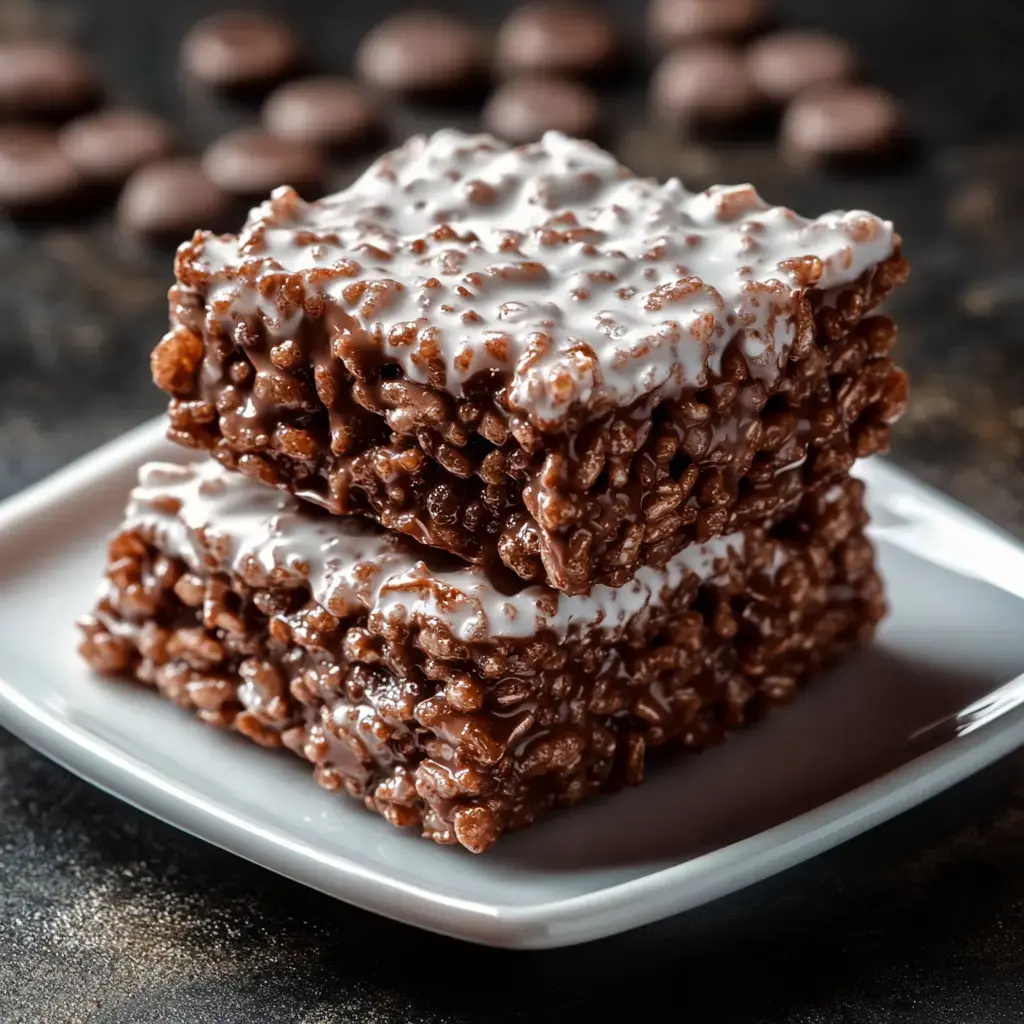
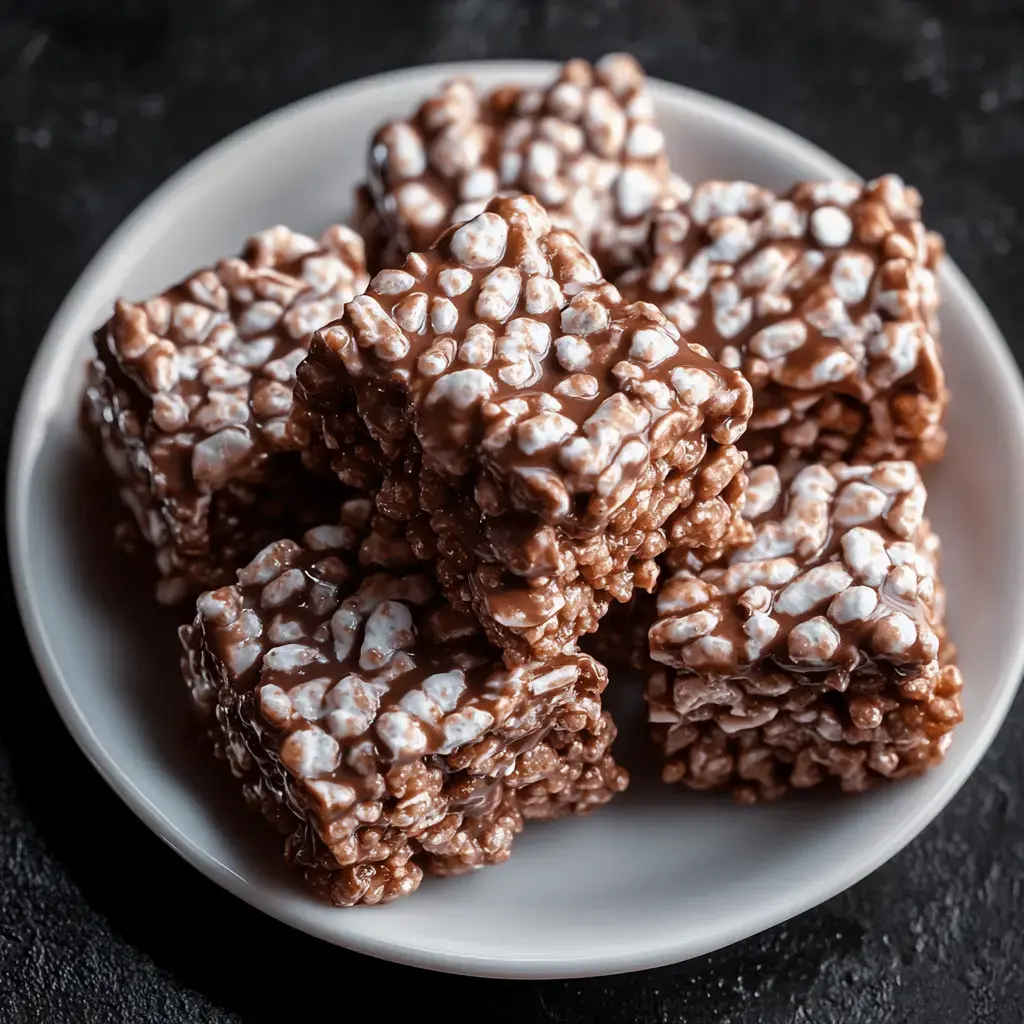
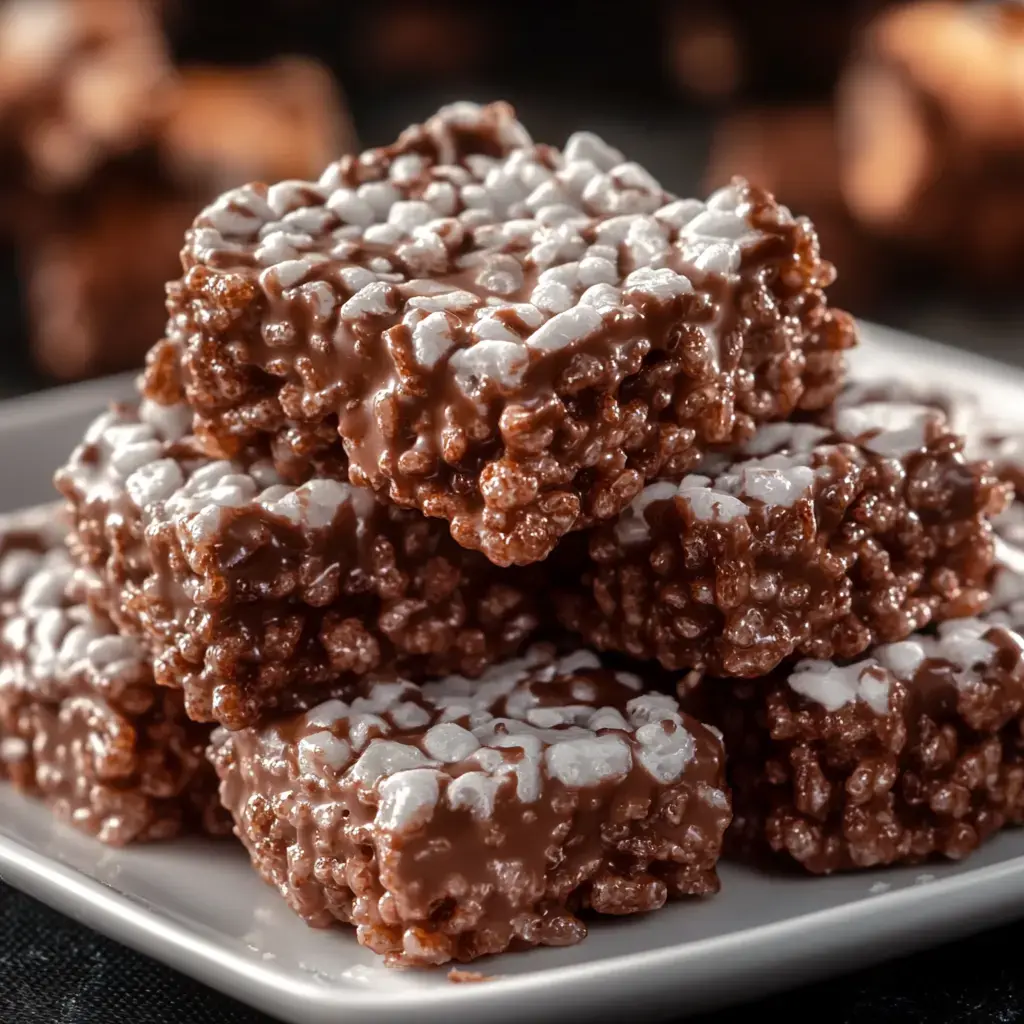
We've got a new family favorite that mashes up two snacks we're totally crazy about - those crunchy rice cereal treats and that powdery chocolate mix everyone calls Puppy Chow. When I first put this on my website, moms wouldn't stop messaging me about how their kids kept grabbing handful after handful. It's just that irresistible combo of crispy cereal wrapped in melty chocolate and peanut butter, all dusted with a thick coat of powdered sugar. You'll definitely want to whip up an extra batch.
What Makes This Snack So Impossible To Resist
I came up with this mix one day when my kiddos were asking for both rice cereal treats and Puppy Chow. Being a time-strapped parent looking to cut corners in the kitchen, I thought 'maybe these would work together?' And wow, was it amazing. The cereal keeps its crunch while getting that dreamy layer of chocolate and peanut butter. My unofficial taste testers (my three little ones and their buddies) polished off the first batch in seconds. And the best thing? You don't need your oven, which really helps during those scorching summer months.
Your Shopping List
- Rice Krispies cereal: You'll need 6 cups and they should be nice and fresh. I always give the box a tiny shake next to my ear while shopping to make sure I hear that familiar pop sound.
- Peanut butter: Get 1 cup ready. I stick with standard smooth peanut butter from the store. The all-natural kind tends to separate too much for this mix.
- Milk chocolate chips: 1 cup of whatever you like. I've tried so many different brands in my kitchen, and honestly, they all turn out great.
- Powdered sugar: 1 ½ cups. Run it through a strainer if you spot any clumps, you don't want those showing up in your treat.
Step By Step Instructions
- Start With The Chocolate Base
- Take your pot and set it on low flame. Add your peanut butter and chocolate chips together. Keep mixing until it's all smooth and completely melted. Watch it carefully, my first try ages ago turned into a scorched disaster because I got sidetracked by someone calling me.
- Mix In The Cereal
- Put your Rice Krispies in the largest mixing bowl you can find. Pour that warm chocolate peanut butter mix over everything. Stir it all together carefully—you want to keep those cereal bits whole.
- Add The Sugar Coating
- Here comes the fun part! Dump everything into a large ziplock with the powdered sugar. My kids always want to help with this step—close it tight and give it lots of good shakes until every piece gets covered in that sweet, powdery stuff.
- Finishing Up
- Lay it all out on a cookie sheet or just put it in a bowl. Let it cool all the way before you start munching—I'm serious about this one. If you try too soon, you'll get sticky hands and messy kitchen surfaces.
 Pin it
Tips From My Experience
From making this snack tons of times in my own kitchen, I've picked up some handy tricks. Always go for fresh cereal—old Rice Krispies will mess up your whole batch. Keep your burner on low when you're melting the chocolate and peanut butter—nobody wants that burnt chocolate flavor. Mix thoroughly so all those cereal bits get covered. Don't add the sugar until everything's totally cool—I found this out the hard way. And when you're shaking that bag, really put some muscle into it.
Mix It Up
We love trying different versions at our house. I sometimes use almond butter when my sister drops by—she can't get enough of it. Dark chocolate works really well if you want something fancier. For my buddy Sarah's child with gluten issues, I make sure to grab gluten-free cereal. My nephew can't have nuts, so I make his batch with sunflower seed butter—it's a perfect swap. I'll throw in some tiny marshmallows or broken pretzels when I'm feeling extra creative.
When To Enjoy It
This mix fits so many different occasions. I always take a huge container to our block parties—it vanishes quickly. For school lunches, I pack small baggies for my kids. It tastes amazing with cold milk—that's my afternoon break favorite. When my book group comes over, I set it out on a nice plate with some fresh strawberries, and everyone goes wild for it.
Storage Tips
Keep these goodies in a sealed container on your kitchen counter—they'll stay crunchy for about seven days. Stick them in your fridge if you want them around longer—roughly fourteen days max. I've frozen batches for up to three months—just let them warm up to room temp before snacking. If they get soft, spread them on a baking sheet, warm them at 250°F for 10 minutes, then cool them completely—they'll get their crunch back.
 Pin it
Make It Your Own
The greatest thing about this snack is putting your own spin on it. I sometimes toss in tiny chocolate chips for more chocolate goodness. My daughter gets excited when I mix in bright candy pieces. Just last week, I tried using dark chocolate with cashew butter—totally worth trying. Get creative with toppings like smashed graham crackers, toffee bits, or whatever catches your eye while shopping. This mix is pretty flexible, so feel free to play around with it.
Frequently Asked Questions
- → Can I mix in other chocolates?
Sure thing! Dark, white, or milk chocolate work just fine. Each gives a different flavor but keeps the great texture.
- → How do I keep these fresh?
Pop them in a sealed container at room temp. If closed well, they’ll stay tasty for around 5 days.
- → What if I can’t use peanut butter?
Swap it with almond or cashew butter instead. Just make sure it’s creamy for the smoothest finish.
- → Help! Mine are too sticky.
They probably need more powdered sugar. Toss them in a bag with some extra sugar and give it a good shake to sort it out.
- → Can I prep these early for a party?
Yep! Make them 2-3 days in advance. Store airtight and dust on fresh powdered sugar before putting them out.
Conclusion
Crunchy cereal gets coated in melted chocolate and smooth peanut butter, then topped off with powdered sugar. They’re quick, no-bake, and ready in 15 minutes—perfect for snacking or parties.