
 Pin it
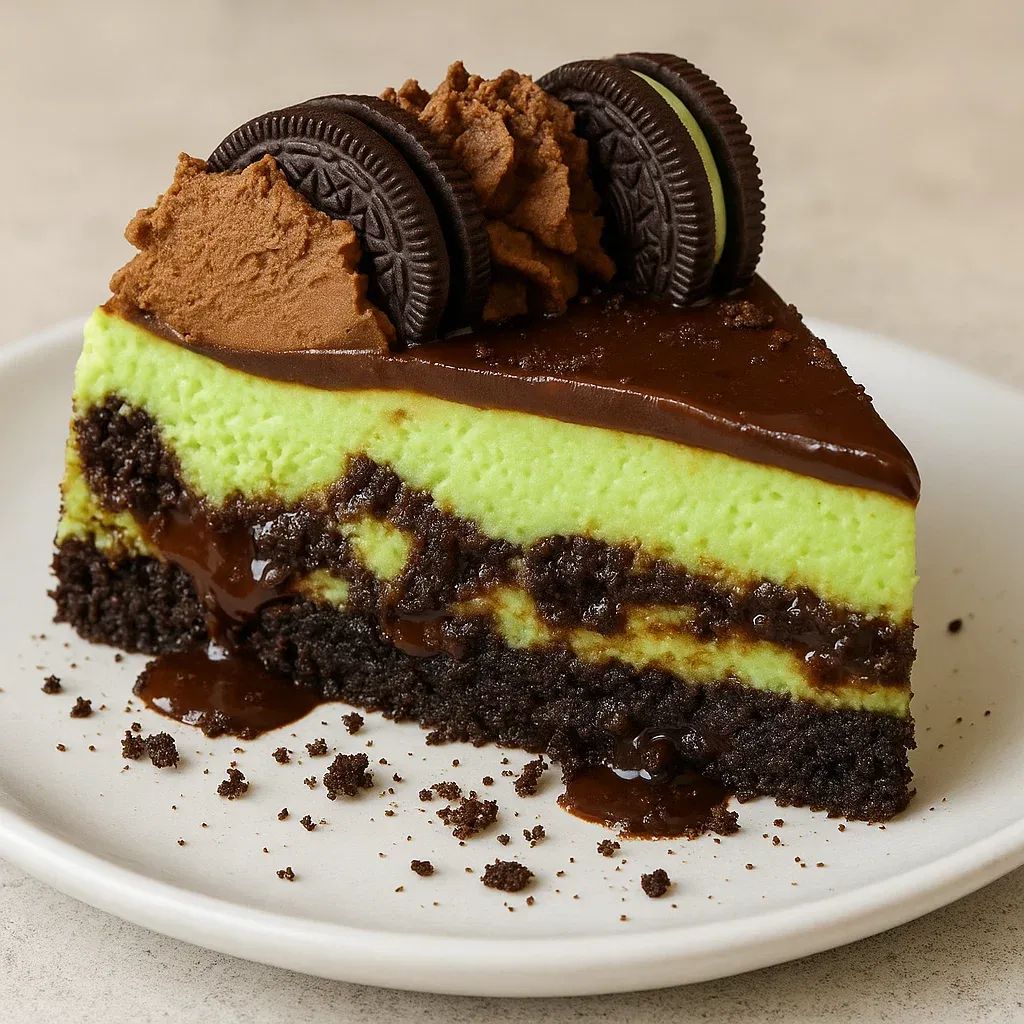
This luscious mint Oreo cheesecake has been our go-to celebration treat for ages, bringing together cool mint flavor with rich chocolate in a smooth, creamy dessert that always gets all the attention.
I whipped up this cheesecake for my kid's birthday bash, and it was such a success that everyone wants it at every family get-together now. The cool mintiness mixed with deep chocolate flavor is just too good to pass up.
Ingredients
- Oreo crust: Crushed mint Oreos make an amazing chocolate base while butter keeps everything stuck together for a solid foundation
- Cream cheese: Gives that rich tangy flavor; grab full-fat blocks for the smoothest results
- Sugar: Cuts through the tang of cream cheese without making things too sweet
- All-purpose flour: Stops cracks by making the mix more stable
- Sour cream: Brings moisture and creates that super smooth feel
- Mint extract: Adds that cool flavor kick; go for pure extract for best results
- Vanilla extract: Makes the mint flavor even better
- Eggs: Holds everything together and gives structure; room temp eggs mix in better
- Chopped mint Oreos: Gives nice chunks and flavor spots throughout
- Chocolate sauce: Makes lovely streaks of chocolate in each bite
- Green food coloring: Not a must but gives that nice minty look
- Semi-sweet chocolate chips: Melt into a shiny topping; pick good quality for better taste
- Heavy whipping cream (ganache): Makes the perfect runny texture for ganache
- Heavy whipping cream (decorating): Whips up into pretty swirls; use it cold for best results
- Powdered sugar: Adds sweetness without any grittiness
- Cocoa powder: Puts in chocolate flavor without going overboard
- Vanilla extract: Ties all the flavors together nicely
How To Make Mint Oreo Cheesecake
- Prepare the crust:
- Crush mint Oreos to fine bits. Mix with melted butter until it feels like wet sand. Press down firmly into the bottom and about 1 inch up your springform pan sides. Pop in the oven at 325°F for 10 minutes till firm. It should smell wonderful and look a bit darker. Let it cool fully before adding filling.
- Prepare water bath protection:
- Cover the outside of your springform pan with thick aluminum foil making sure water can't get in. Check that the foil goes up all sides with no tears. You can also try a silicone pan like shown in the pictures for even better protection.
- Mix the cheesecake batter:
- Beat the cream cheese, sugar, and flour slowly until totally smooth. This could take 2–3 minutes. Clean the bowl sides between additions. Add in sour cream and extracts, mixing slowly just until combined. Drop in eggs one by one, mixing gently after each. Your mix should be super smooth with zero lumps.
- Create the layers:
- Pour a third of your batter over the cool crust, spreading it out. Scatter chopped Oreos on top. Drizzle chocolate sauce back and forth over the Oreos. Pour the rest of the batter on top, covering everything. The top layer needs to be thick enough to keep Oreos from showing.
- Bake with care:
- Put your wrapped springform pan in a bigger roasting pan. Pour hot water into the bigger pan making a water bath that comes halfway up the springform. Bake at 300°F for 70–80 minutes. The edges should be set but the middle should still wobble slightly like jello.
- Cool gradually:
- Turn the oven off but leave the door shut for 30 minutes. Then open the door a crack for another 30 minutes. This slow cooling stops the quick temp change that makes cracks. Chill for at least 5 hours or overnight until totally firm.
- Add the finishing touches:
- Pour warm ganache over your cold cheesecake, spreading to the edges. Whip the chocolate cream until it forms stiff peaks. Pipe pretty swirls around the edge, and place Oreo halves between the swirls. Keep in the fridge until ready to serve.
 Pin it
Cream cheese is really what makes this dish special. My grandma taught me that letting it warm up completely to room temp is what gives you that amazing smooth texture. I suggest putting it out at least two hours before you start baking to get the creamiest, silkiest result.
Troubleshooting Your Cheesecake
Stopping cracks starts with how you mix things. Always use low speed when adding ingredients to keep air bubbles down. The water bath gives humidity and even heat, while cooling slowly stops the big temperature drops that cause surface cracks. If you do get some cracks, don't worry. The chocolate ganache topping will hide them completely.
 Pin it
Storage and Freezing Tips
This cheesecake stays good in the fridge for up to 5 days when kept in an airtight container. For longer keeping, freeze single slices wrapped tight in plastic wrap then aluminum foil. They'll last up to 3 months. Thaw in the fridge overnight for the best texture. I've noticed that freezing actually makes the mint flavor stronger, so each slice tastes even better after thawing.
Elegant Serving Suggestions
For a fancy look, dip your knife in hot water and wipe it clean between cuts for perfect slices. Serve with extra chocolate sauce drizzled on top, a tiny mint leaf, or even a small scoop of vanilla ice cream for an amazing dessert experience. When I have dinner guests over, I often serve this cheesecake with a tiny cup of espresso for a grown-up after-dinner combo that always wows everyone.
Perfect Seasonal Adaptations
While this cheesecake tastes great any time of year, you can easily change it up for holidays. Mix red food coloring with the green for a Christmas look, or just use green coloring and shamrock sprinkles for St. Patrick's Day. In summer, I like to put a layer of fresh berries under the ganache for a bright, seasonal twist that cuts through the richness just right.
Frequently Asked Questions
- → How do I keep the top crack-free?
Use a water bath during baking to keep the heat even. Stir the mix gently to skip air bubbles, and let the cake cool inside the oven before removing it. Cover cracks, if they happen, with ganache for a smooth top.
- → Is it okay to replace mint Oreos?
Absolutely! Standard Oreos work just fine if you want to tone down the mint flavor. Feel free to adjust based on taste preferences.
- → How do I get shiny ganache?
Choose quality chocolate and warm heavy cream together. Gently stir for a smooth, glossy finish. Avoid too much whisking so no bubbles form.
- → How early can I prep this dessert?
You can make it up to three days before serving. Keep it chilled and add whipped cream and cookies just before setting out so it looks its best.
- → Can I freeze the leftovers?
Yes, it freezes nicely. Wrap tightly in plastic wrap and foil, and store for up to a month. Thaw in the fridge overnight before eating.