
 Pin it
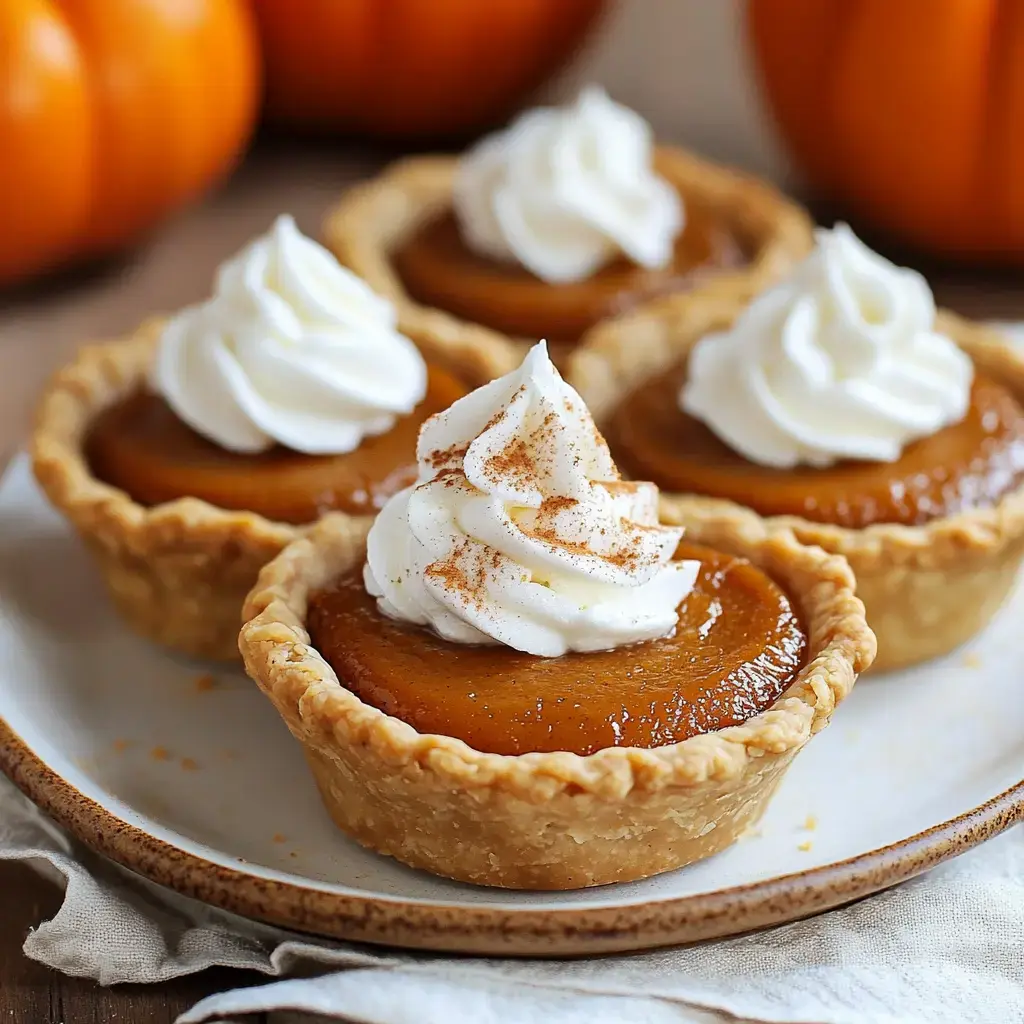
Want a simple sweet treat that'll impress holiday company? These tiny pumpkin pies are my go-to autumn snack! This simple method gives you all the warm, comfy taste of classic pumpkin pie in adorable individual portions. I began whipping up these tiny pies when my little ones wanted kitchen duty - they're great for small hands to work with and decorating them is a blast!
What Makes These Tiny Pies Outstanding
This do-it-yourself method works great for crowds since everyone gets their own little pie! They're a breeze to hand out - no cutting or dividing needed. My pals enjoy this simple approach because they can sample other sweets without feeling bad. And these pies use stuff you likely already have stocked. Even my husband's mom wanted the instructions last Turkey Day!
Stuff You'll Want
- The Base: Ready-made works fine for this simple approach, or make your own if you prefer.
- Genuine Pumpkin: Find plain pumpkin mush for these handmade goodies, not the already-spiced type.
- Smooth Addition: Canned milk makes this quick method extra velvety.
- Sweet Stuff: Dark and regular sugar for just the right taste.
- New Eggs: They turn your filling rich and silky.
- Toasty Flavors: Fall spice mix brings that snug feeling.
- Last Detail: Newly whipped cream to top things off.
Time To Get Cooking
- Shell Setup
- For this quick method, flatten your pastry really thin - about as thick as a coin. Cut rounds that match your cupcake pan. I grab a wide cup when my cutter's missing! These handmade shells need soft handling but don't stress if they're not flawless.
- Combine The Mixture
- This filling is super easy! Blend your pumpkin with canned milk, sugars, egg, and all those toasty spices until it's smooth. My grandma's trusty wood spoon does wonders for this simple approach.
- Load Them
- Drop the mix into your shells - but leave some room! These small pies will rise while cooking. I use my handy dough scoop for this quick method - same size every time.
- Hot Oven Time
- Send these cuties into a heated oven (400°F). They'll cook in around 18 minutes. You'll spot when your pies are ready when they barely move in the center.
- Cooling Off
- Let them cool all the way - tough, I know! Then put them in cold storage. This simple approach needs at least 3 hours to chill right.
- Make Them Pretty
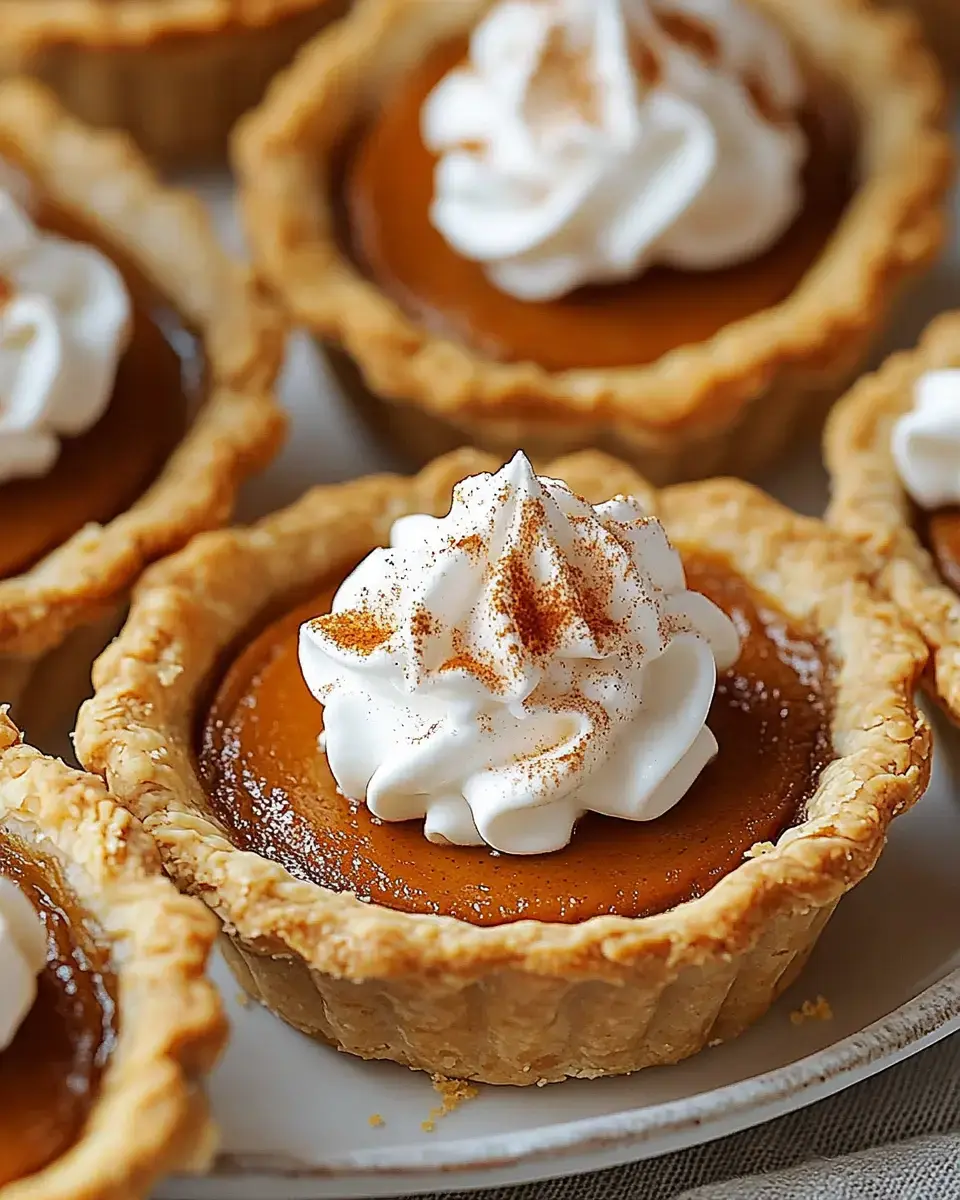
- Crown your mini pies with soft whipped cream and maybe a tiny bit of cinnamon. So adorable!
My Top Advice
After baking tons of these tiny pies, here's what I've figured out: Get that shell measurement right - 3.5 inches fits standard cupcake pans perfectly. When following this simple approach, look for holes in your crust - fix them with spare dough before adding filling. Don't overstuff these small treats - they need room to expand while cooking. And use normal cupcake pans for this method - the tiny ones are just too small for a good mouthful!
 Pin it
Keeping Them Good
These quick handmade goodies stay tasty in cold storage for roughly three days - if they don't vanish first! Store them in a sealed box, and save the whipped cream adding until ready to eat. This simple approach works great for freezing too - wrap each small pie by itself and freeze up to a month. When you want to enjoy your pies, just thaw them overnight in cold storage. I love having extras frozen for surprise visitors!
Dishing Up Your Tiny Pies
I love giving out these handmade goodies with a big blob of fresh whipped cream and a light dusting of cinnamon. For autumn get-togethers, I'll create a small topping station near these quick pies - whipped cream, crushed nuts, toffee sauce - letting folks fancy up their own! This simple approach matches wonderfully with coffee or warm apple drinks. Last Turkey Day, I placed them on a stepped display with other small treats, and they vanished faster than anything else!
Frequently Asked Questions
- → Why should the dough be chilled before use?
Keeping the dough cold makes it bake into a crispier crust and keeps its shape better in the oven.
- → Can I prepare these pies in advance?
Absolutely! You can refrigerate them for up to three days, and it’s best to add any toppings, like cream, just before serving.
- → What’s the reason for using pure pumpkin instead of pie filling?
Real pumpkin puree lets you adjust the sweetness and spice levels, while pre-made filling already comes with seasonings.
- → Are these okay to freeze?
Sure! Store them in the freezer (without any toppings) for up to two months. Leave them in the fridge overnight to thaw.
- → What’s the easiest way to get them out of the muffin tins?
After baking, wait about 30 minutes for them to cool. Then use a knife or a small spatula to gently lift each one out.