
 Pin it
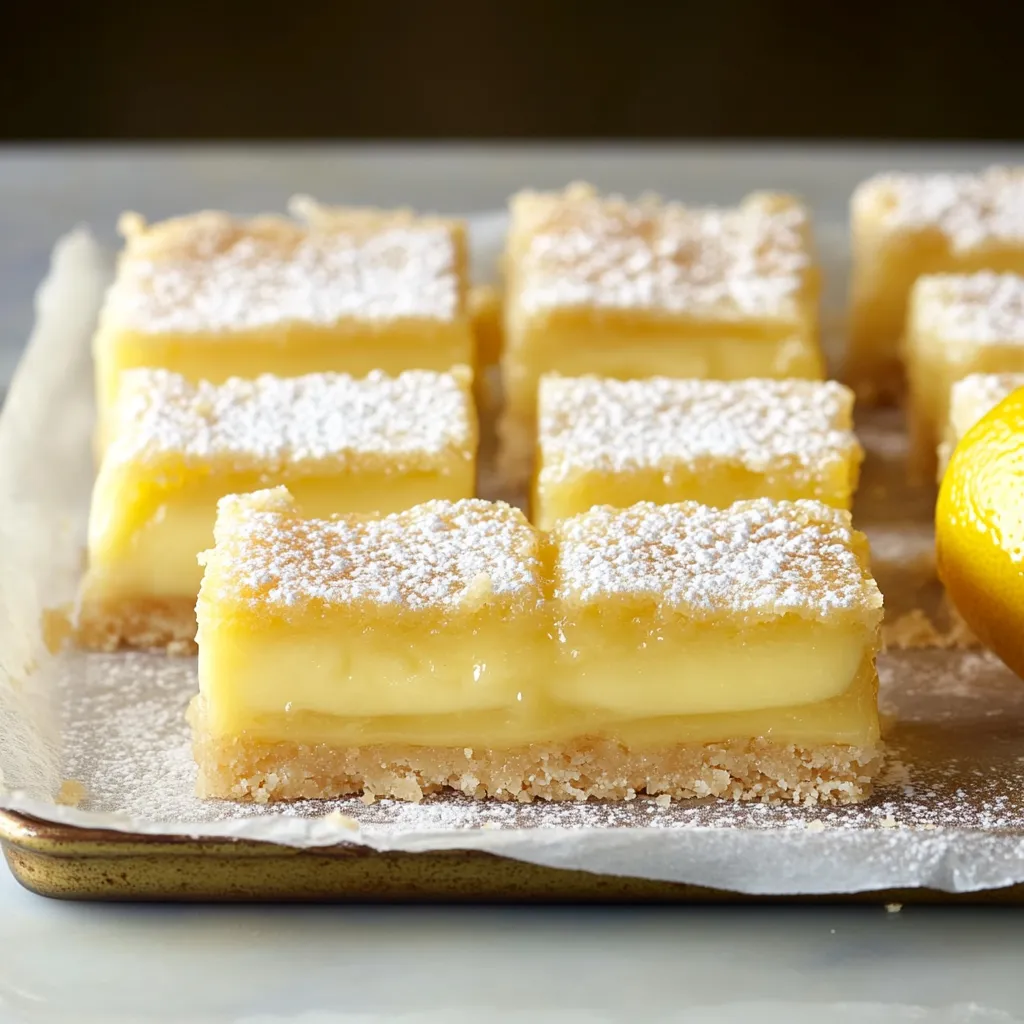
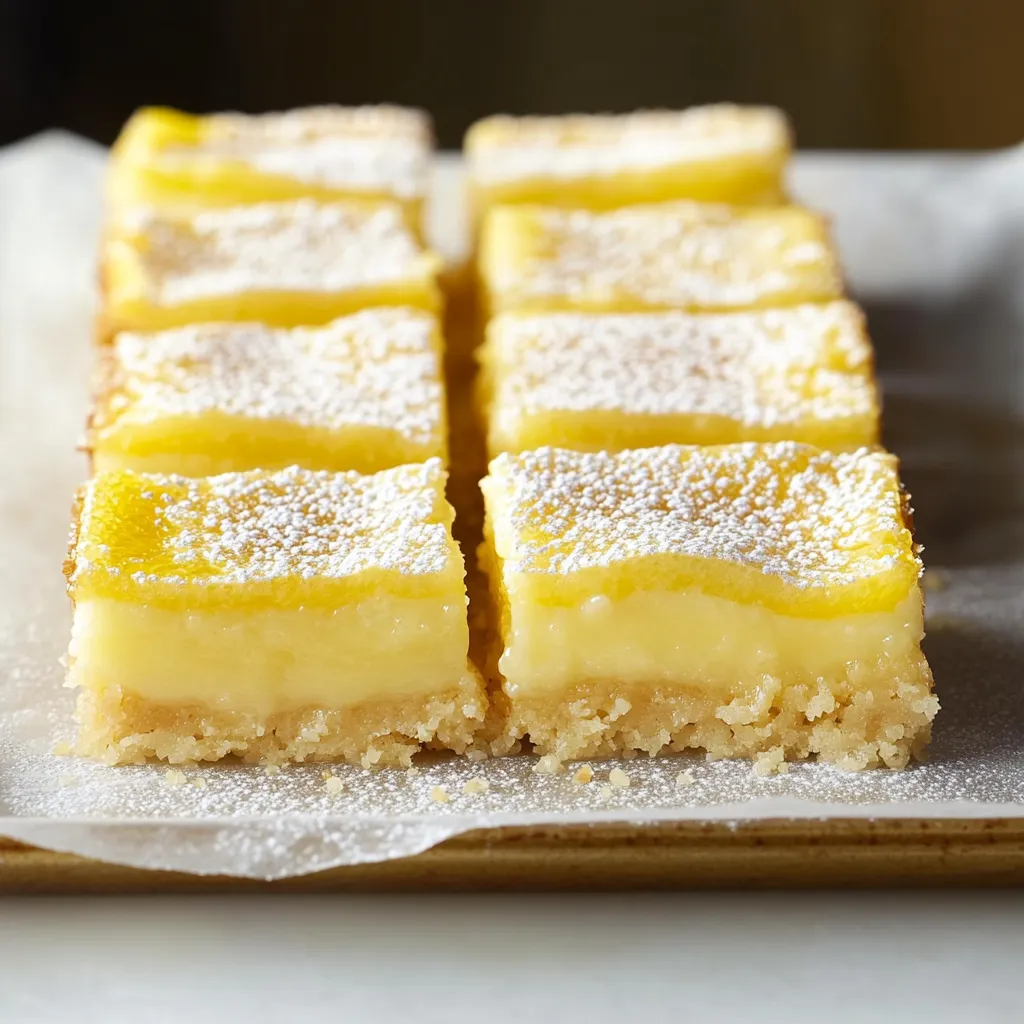
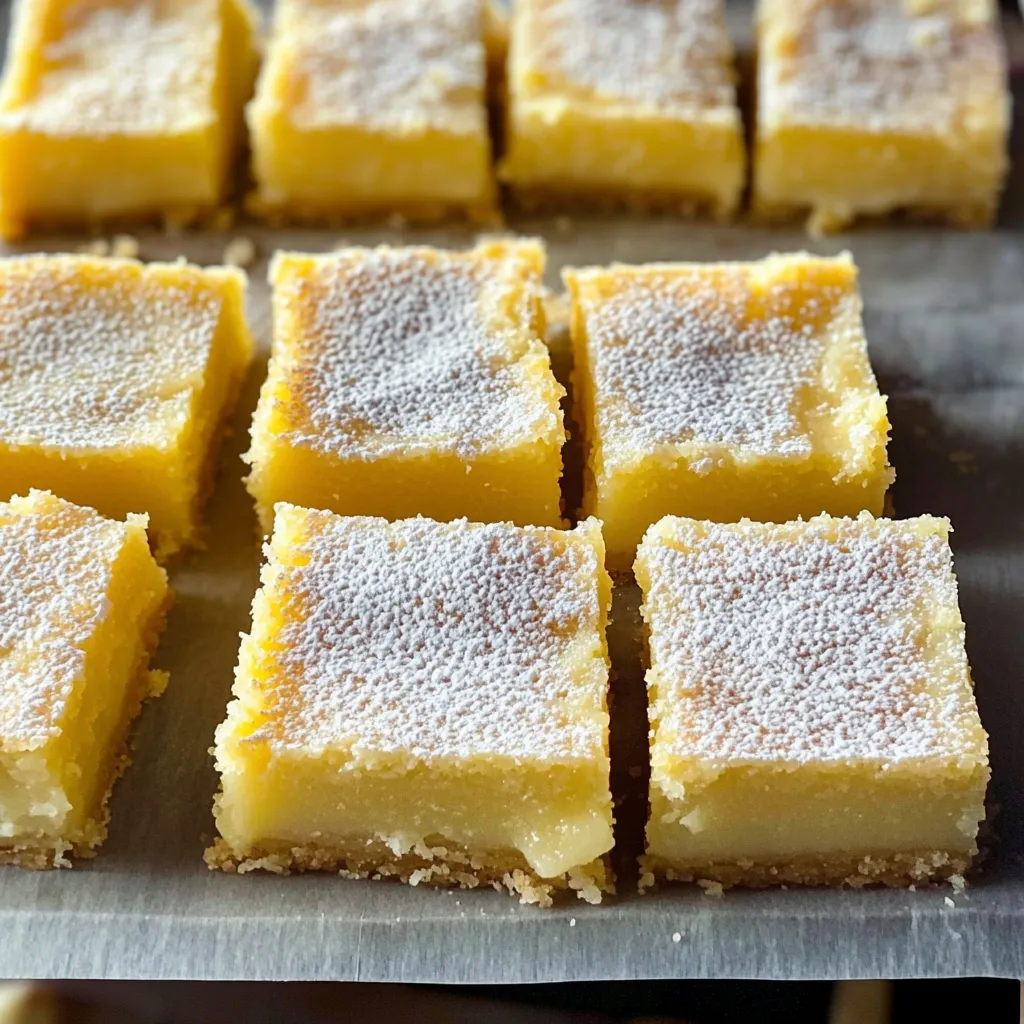
Take ordinary ingredients and whip up zesty, tart lemon bars with just the right mix of crumbly shortbread base and smooth citrus top layer. These timeless goodies combine a lemony crust with a perfectly firm filling that'll win over even folks who usually skip dessert.
After many trials, I've found that lemon-soaked sugar and watching your temps carefully makes all the difference.
Key Components
- For Crust:
- Unsalted Butter: At room temp (12 tablespoons)
- Large Lemons: You'll need zest and juice
- Granulated Sugar: Plain white works best
- All-Purpose Flour: Gently measured
- Kosher Salt: Brings out other flavors
- For Filling:
- Large Eggs: Not cold from fridge (4)
- Fresh Lemon Juice: ¾ cup (roughly 4-5 fruits)
- Granulated Sugar: Adjusts tartness
- All-Purpose Flour: Helps set filling
- Kosher Salt: Cuts through sweetness
Step-By-Step Guidance
- 1. Preparation Phase:
- Set oven rack in middle, warm to 350°F. Put parchment in a 9x9 pan with sides hanging over. Let butter and eggs warm up. Finely grate lemon skin and mix into sugar with your fingers until it smells amazing - this puts lemon oils directly into your sugar.
- 2. Crust Creation:
- Mix lemony sugar with soft butter until fluffy, about 2 minutes. Throw in flour and salt, stir until you see small crumbs. Push firmly into your lined pan. Bake until you spot light gold edges, 15-22 minutes.
- 3. Filling Development:
- While your crust cooks, beat eggs thoroughly. Add your lemon juice, sugar, and salt. Sprinkle flour through a sieve and whisk until it's totally smooth. Pour this mix onto your crust right when it comes out hot.
- 4. Final Baking:
- Put it back in the oven for 18-20 minutes until the filling barely jiggles in the middle. Let cool on a rack for an hour, then stick in the fridge at least 3 hours or overnight.
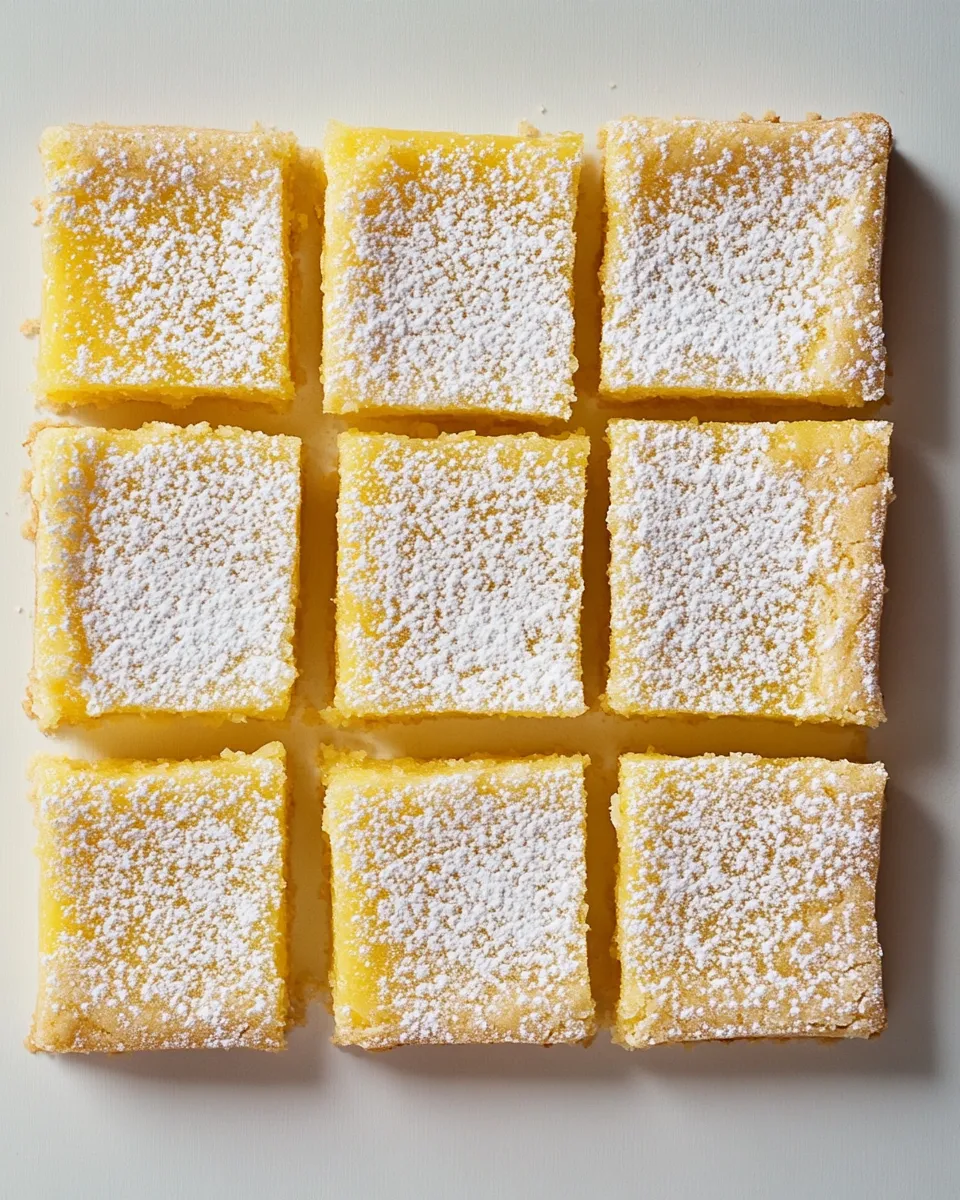
- 5. Cutting Process:
- Grab the parchment edges to lift the whole thing out. Cut into 16 squares, dipping your knife in hot water and wiping between cuts. Sprinkle lots of powdered sugar just before you serve them.
 Pin it
Keeping and Enjoying Tips
Storage Options: Keep them in a sealed container in your fridge up to a week. To freeze, wrap tightly with plastic, put in a freezer container for up to 4 months. Thaw in your fridge for an hour or leave out for 15-20 minutes. Always add the powdered sugar right when you're ready to eat them.
Great Combos
- Handful of berries
- Dollop of whipped cream
- Warm coffee or tea
- Sprig of fresh mint
- Scoop of vanilla ice cream
- Sweet lemon slices
Tangy Twists
Try these with different citrus fruits:
- Swap in lime for a tropical twist
- Use grapefruit for rosy bars
- Go with orange for ice cream truck vibes
- Blend different citrus juices
- Try Meyer lemons when you can find them
- Blood oranges add amazing color
 Pin it
 Pin it
Closing Thoughts
What makes these lemon bars stand out is getting the little things right - properly flavored sugar, watching your baking time, and letting them cool properly. They'll quickly become your go-to sweet treat for both special days and random Tuesday cravings.
Frequently Asked Questions
- → Can I prepare them in advance?
- Sure, make them up to 2 days before and keep them chilled in the fridge.
- → What’s the deal with room-temp ingredients?
- Softened butter and eggs mix together easier for a better consistency.
- → Is bottled lemon juice okay?
- Stick with fresh lemons to get the best taste.
- → Why should the filling jiggle?
- A little wiggle means they’re baked just right. Don’t overdo it!
- → Can I freeze the bars?
- Absolutely! Keep them frozen for up to 3 months. When ready, thaw in the fridge and add sugar on top before serving.