
 Pin it
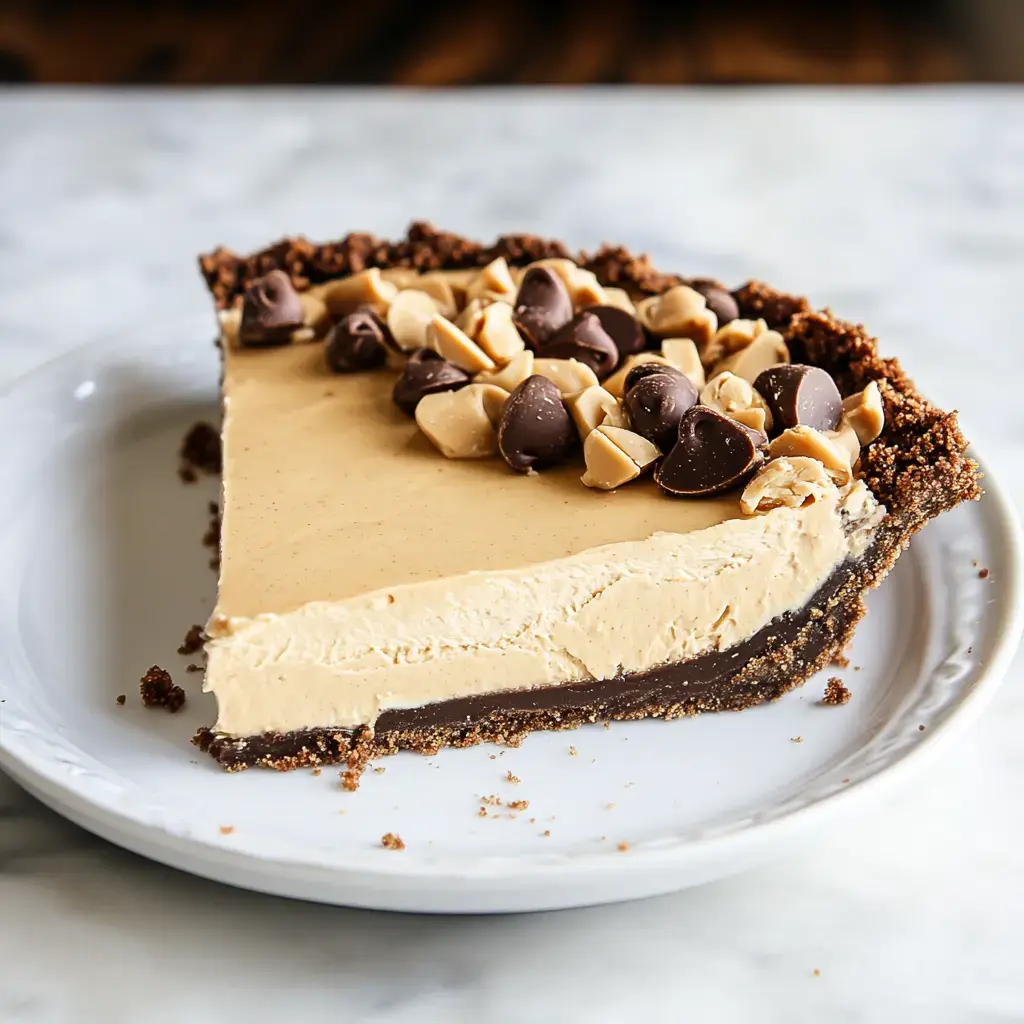
This Peanut Butter Pie is truly something special. The chocolate graham crust pairs amazingly with the smooth peanut butter center and fancy toppings on top. It's completely over-the-top in the best way! If you love the peanut butter-chocolate combo, you'll go crazy for this simple treat. You can make it ahead too, which makes it perfect when you've got company coming.
What Makes This Pie So Special
The mix of textures in this pie will blow you away. You get that firm, buttery base holding up an incredibly light peanut butter mixture, and then there's the yummy chocolate drizzle and candy bits sprinkled on top. You won't believe how simple it is to put together, and you don't even need to turn on your oven! The whole thing comes together without any fuss. Serve it cold from the fridge or frozen—either way, everyone will be fighting for another slice.
What You'll Need for This Pie
- Chocolate Graham Crackers: Smashed up to create the base of your pie.
- Butter: When melted, it helps your crust stick together.
- Creamy Peanut Butter: The main flavor that makes this dessert so delicious.
- Cream Cheese: Brings a nice tang and smooth texture to your filling.
- Heavy Cream: Gets whipped up to make the filling super airy.
- Powdered Sugar: Adds sweetness while staying perfectly smooth.
- Vanilla Extract: Brings all the flavors together nicely.
- Chocolate and Peanut Butter Cups: Fun extras to dress up the top if you want.
Building Your Perfect Crust
- Get That Crust Ready
- Turn those chocolate graham crackers into tiny crumbs with a food processor or by crushing them with a rolling pin. Mix in your melted butter until everything looks wet and clumps together when pressed. Push this mixture all around a 9-inch pie dish, covering the bottom and working it up the sides. Pop it in the fridge while you work on the next part.
Whipping Up The Creamy Center
- Get The Cream Fluffy
- Grab your mixer and beat the heavy cream with vanilla until it stands up in firm peaks. Put this aside for now.
- Create The Peanutty Mix
- In another bowl, mix your cream cheese, peanut butter, and powdered sugar until it's all smooth with no lumps. Carefully mix in your whipped cream, folding it in so everything stays light and airy.
- Put It All Together
- Scoop all that creamy goodness into your waiting crust and smooth out the top so it looks nice and even.
 Pin it
Finishing Touches Before Cooling
- Make It Pretty
- Pour some melted chocolate and peanut butter over your pie in zigzags or swirls. Throw on some chopped peanut butter cups or Reese's Pieces if you want to make it extra fancy and tasty.
- Let It Set Up
- Cover your masterpiece with some plastic wrap and stick it in the fridge for at least 4 hours. If you want it firmer, the freezer works great too. Just wait until it's completely set before cutting into it.
Enjoying Your Peanut Butter Creation
You can enjoy this pie straight from the fridge or freezer, whatever you like best. Any leftovers will stay good in the fridge for about 3 days if you keep them covered. Want to save it longer? Wrap it up tight and freeze it for up to a month. If it's frozen solid, you can let it thaw overnight in the fridge, or just eat it frozen for a cool treat. This dessert fits in anywhere—from casual family dinners to fancy get-togethers!
Frequently Asked Questions
- → Is this pie good to make in advance?
Absolutely, this pie is a great option for prepping ahead. It keeps well in the fridge for 3 days or can be frozen for up to a month. Just wait to add your toppings until serving to keep things fresh.
- → What’s the best type of peanut butter to use?
You’ll want to stick with regular creamy peanut butter. Brands like Skippy or Jif work best because they don’t separate or mess with the texture of the filling. Natural peanut butter might not blend as smoothly.
- → Can I switch up the crust?
Yes! Instead of chocolate graham crackers, you can use crushed Oreos, simple graham crackers, or even Chocolate Teddy Grahams. All make a fabulous base for this pie.
- → Why does cream cheese need to be soft?
If the cream cheese is at room temperature, it blends more easily into the filling without producing lumps. Leave it out for about an hour to reach the right consistency.
- → How do I tell if my whipped cream has stiff peaks?
When you lift the mixer beater, the cream should hold its tip upright without collapsing. If it droops, keep whipping a little longer. Just be careful not to overdo it, or you’ll end up with grainy cream.