
 Pin it
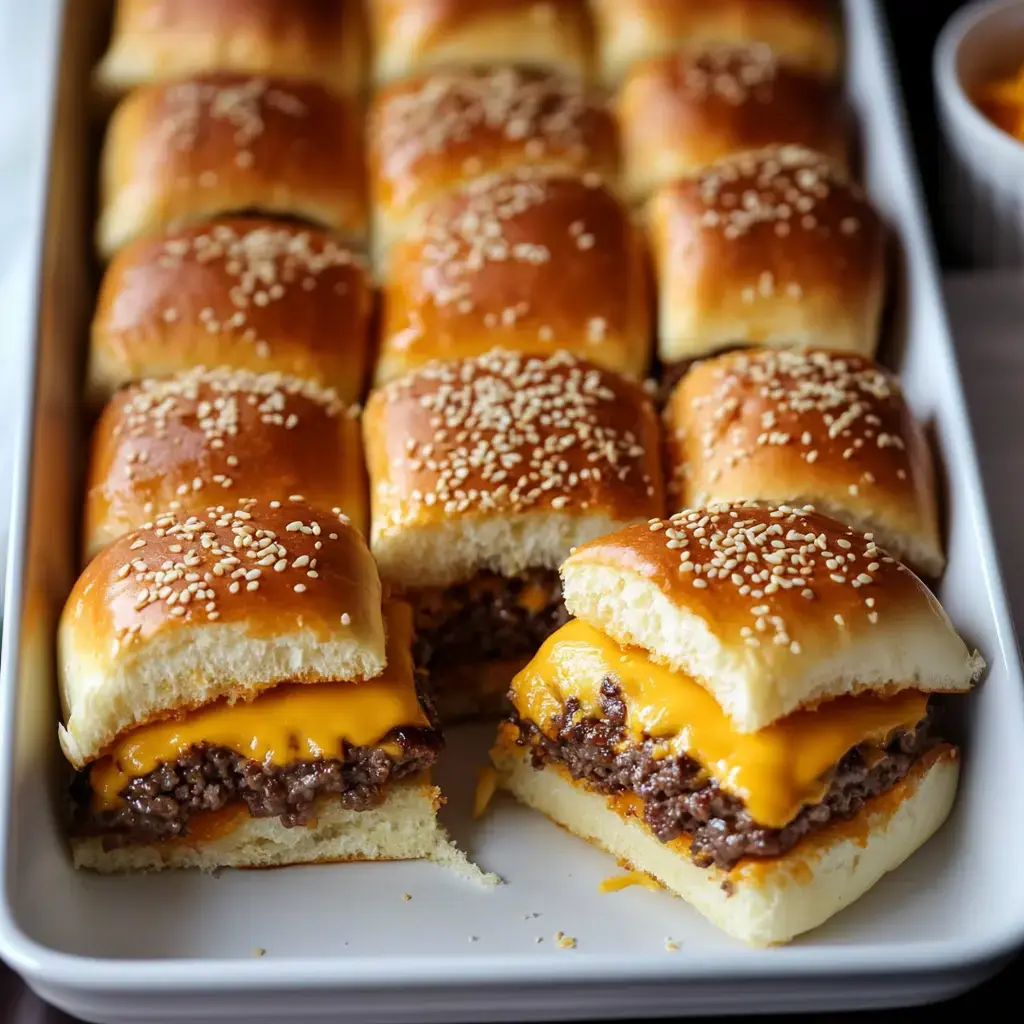
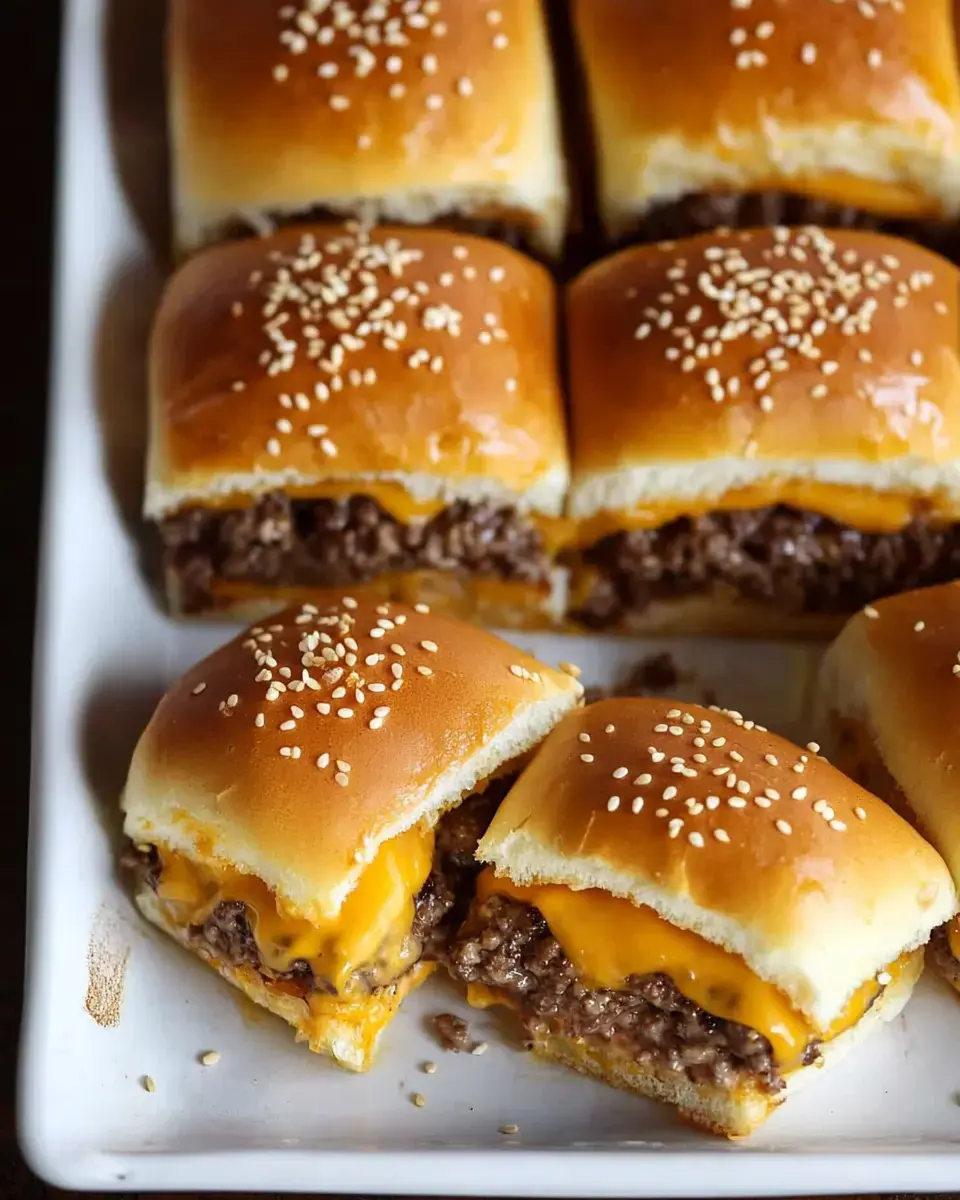
Want a simple crowd-pleasing finger food? These burger mini-sandwiches are my go-to trick! They cook all together in one dish - much simpler than flipping separate patties. My quick approach uses sweet rolls, flavorful seasoned meat, and tons of gooey cheese. Great for sports viewing or any gathering where you've got hungry mouths to feed!
Why You'll Love These
This slider creation is such a game-changer! The straightforward prep needs basic items you likely have on hand, and everything bakes in a single dish. My approach lets you customize with whatever add-ons you prefer. That wonderful mix of sweet bread and tasty meat gets folks coming back for more every single time!
What You'll Need
- Quality Meat: Grab 80/20 ground beef - it'll stay moist and tasty.
- Flavor Booster: Onion soup mix makes these sandwiches incredibly savory.
- Juiciness Trick: A bit of milk keeps everything tender when cooking.
- The Bread: Hawaiian sweet rolls work brilliantly for these mini burgers.
- Plenty of Dairy: Sharp cheddar takes these little sandwiches to another level.
- Fancy Touch: Sprinkle some sesame seeds on top for a nice look!
Let's Make Some Sliders
- Get Your Dish Ready
- Find your largest baking pan and coat it properly. A 9x13 dish works great for these mini burgers.
- Combine The Beef
- Start with properly mixed meat. Blend your beef with onion soup mix and some milk - this keeps everything juicy. Don't work the mixture too much or you'll end up with tough meat!
- Initial Cooking
- Spread the meat mixture into your dish - you're making one large patty. Flatten it evenly but keep it somewhat loose. Bake at 350°F for roughly 20 minutes.
- Add The Cheese
- After the meat cooks, pour off excess grease. Put half your cheese on the bottom bread portion. Add your meat layer, then cover with remaining cheese!
- Smart Construction
- Keep all rolls attached - just cut through the middle like one giant bun. Put the bottom section in your dish, stack all your layers, then place the top part on.
- Last Baking Step
- Into the oven again! Another 20 minutes until everything's gooey and browned. I sometimes brush the tops with melted butter for extra taste.
- Cut And Enjoy
- Let everything sit about 5 minutes, then separate along the roll lines. The melted cheese needs time to set up a bit!
My Best Tips
From my experience making these mini sandwiches: Always thoroughly grease the dish. Make sure to drain off beef fat or you'll end up with soggy bottom bread. Everything works best with cheese you grate yourself - it melts so much better than the bagged stuff!
 Pin it
Make Them Ahead
These mini burgers are fantastic for planning! You can cook the meat a day before, or even build the whole thing and store it in the fridge. When you're ready to eat, just warm it up until the cheese gets all melty and delicious.
The Perfect Spread
These mini sandwiches match with so many sides! Pair them with crunchy potato fries, slaw, or crispy onion rings. Set out various dips - ketchup, yellow mustard, or smoky BBQ sauce. I've even served them for dinner with a green salad alongside. They vanish quickly however you choose to present them!
Frequently Asked Questions
- → What’s the advantage of baking one big burger patty?
It’s less work than shaping individual patties and ensures every bite is the same size.
- → Why add milk to the meat mixture?
Milk locks in moisture and keeps the meat soft and juicy as it bakes.
- → Why does beef get smaller as it cooks?
Cooking causes it to shrink naturally—plan the patty size accordingly before baking.
- → Can I pick a different kind of cheese?
Sure, any meltable cheese works fine. Try French favorites like Comté or Raclette.
- → Why let the sliders sit before slicing them up?
This step redistributes the juices, preventing the meat from drying out and helping the sliders hold together better.