
 Pin it
A Funfetti Cheesecake Cake blends the playful excitement of a sprinkle-loaded party cake with the smooth richness of velvety cheesecake. This eye-catching treat turns any simple get-together into something memorable, as its vibrant layers and silky-smooth texture make each bite something to treasure.
The first time I whipped this up for my niece's party, I couldn't forget her amazed expression when we sliced into it. Those twinkling sprinkles throughout the cake create such a special moment that grown-ups can't help grinning too.
Key Ingredients and Smart Picking Tips
- Cream Cheese - Stick with full-fat for the creamiest outcome; make sure it's sitting at room temp
- Rainbow Sprinkles - Go for jimmies instead of tiny balls to stop colors running
- Butter - Pick unsalted to better manage taste; be sure it's nice and soft
- Sour Cream - The full-fat kind adds wetness and zip
- Vanilla Extract - Real vanilla gives you the tastiest results
- Almond Extract - Just a tiny bit lifts the overall taste
 Pin it
Step-by-Step Baking Guide
- 1. Getting the Cheesecake Just Right
- * Mix cream cheese until totally smooth before adding anything else
* Everything must be room temp to avoid bumps
* Cover springform pan thoroughly so water can't leak in
* It's done when the middle still wobbles slightly - 2. Creating Amazing Funfetti Layers
- * Beat butter and sugar until super fluffy and pale
* Put eggs in one at a time, mixing fully between each
* Stir in sprinkles at the end to keep colors bright
* Pull from oven when edges turn light gold - 3. Nailing the Frosting
- * Whip cream cheese and butter until completely lump-free
* Slowly add powdered sugar to avoid making a mess
* Beat until it's airy and spreads easily
 Pin it
My first try at this cake taught me a lesson about being patient with the cheesecake part. Now I know freezing it overnight makes putting everything together so much simpler, and the end result is totally worth waiting for.
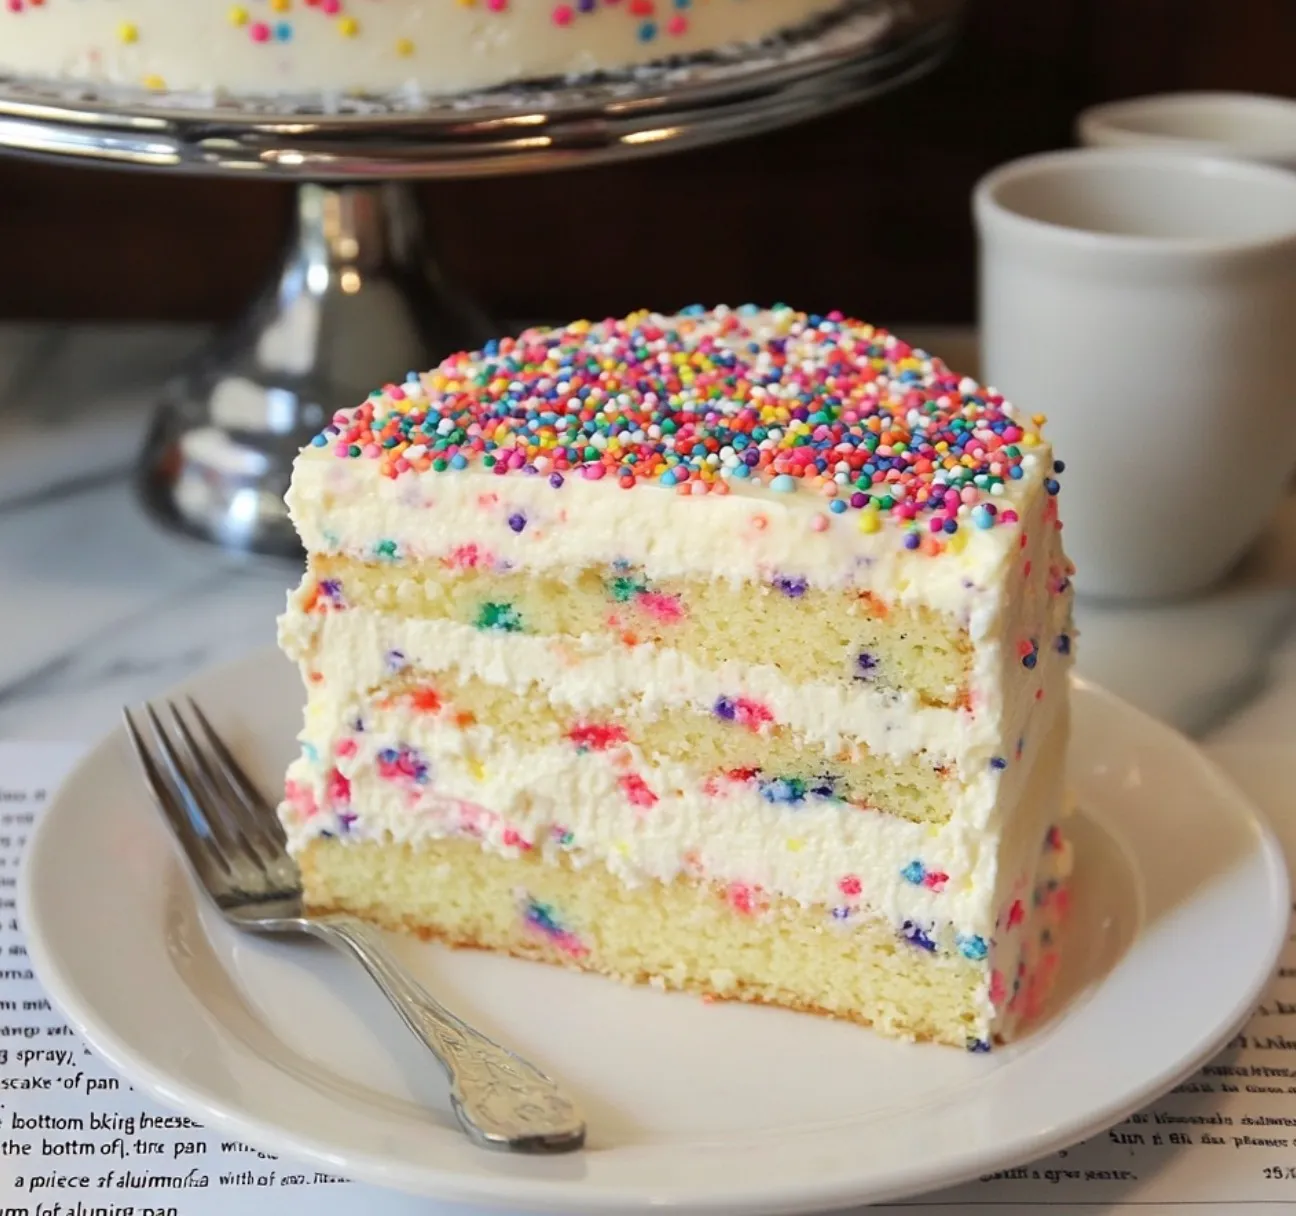
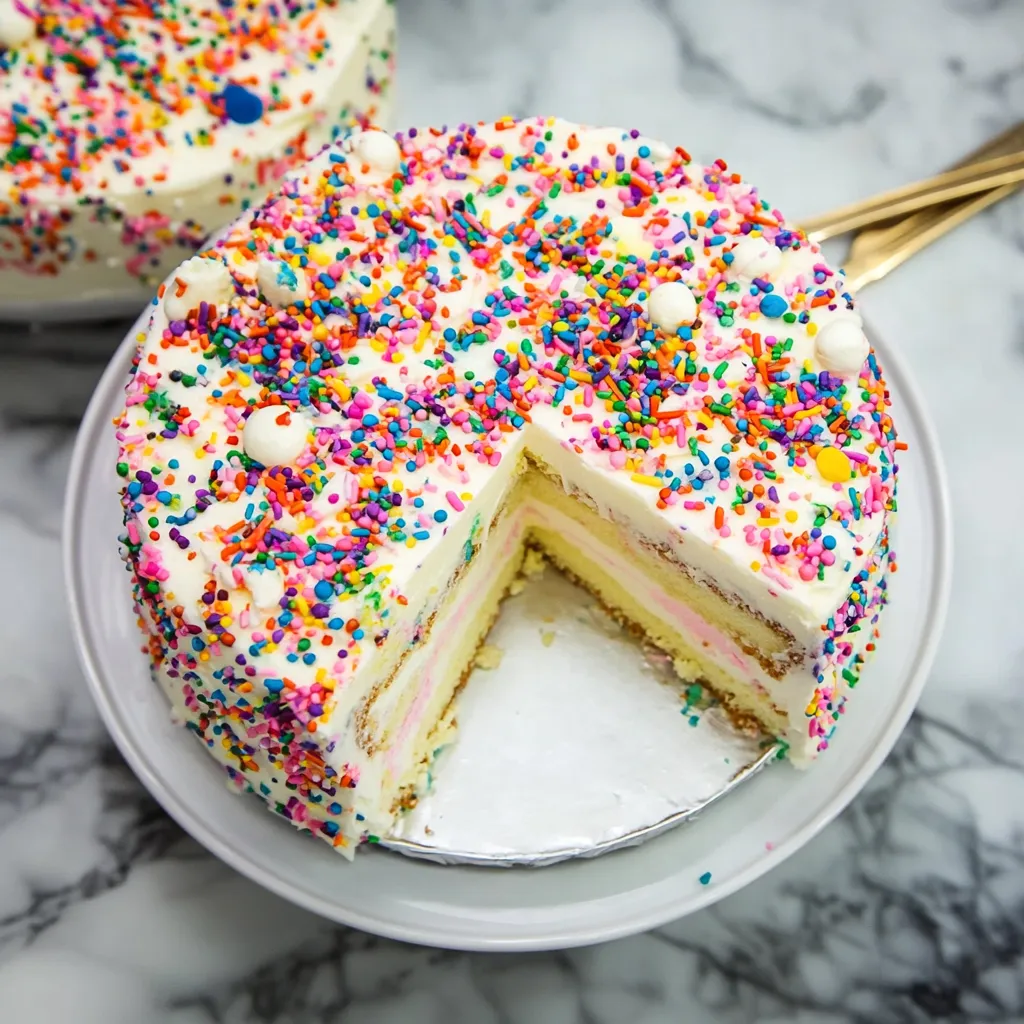
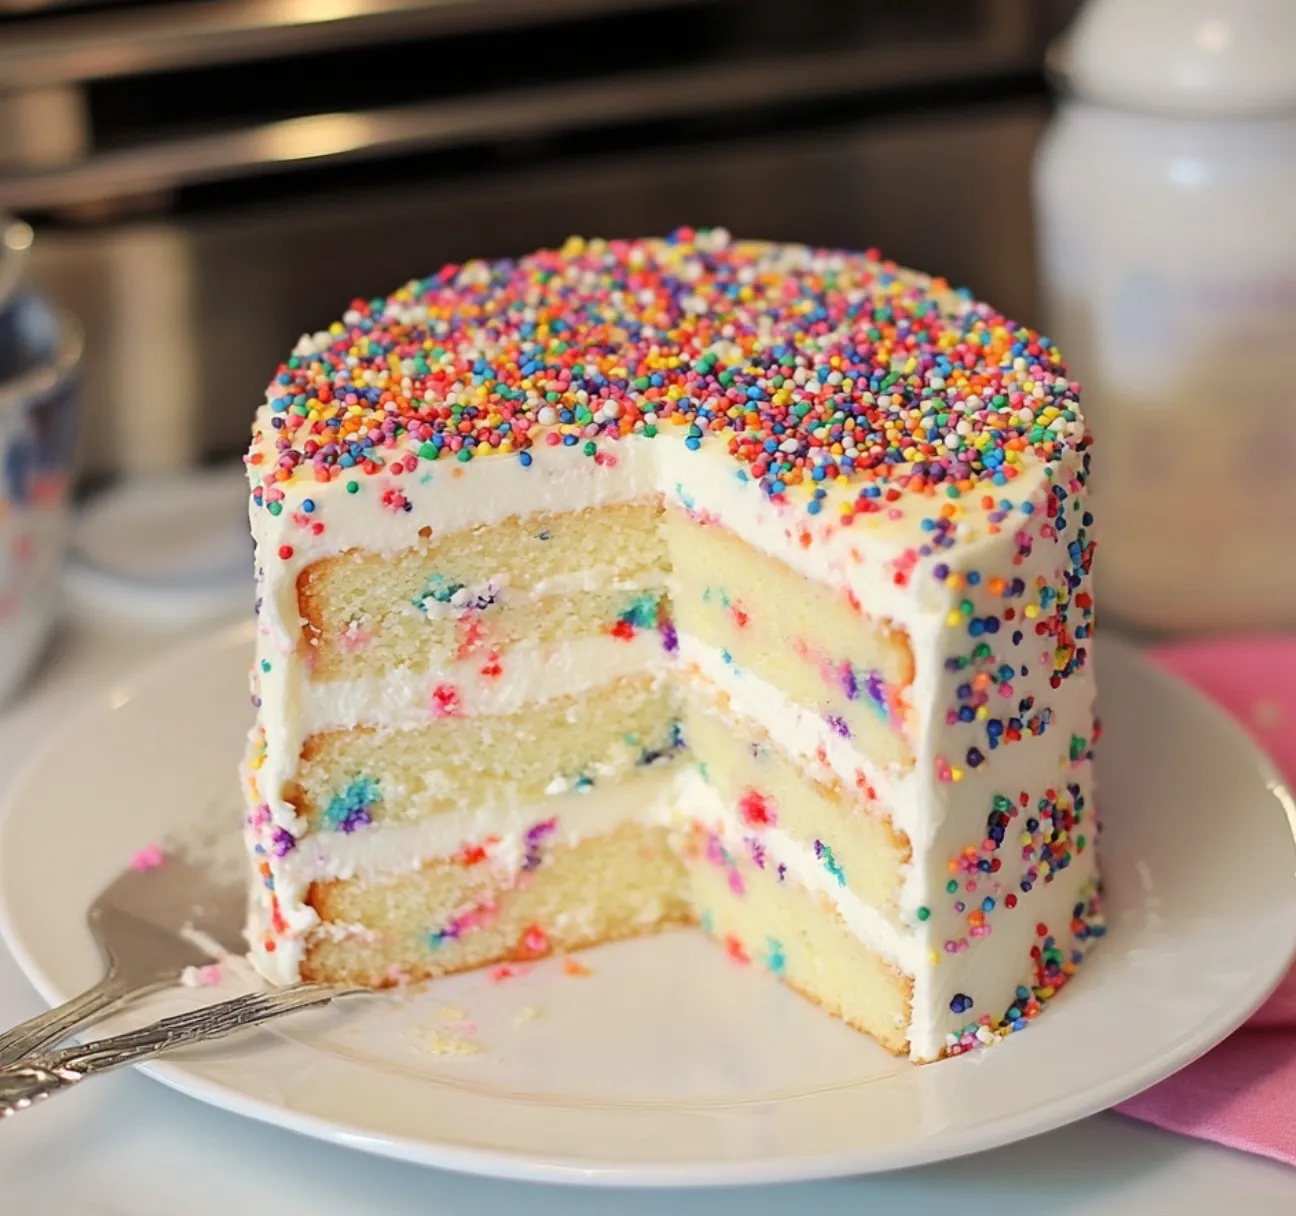
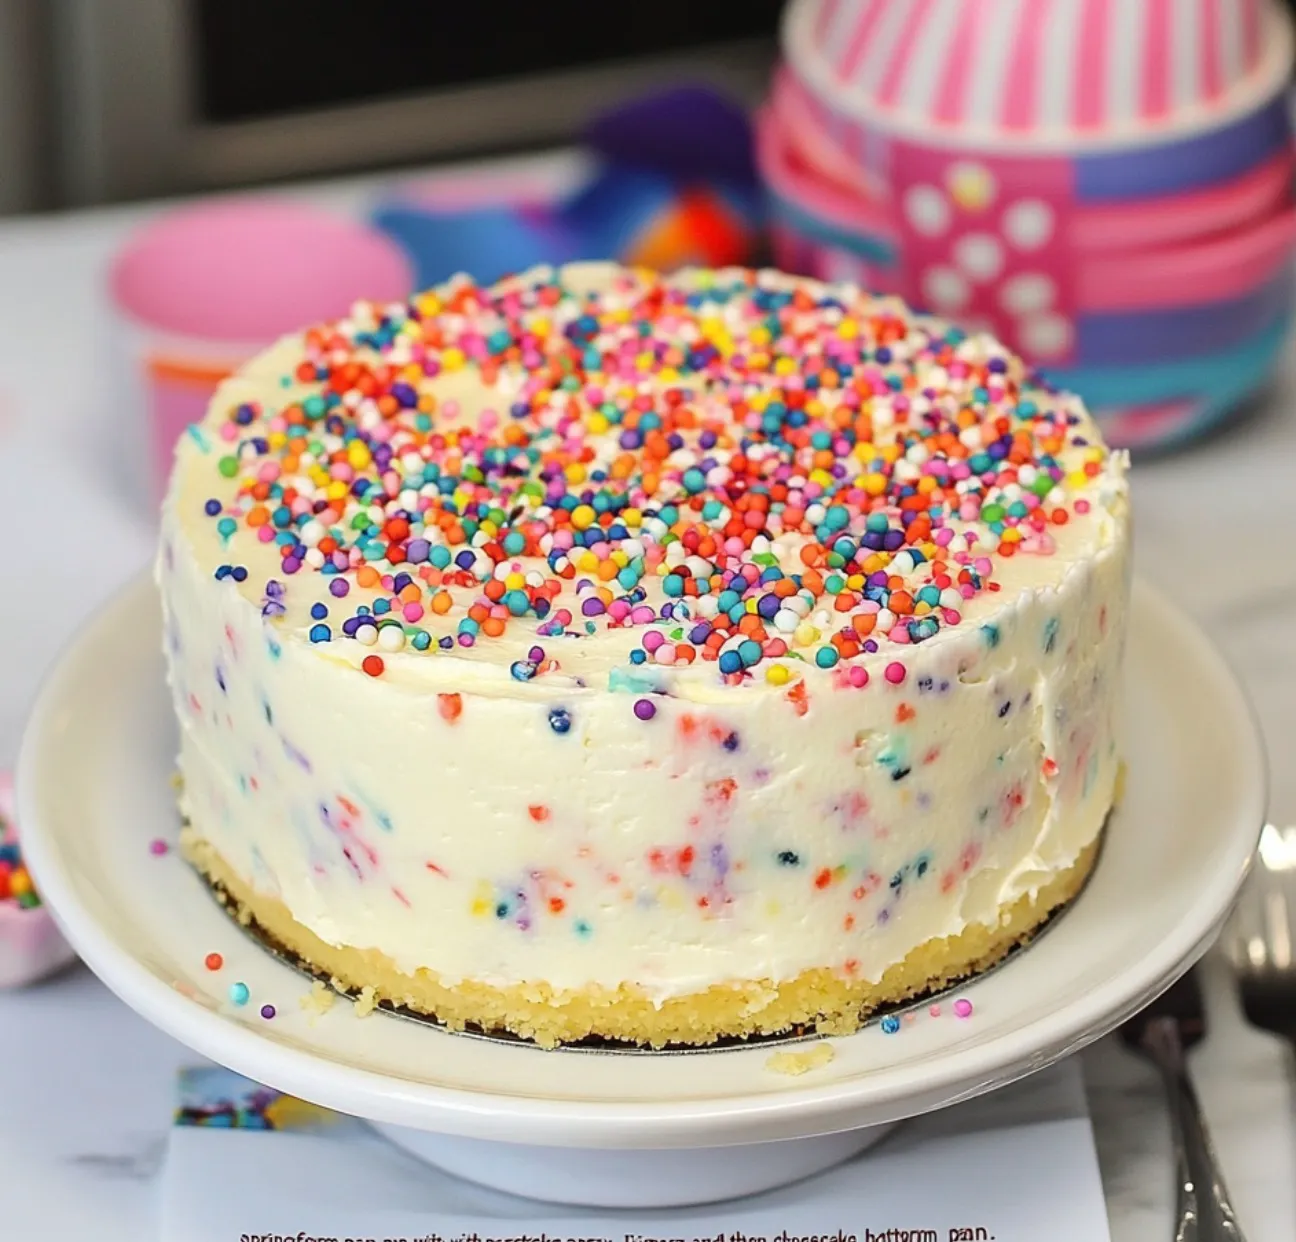
Building Beautiful Layers
Getting those clean-cut layers needs careful attention. The frozen cheesecake works as a solid middle, while keeping your frosting just the right thickness helps stop colors mixing between layers.
Frosting Like a Pro
You can't skip the thin first layer of frosting on this cake. After spreading this light coating and chilling it, your final layer goes on smooth as silk, ready for the fun decorations.
Smart Sprinkle Use
Not all sprinkles work the same way. The long thin ones are best inside your cake, but mixing up different sprinkle shapes creates awesome outer decorations.
Handy Baker Tricks
- The cheesecake part can be made up to seven days ahead
- Don't let sprinkles touch the cake edges to avoid color bleeding
- Warm your knife for cleaner slices
- Cool the cake between adding frosting layers
This cake has turned into my go-to party showstopper, bringing happiness to so many special days. The mix of soft and creamy textures, plus its party-ready look, makes folks remember it long after the last bite.
Managing Temps Like a Pro
Getting temperatures right makes or breaks this cake. Each part needs specific heat handling - from softened ingredients for cake mix to properly chilled cheesecake. Even how warm or cool your frosting is changes how well it spreads and looks. If things are too cold or hot, you might end up with lumpy batter or runny frosting that won't stay put.
Why Colors Matter for Taste
This cake doesn't just look good - its rainbow colors actually boost the eating experience. The bright sprinkles trigger happy feelings and instantly create party vibes. Research shows we actually think colorful foods taste better because our brains make positive connections. For party cakes especially, how it looks matters almost as much as its flavor.
Changing Colors for Different Events
The classic rainbow sprinkles work for anything, but you can switch things up for specific occasions. Try red and green for Christmas parties, soft pastels at Easter gatherings, or match your kid's school colors for graduation. The cake stays the same, but changing sprinkle colors makes it perfect for any celebration.
Smart Prep-Ahead Options
This cake actually turns out better when made in parts over time. You can freeze the cheesecake for up to four weeks, freeze cake layers for two weeks, and keep the whole assembled cake (before adding final touches) in your fridge for three days. This makes party planning so much easier when you're busy with other things.
Fixing Common Problems
Sometimes sprinkle colors can run together and look muddy. To stop this, don't overmix after adding sprinkles, and buy good quality ones that hold their color. If your frosting gets too soft while working, just pop it in the fridge for a quick chill to firm it back up.
Why the Layers Work Together
What makes this cake so good is how the layers play off each other. The thick, rich cheesecake gives structure, while the lighter cake adds different texture. The frosting works both to stick everything together and keep all the layers moist and properly lined up.
Trying Different Flavors
While vanilla is the classic Funfetti taste, you can play around with other flavor combos. A bit of almond extract adds grown-up flair, and clear butter extract boosts that birthday cake taste. Some folks even add lemon or orange zest to brighten things up.
Adjusting for Different Sized Pans
You can change this recipe to fit your needs. For smaller parties, cut everything by a third and use 6-inch pans. For bigger crowds, add 50% more of everything for a taller, more impressive cake. Just remember your baking times will need adjusting too.
Easy Pro-Looking Decorating
You don't need fancy skills to make this cake look amazing. Use a bench scraper held straight against the sides while turning your cake for smooth edges. For the top, work with an offset spatula from the middle outward to get that flat, perfect finish.
 Pin it
Keeping It Fresh
Storing this cake right keeps it looking and tasting great. Always keep it in the fridge in a covered container or cake keeper. Before eating, let slices sit out about 20 minutes to warm up slightly for the best texture and flavor.
Good Ingredients Make a Difference
Using better quality stuff really shows in this recipe. Good butter affects both how it feels and tastes, while higher-end cream cheese gives better structure and flavor. Even your choice of sprinkles matters - premium ones stay colorful longer and feel nicer when you bite into them.
Every time I bake this Funfetti Cheesecake Cake, I think about how baking mixes precise science with creative fun. The exact measurements needed for the cheesecake balance with the freedom to decorate however you want, making each cake one-of-a-kind while still tasting consistently delicious. This treat has brought smiles to countless parties, and I bet it'll become a favorite for your special occasions too.
Wrapping Up
Making this Funfetti Cheesecake Cake goes beyond simple baking - it's about creating moments of happiness. Though it takes time and care, what you end up with is a dessert that builds lasting memories and brings smiles to folks of all ages.
Last-Minute Success Tips
- Think ahead - this cake works best made in stages over days
- Give plenty of time for cooling and freezing steps
- Wipe your spatula clean between frosting strokes for neat lines
- Think about who'll be eating it when picking sprinkle colors
Whenever I make this cake, I'm reminded that the biggest moments in life deserve an extra touch of magic. This recipe delivers that sparkle both in looks and taste, making it truly perfect for celebrating life's special times.
Frequently Asked Questions
- → Is it possible to prepare this earlier?
- Definitely! Make it up to 2-3 days in advance. Refrigerate, as the cheesecake layer already requires overnight freezing.
- → What sprinkles work best?
- Use long jimmies; nonpareils might dissolve or bleed into the frosting and cake.
- → Can I freeze the whole thing?
- Yes, just wrap it tightly and freeze for up to 2 months.
- → Why freeze the cheesecake layer?
- It helps you handle it easily during assembly. Keeps it from breaking or falling apart.
- → What's the best way to store it?
- Refrigerate, but let it sit at room temp for 30 minutes before serving.