
 Pin it
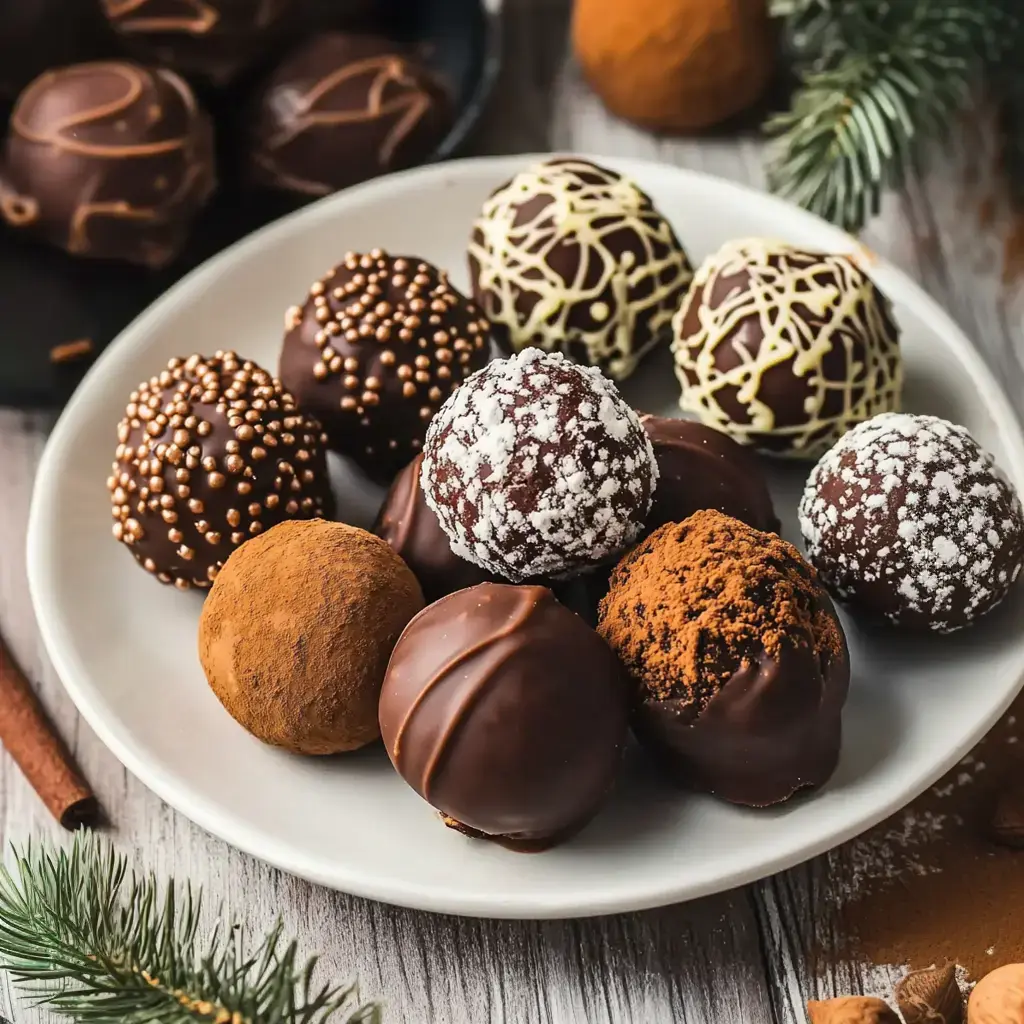
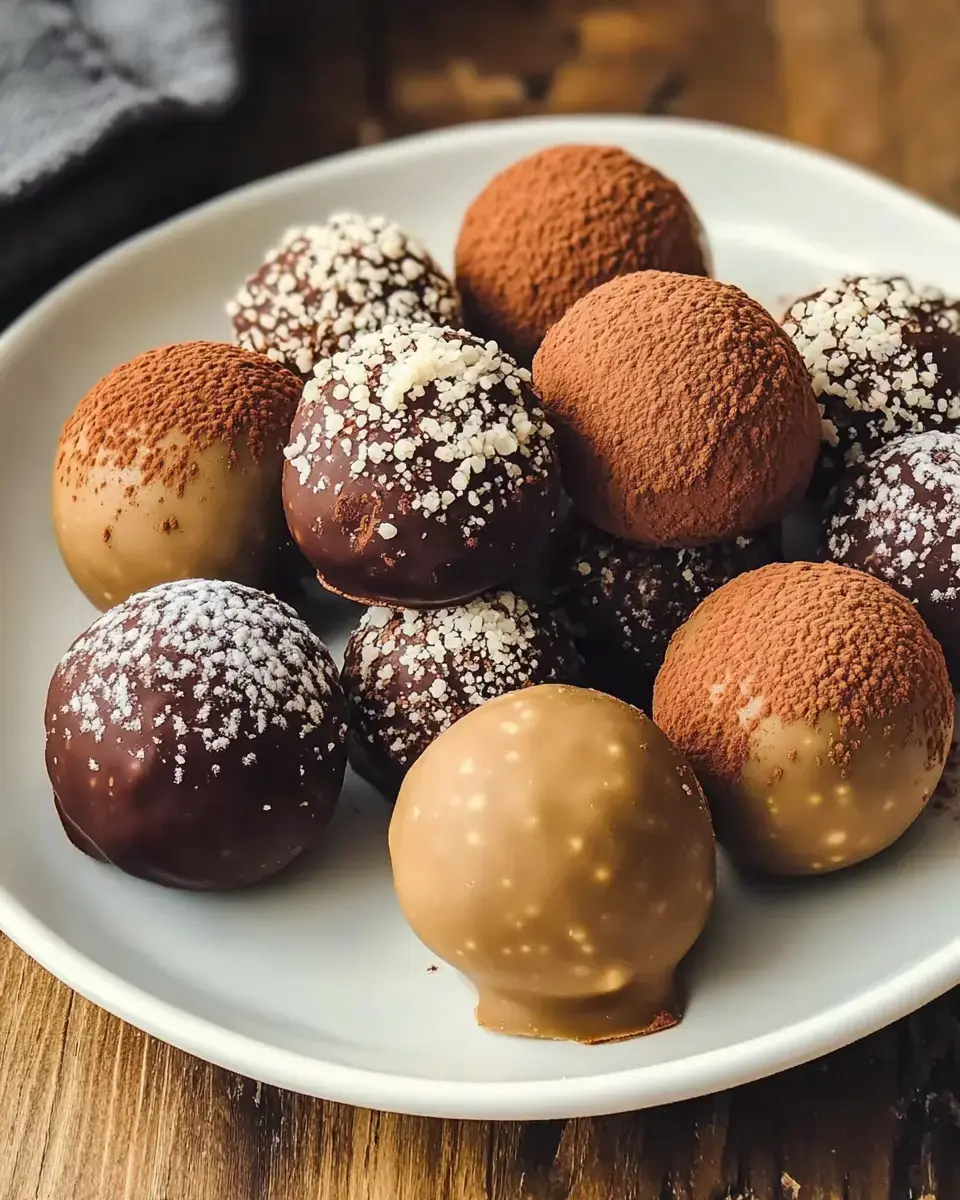
Homemade Dark Chocolate Truffles
I stumbled upon these decadent treats in a small Parisian boutique, and they've become my go-to dessert ever since. The velvety center dusted with cocoa takes me straight back to that unforgettable experience. My relatives always tell me they're just as good as the ones from expensive chocolate boutiques, and I can't help but agree.
Why You'll Love Them
The Secret Delight Each mouthful delivers pure chocolate heaven. With just a handful of basic ingredients, you'll create something truly extraordinary. Nobody believes how incredibly silky these turn out until they try them.
Great Gift Option These delicious little bites make wonderful presents during the holidays. Wrap them in cute containers and enjoy watching people's reactions after their initial taste. Once you start making them, everyone will beg for more.
Must-Have Components
- Chocolate: Premium dark chocolate around 60% cacao. Pick bars you'd enjoy eating by themselves for the best flavor in your finished treats.
- Dairy: Heavy whipping cream with full fat content creates that dreamy smooth texture. A bit of unsalted butter brings extra indulgence we can't resist.
- Taste Boosters: A splash of real vanilla extract and just a dash of sea salt really bring out the chocolate's natural goodness.
- Outside Layers: Fine cocoa powder sifted thoroughly. You might want some crushed nuts or grated coconut nearby for variety.
Making Your Truffles
- Get Your Chocolate Ready
- Cut the chocolate into tiny, uniform bits so it melts properly. Put it in a heat-safe bowl that gives you plenty of room to stir.
- Warm Up The Cream
- Add your cream to a small pot and warm it over medium heat until small bubbles form around the sides. Don't let it come to a full boil - you just need it hot enough to melt the chocolate pieces.
- Create The Filling
- Pour the warm cream over your chocolate chunks and let everything sit untouched for 60 seconds. Then stir from the middle outward until you get a shiny, uniform mixture. Mix in vanilla and salt with one last stir.
- Let It Set
- Put plastic wrap right on top of your mixture to stop a film from developing. Cool it in your fridge for at least 4 hours but overnight works too, until it's firm enough to work with.
- Form Your Truffles
- Use a teaspoon or small scoop to portion the chilled mixture. Quickly roll between your hands into round balls. Work with small amounts, keeping the rest cold in the fridge.
- Add The Covering
- Roll each ball in whatever coating you prefer - cocoa, chopped nuts, or shredded coconut. Set them on a parchment-lined tray and chill for about 30 minutes before enjoying.
Topping Ideas
My cooking space transforms into a chocolate factory during truffle-making days. While cocoa powder gives that traditional look, broken nuts add delightful texture. During the holidays I sometimes use smashed peppermint sticks, and my children love colorful sprinkles. I occasionally blend coconut with cocoa for a unique coffee-inspired appearance.
Helpful Tips
The key to fantastic truffles is cutting your chocolate into very small pieces so everything melts evenly. Mind your cream carefully - tiny bubbles at the edge are what you want, not a rolling boil. Try to keep your hands cool while shaping since the mixture sets better. Always eat them at room temp to enjoy their full flavor.
 Pin it
Storage Advice
These tasty treats will stay fresh in an airtight container for up to seven days if they don't disappear before then. Stick them in the refrigerator to extend their life. My trick for big gatherings? I make them in advance and freeze them for up to three months. Just don't forget to let them warm up to room temperature before serving.
Frequently Asked Questions
- → What makes good chocolate important?
Using rich chocolate with 60–70% cocoa content ensures great taste and a better finish.
- → Why refrigerate the ganache?
It thickens in the fridge, making it easier to roll into perfect truffle shapes.
- → Is freezing truffles an option?
Absolutely! Store them in an airtight container for up to three months in your freezer.
- → Why use cold hands for shaping?
It keeps the warmth from your hands from melting the chocolate as you roll them.
- → What coatings are fun to try?
Roll them in cocoa powder, sprinkle with chopped nuts, or dip in melted chocolate for variety.