
 Pin it
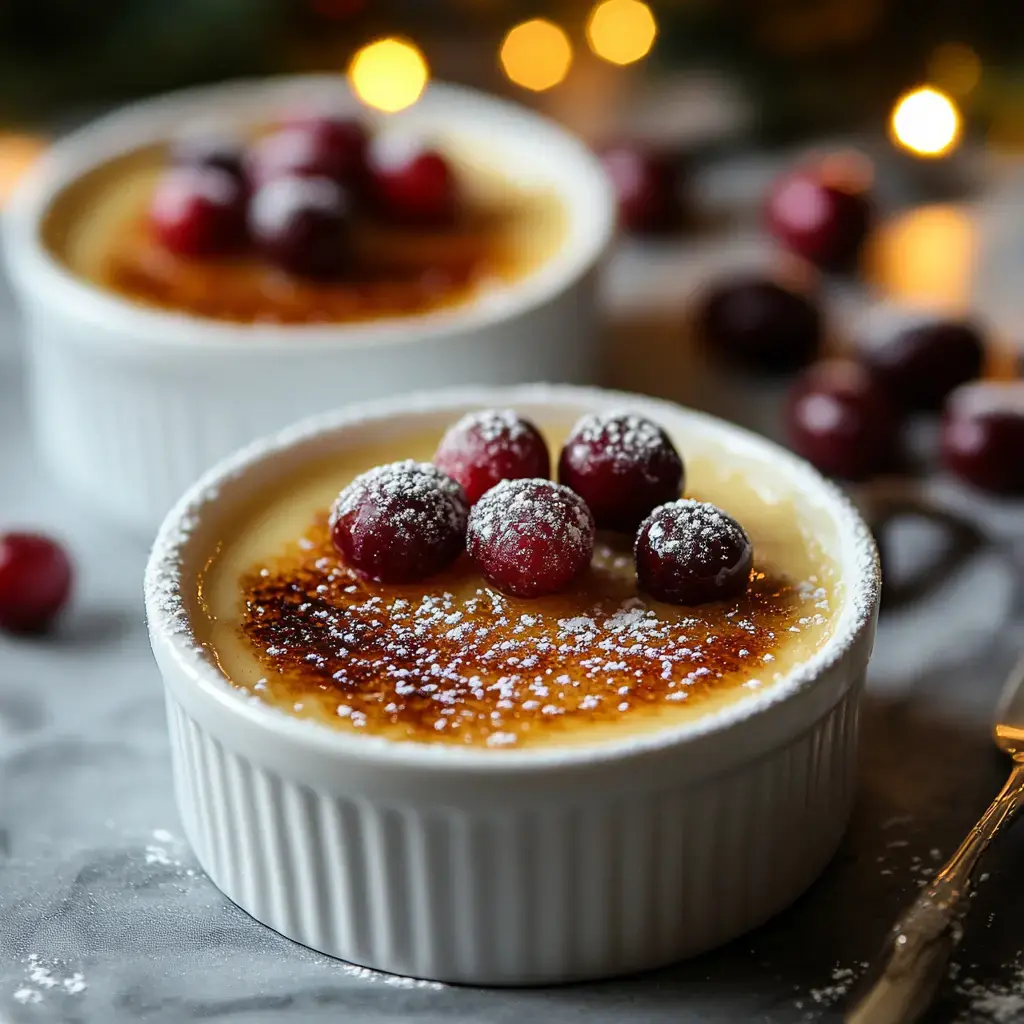
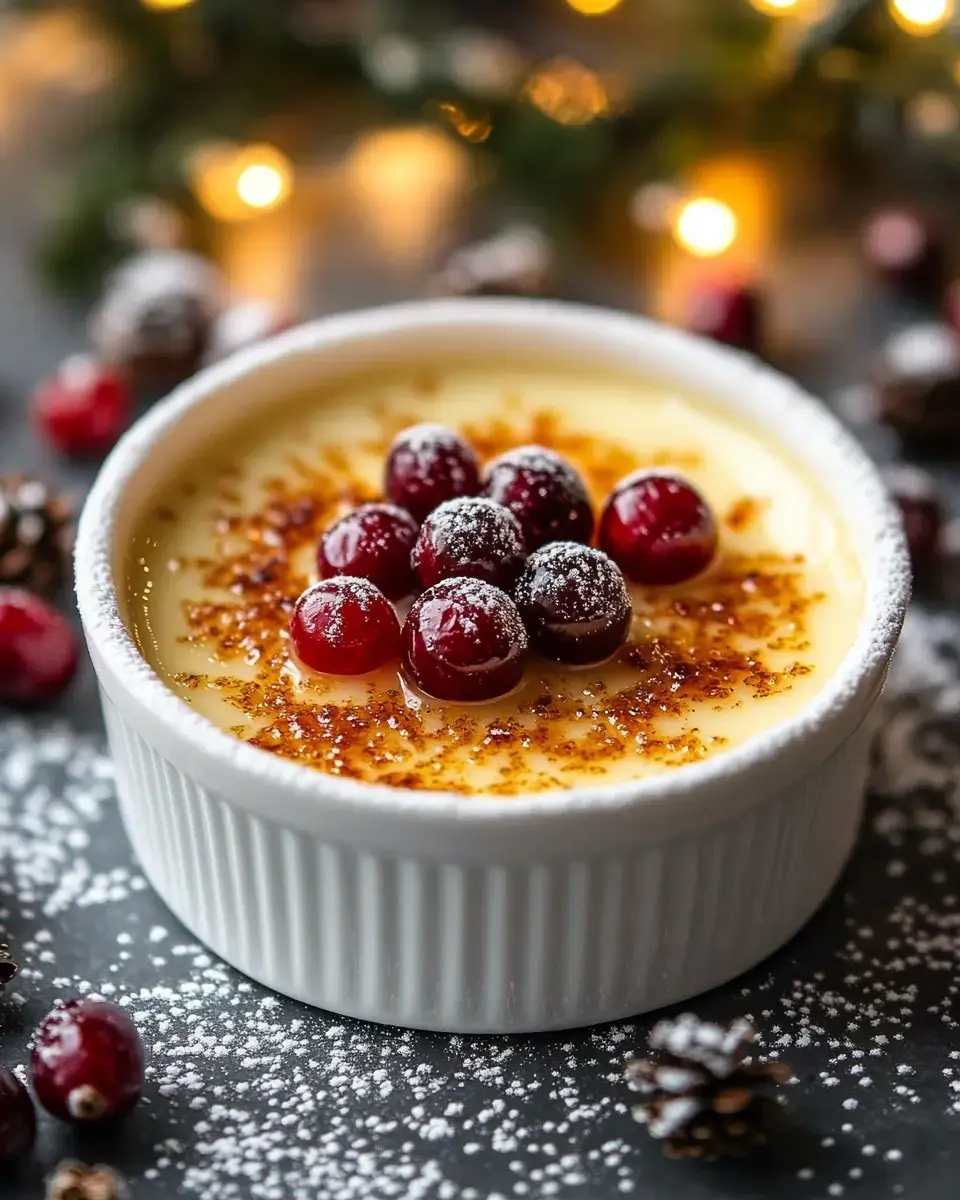
I've gotta share this holiday dessert trick that's super impressive but crazy easy to make. I stumbled upon this eggnog spin on crème brûlée after having extra eggnog sitting around one Christmas. These days my family won't let the holidays pass without it. There's nothing like breaking through that sugar crust into the smooth eggnog filling—it's what holiday dreams are made of.
What Makes This So Good
The smart part about this treat is how eggnog pulls double work by adding taste and smoothness. Normal crème brûlée can get tricky, but eggnog actually makes the custard more forgiving and nearly mistake-proof. And with just five things needed, you'll likely have most on hand already during December festivities.
Ingredients & Tools
- Main Items:
- 1 cup heavy cream
- 1 cup eggnog
- 5 large egg yolks
- 1/4 cup granulated sugar (extra needed for tops)
- 1/4 teaspoon ground nutmeg
- Tools:
- 4 (5-ounce) ramekins
- Large baking dish
- Fine-mesh strainer
- Kitchen torch
- Large measuring cup with spout
Step-by-Step Cooking
- Setup Phase
- First, warm your oven to 300°F. Put your ramekins in a baking pan and start boiling some water. While that's happening, mix those egg yolks and sugar until they turn light and fluffy—about 2-3 minutes of whisking.
- Mix Your Base
- Warm the cream and eggnog until tiny bubbles show up at the edges. Now comes the careful part—pour this hot mix into your eggs very slowly as you keep whisking. This stops the eggs from cooking too fast, believe me. Throw in the nutmeg and run everything through a strainer.
- Gentle Baking Method
- Fill your dishes with the mixture, then carefully pour hot water around them, halfway up. This gentle heat is the secret to getting that perfectly smooth result.
- Sweet Crunchy Top
- After they've cooled down, dust sugar evenly across the tops and burn it with your torch until it turns golden brown. Let it cool and harden for that satisfying crack sound.
Insider Secrets
Always strain your mix before baking—it grabs any little egg bits that might have cooked. The water bath isn't just fancy—it keeps the custard from breaking. You'll know they're done when they wobble like jello instead of sloshing like water. And here's my trick: when you're torching, use tiny circles to get that sugar melted evenly.
 Pin it
Tasty Variations
I sometimes add a dash of bourbon in the mix for extra coziness. You can try different kinds of eggnog too—the rum-flavored stuff works amazingly well. Don't have a torch? Your oven's broiler can do the job, just don't take your eyes off them. I've even served these in shallow teacups for an old-school holiday look, but you'll need to cook them a bit differently.
How To Store & Present
You can make these up to three days before your party—just save the sugar burning part till you're ready to serve. I like to top mine with sugar-coated cranberries and a tiny rosemary piece for holiday flair. Store them covered in your fridge, but remember that crispy top won't stay crunchy forever, so try to serve them within an hour after torching.
Frequently Asked Questions
- → Why did my eggs cook too much?
You added the hot cream too fast. Stream it in slowly and whisk like crazy. If it curdles, strain it to save the mix.
- → How can I tell when it’s ready?
Shake the pan gently. If the custard jiggles like jelly and not liquid, it’s good. It'll firm up as it cools.
- → Can I prepare ahead of time?
Yep, make the custards up to two days before. Keep the sugar off until right before caramelizing.
- → What if I don’t have a torch?
Use your oven’s broiler instead. Watch carefully, though—sugar burns fast.
- → Water ended up in the custard. What now?
Pour the water bath gently or add water after placing the pan in the oven. If water gets in, start over—it won’t set right.