
 Pin it
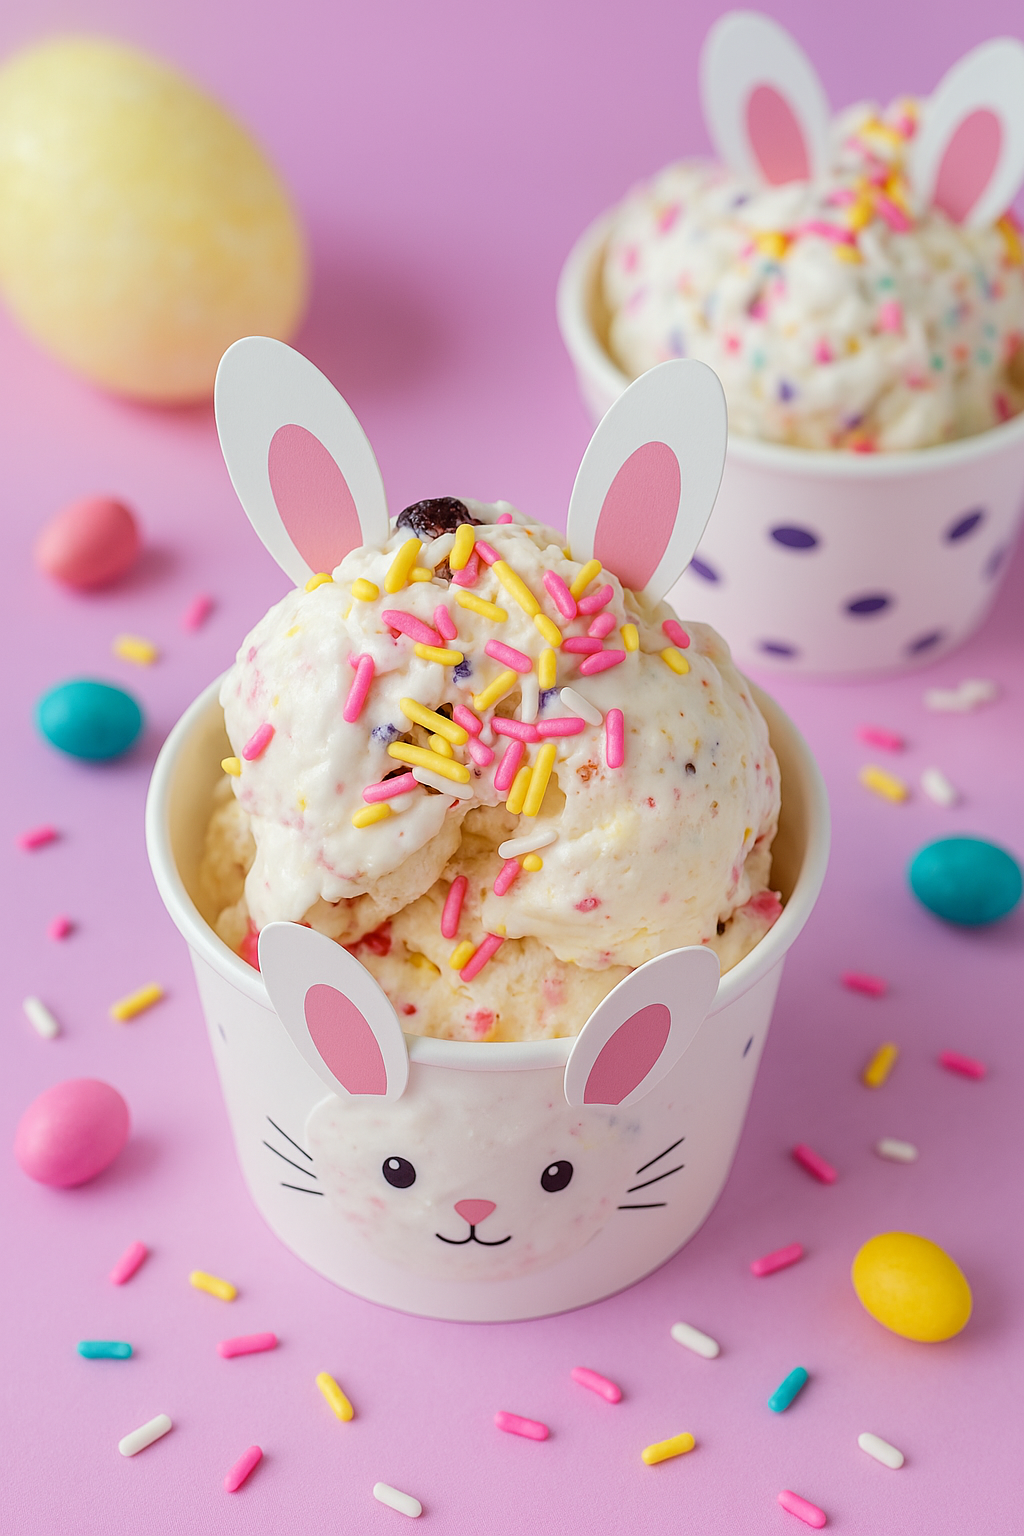
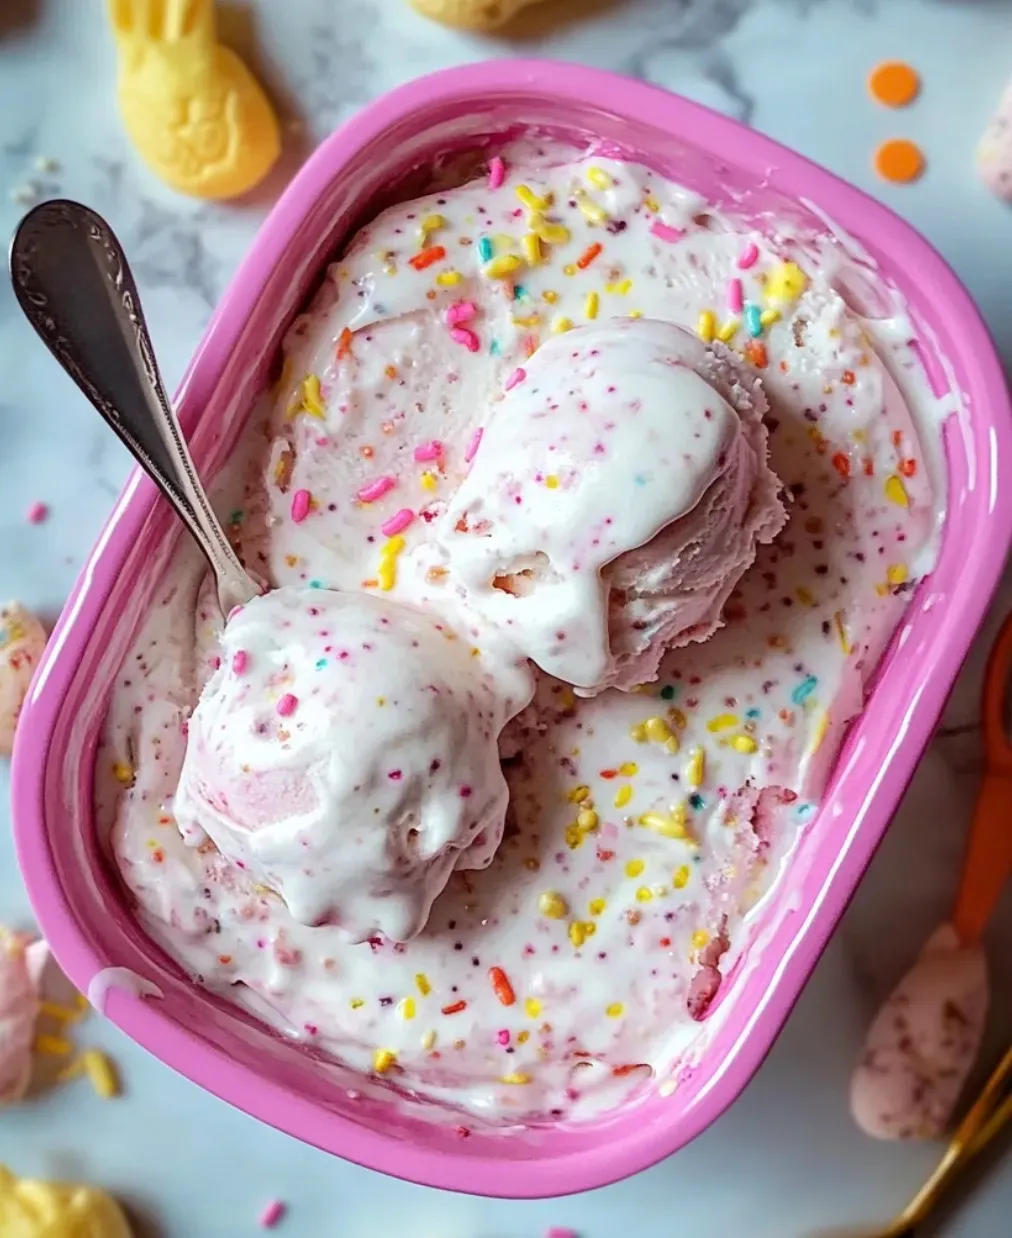
Jump into spring with this Bunny Trail No-Churn Ice Cream! It's a fun Easter treat that pairs rich, creamy homemade ice cream with tasty add-ins. You won't need any fancy equipment, but you'll get amazing results. The smooth, custard-like base loaded with Funfetti cake bits, colorful sprinkles, and tiny chocolate eggs makes every bite something special. It's so easy that kids can help make it, and everyone will come back for more. Whether you're hosting an Easter party or just want to bring some spring happiness to your table, this dessert won't let you down.
I've tried so many no-churn ice cream recipes through the years, but this fun version always wins in my family. The first time I put it in cute bunny dishes at our Easter get-together, everyone - from little ones to grandparents - couldn't stop talking about how good the creamy base was and how much they loved all the mix-ins. What started as just a simple Easter sweet treat has now turned into something everyone looks forward to when spring comes around.
Key Ingredients and Shopping Advice
- Heavy Whipping Cream: Pick cream that's at least 36% fat to get the thickest, creamiest result. Make sure it's super cold from the fridge for the best whipping.
- Sweetened Condensed Milk: This gives both sweetness and smooth texture while stopping ice crystals. Don't try using evaporated milk instead - they're totally different things.
- Funfetti Cake Mix (Heat-Treated): Adds that yummy birthday cake taste and helps make the mixture more stable. Always heat it first to make sure it's safe to eat.
- Mini Chocolate Eggs: Go for candy-coated ones like Cadbury Mini Eggs or M&M Eggs for that nice candy shell snap with chocolate inside.
Good ingredients really matter in how your ice cream turns out. When I switched from basic sprinkles to better quality ones that stay bright and don't get soggy in the cream, I saw a big improvement - not just in how it looked but in how it tasted too. Also, using actual cake chunks instead of just dry mix creates these amazing soft cake pockets throughout your frozen dessert.
Step-by-Step Making Instructions
- Step 1: Get Your Whipped Cream Ready
- Start by putting your mixing bowl and beaters in the freezer for about 15 minutes - this helps your cream whip up bigger and fluffier. Pour 2 cups of cold heavy whipping cream into your chilled bowl and beat at medium-high speed until you get stiff peaks, which takes around 3-4 minutes. The cream should be thick enough that when you lift the beaters, the peaks stay standing tall without falling over. Don't overbeat or you'll end up with something grainy that looks like butter.
- Step 2: Mix Your Sweet Base
- In another big bowl, mix together a 14-ounce can of sweetened condensed milk with 1/2 cup of heat-treated Funfetti cake mix and 1 teaspoon of vanilla extract. Stir these until they're completely smooth with no cake mix lumps left. This mixture will be thick and sweet with a hint of cake batter flavor. This rich base helps keep ice crystals from forming while freezing, so your ice cream stays super smooth.
- Step 3: Put Everything Together
- Using a rubber spatula, carefully fold the whipped cream into your sweet milk mixture, about a third at a time. Use gentle movements instead of stirring hard, which would knock all the air out of your whipped cream. Keep folding until it's all mixed with no white streaks showing. You should end up with something light and fluffy, kind of like mousse.
- Step 4: Add All The Fun Stuff
- Gently fold in 1/4 cup of pastel sprinkles, 1/2 cup of chopped mini chocolate eggs, and 1/2 cup of Funfetti cake pieces. Spread these goodies evenly throughout but try not to overmix. For the best texture experience, add different sizes of cake pieces - some tiny crumbs and some bigger chunks. Save a small handful of each topping to sprinkle on top so it looks pretty.
- Step 5: Freeze It Up
- Pour everything into a 9x5-inch loaf pan or any freezer-safe container. Smooth the top with your spatula and scatter the saved toppings over it. Cover with plastic wrap, pushing it right onto the ice cream surface to keep ice crystals away. Freeze for at least 6 hours, but overnight works even better, until it's firm enough to scoop. For the yummiest texture, let it sit out for about 5 minutes before serving.
 Pin it
The first time I made this, I learned something important about folding. I originally stirred everything together really hard, which flattened all the air bubbles in my whipped cream and made the ice cream too dense. Now I fold everything gently with a rubber spatula, which keeps all that air trapped inside for the fluffiest, creamiest texture possible.
Fun Serving Ideas
This special ice cream deserves an eye-catching presentation. Try scooping it into colorful waffle cones dipped in white chocolate and covered with pastel sprinkles for a handheld treat. For sit-down desserts, make sundaes with extra cake pieces, a white chocolate drizzle, and a chocolate egg on top. For maximum Easter cuteness, serve in bunny-shaped dishes with chocolate bunny ears stuck into each scoop. The ice cream also tastes amazing with warm brownies or sandwiched between two sugar cookies for a fun handheld snack.
 Pin it
Tasty Twists on the Original
After making this ice cream many times, I've come up with several changes that keep it fresh all year round. In summer, try using lemon cake mix instead of Funfetti and swap the chocolate eggs for fresh berries. During fall, mix in spice cake with cinnamon chips and caramel bits. For winter holidays, add some peppermint extract with crushed candy canes and chocolate cake for a Christmas feel. The basic method stays the same - just change the flavors and mix-ins to match the season or whatever you're craving.
Keeping It Fresh and Planning Ahead
This ice cream stays great in the freezer for up to two weeks when kept in an airtight container. For the smoothest texture, put a piece of plastic wrap directly on the ice cream's surface before closing the lid to stop ice crystals from forming. If it gets too hard after being frozen a long time, let it sit out for 5-10 minutes before scooping. For parties, you can scoop portions ahead of time, put them on a parchment-lined tray, and freeze until solid, then move them to your serving dishes right before guests show up.
 Pin it
This Bunny Trail No-Churn Ice Cream has turned into one of my go-to spring desserts for good reason. It mixes the familiar taste of birthday cake with the smooth richness of fancy ice cream in a way that's easy to make but looks really impressive. The fun combo of textures and colors creates a dessert that's a treat for all your senses and captures the happy feeling of Easter. Whether you've made tons of ice cream before or this is your first try at a homemade frozen treat, this recipe gives you amazing results without needing much work or special tools.
Frequently Asked Questions
- → Why do I need to heat the cake mix?
- Cake mix includes raw flour, which might have bacteria that aren’t safe to eat. Cooking it to at least 165°F eliminates any risks. Since we’re not baking this, don’t skip this step to keep everything safe!
- → Can I try another cake mix flavor?
- For sure! While Funfetti makes it look festive, you can switch it up with other flavors like chocolate, lemon, or strawberry. Just heat the dry mix the same way for safety.
- → What if I can’t find chocolate eggs?
- No problem! Replace them with chopped chocolate bars, M&M’s, or chocolate chips. If you’d rather skip chocolate, jelly beans or Skittles are great for an Easter-inspired look!
- → Why’s my ice cream too soft or rock hard?
- If it’s too soft, it just needs more time in the freezer. If it’s super solid, it might need extra fat or sugar. Let it sit out for 10-15 minutes to soften, or add a splash of vodka during prep for easier scooping.
- → Can I make it without heavy cream?
- Yep! Swap the heavy cream for full-fat coconut cream if that’s your thing. The flavor will lean toward coconut, but it’ll still be delicious. Avoid thinner substitutes like milk—they don’t whip the same way.
- → How long is this good in the freezer?
- It’s best eaten within the first week, but it’ll last up to two weeks in an airtight container. To avoid ice crystals, press some plastic wrap onto the ice cream surface before sealing the lid!