
 Pin it
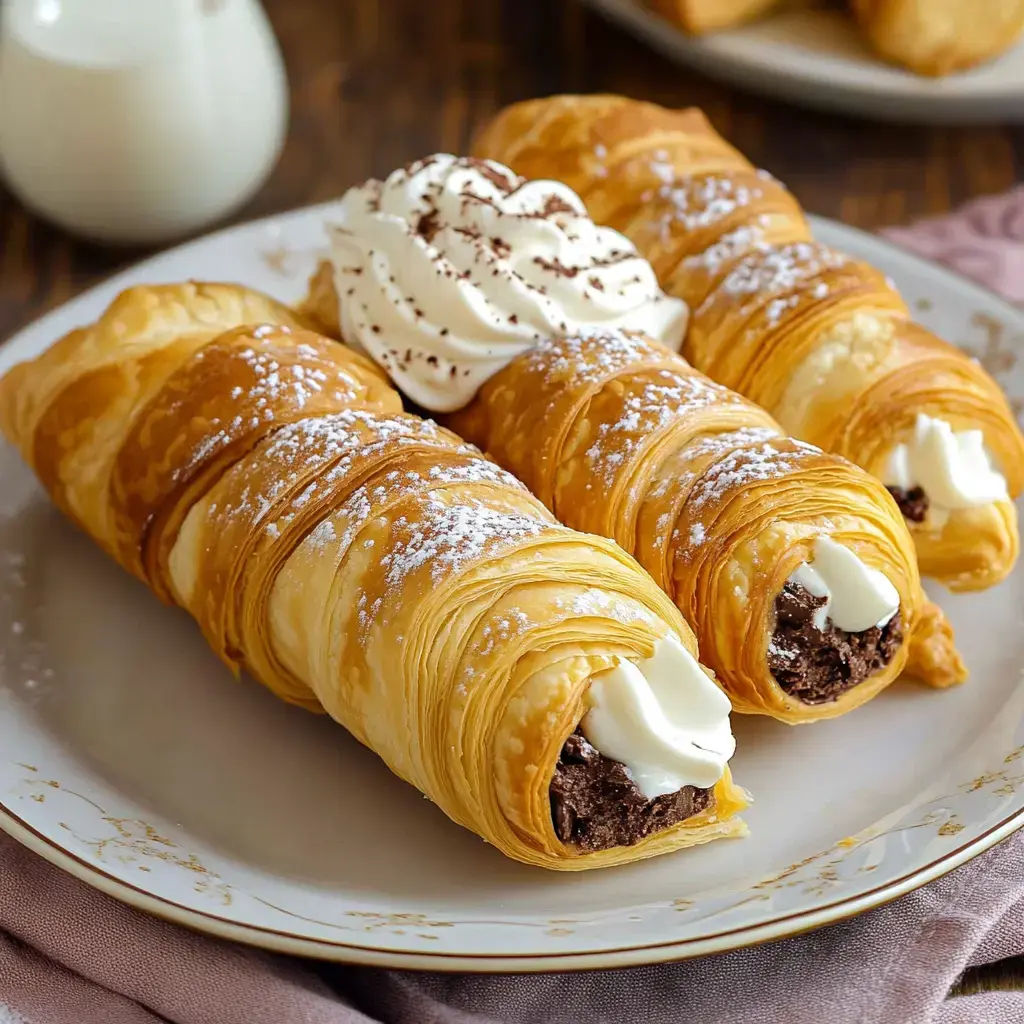
Simple Pastry Cream Cones
I've perfected these pastry cream cones after binging so many cooking competitions, and now they're my favorite dessert to wow guests. These cute treats look complicated but they're actually super doable using ready-made puff pastry and a smooth filling you can tweak to your taste. They're just the thing when you need something fancy without spending all day cooking.
What Makes This No-fuss Treat Special
You'll fall in love with these delightful pastry cones because:
- You get amazing flaky layers without making dough from scratch
- The filling works with whatever flavors you enjoy most
- They look store-bought but come from your kitchen
- You can make them hours before your guests arrive
Basic Components You'll Need
- Puff Pastry Sheets: Defrost them and you're good to go.
- Cream Cheese: This forms your smooth, rich filling.
- Powdered Sugar: Adds just the right sweetness.
- Vanilla Extract: Brings out amazing flavor in your filling.
- Heavy Cream: Transforms into fluffy goodness.
- Unsweetened Cocoa Powder: Add this if you want a chocolate version.
Clear Directions From Start To Finish
- Prep Work
- First, warm up your oven to 400°F. While waiting, put parchment on your cookie sheets. Spray your cone molds really well with cooking spray so your pastries won't stick later.
- Form The Cones
- Spread your pastry on a surface with a bit of flour until it's thin. Cut into strips about an inch across. Wrap each strip around a mold with slight overlap. Put the seam at the bottom and brush with beaten egg to make them shiny.
- Bake Them Right
- Set your wrapped molds on the papered sheets with room between. Cook for around 15 minutes until they puff up and look golden. Let them stay on the molds until fully cool so they keep their shape.
- Whip Up The Filling
- Mix your cream cheese in a big bowl until it's smooth and creamy. Add the sugar and vanilla bit by bit. Pour in cream while mixing until it stands in stiff peaks. For chocolate lovers, separate half the mix and stir in cocoa.
- Put It All Together
- When shells are cool, gently take them off the molds. Load a piping bag with your filling and squeeze into each shell. Finish with a light dusting of sugar. Eat them right away for the best crunch and flavor.
Tricks For Perfect Results
- Chill Everything: Your filling works better when it's nice and cool.
- Grab A Bag: Using a piping bag saves time and mess.
- Cool Option: They taste amazing slightly frozen too.
- Switch It Up: Try almond or mint extract for new tastes.
 Pin it
Keeping Them Fresh
Empty shells stay good for a day or two. Once filled, try to enjoy them soon, though you can pop them in the freezer if needed. Just let them sit out a bit before serving if frozen.
Fancy Yet Doable Dessert
These pastry cream cones work for birthdays, dinner parties, or just because it's Tuesday. Stick with regular vanilla, go for chocolate, or come up with your own twist - this approach will have everyone thinking you trained at a fancy culinary school. Your friends won't believe you made them yourself.
Frequently Asked Questions
- → What’s the purpose of spraying the molds?
It helps the baked pastry come off easily without tearing.
- → Can these be prepared earlier?
You can make the pastry shells beforehand, but fill them just before eating to keep them crispy.
- → What does the egg wash do?
It helps brown the pastry while baking and seals the layers together.
- → Can the unfilled pastry freeze?
Absolutely, the empty pastry shells stay good in the freezer for up to 90 days.
- → Why whip cream cheese first?
To make sure the filling is smooth and creamy without chunks when mixed with the whipped cream.