
 Pin it
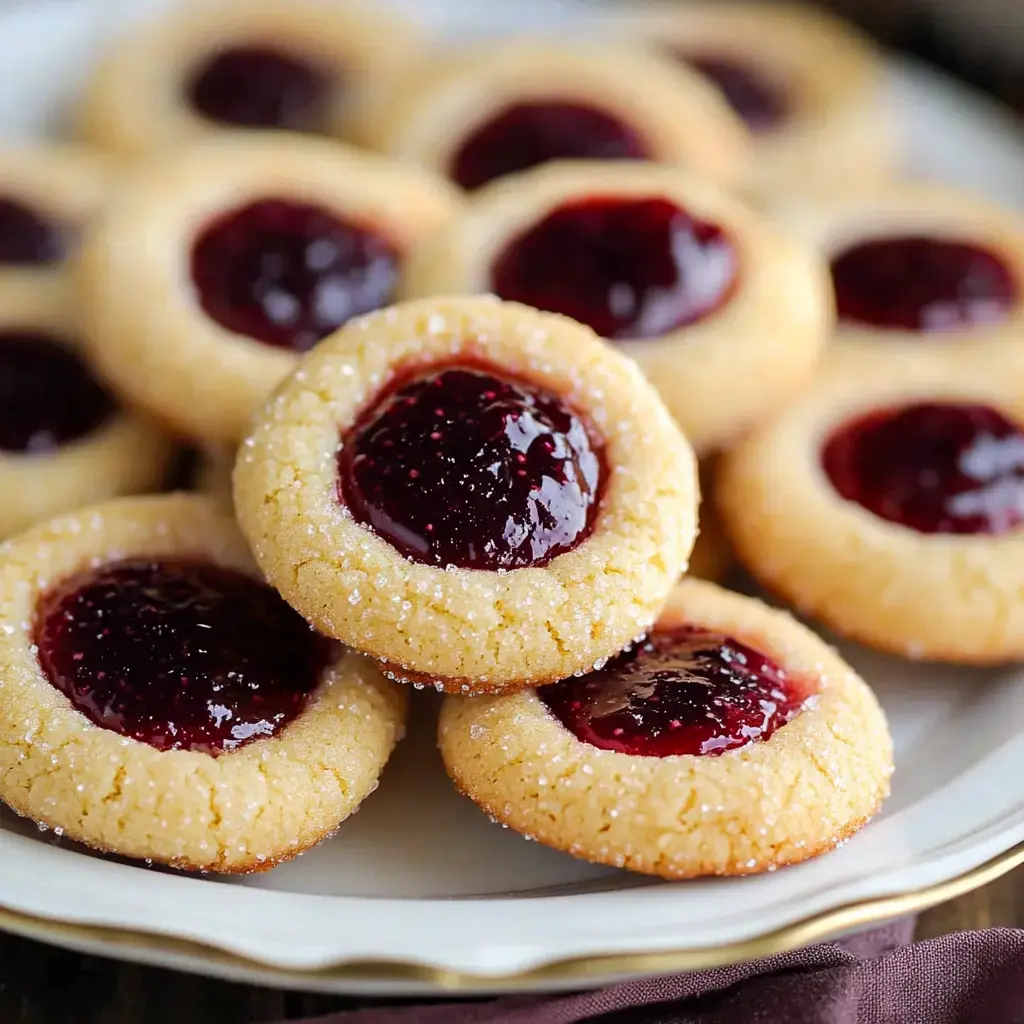
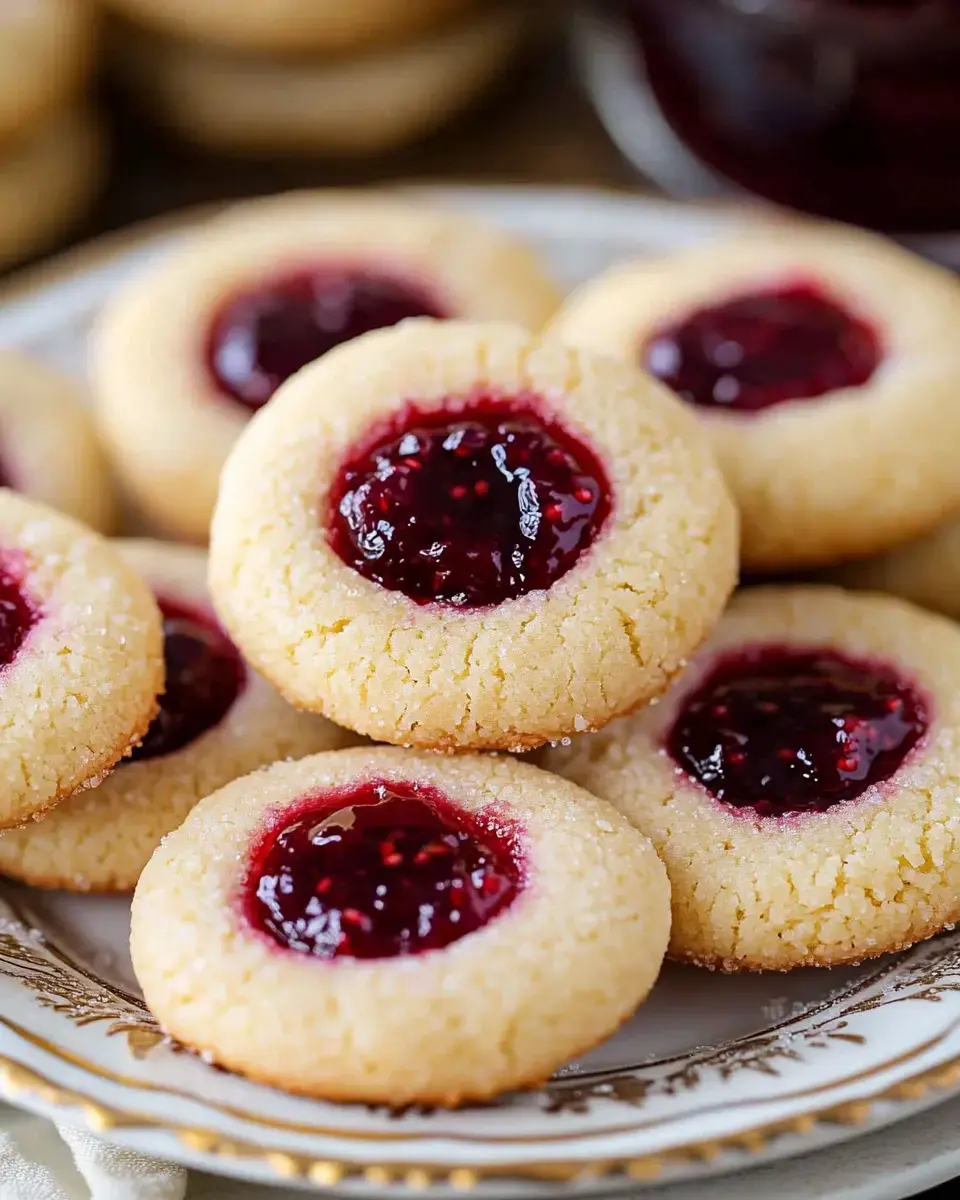
These homemade Thumbprint Cookies feature a sweet, buttery base filled with colorful jam centers. Whipped up from basic pantry items and fully customizable with whatever preserves you like, they deliver the right mix of crunchy edges and soft middles. They're great for any gathering, holiday party, or just enjoying with your afternoon drink.
What Makes These Cookies Special
The magic of these thumbprints comes from mixing that rich, shortbread-style cookie with sweet jam pockets. You can switch up the fillings however you want - any jam works! The best part? You don't need to chill the dough, so you can whip them up whenever the mood strikes. Their cute look and fantastic taste make them crowd-pleasers at any cookie swap or family get-together.
What You'll Need
- For the Cookie Base:
- 1 cup (226g) unsalted butter, softened
- 2/3 cup (135g) granulated sugar
- 1 large egg yolk
- 1 teaspoon vanilla extract
- 2 cups (250g) all-purpose flour
- 1/4 teaspoon salt
- For the Outside (If You Want):
- 1/3 cup (65g) granulated sugar
- For the Centers:
- 1/2 cup jam or preserves (raspberry, strawberry, or apricot)
- Tools You'll Want:
- Baking sheets
- Parchment paper
- Electric mixer
- Small spoon for making dents
How To Make Them
- Get Everything Ready
- Heat your oven to 350°F (175°C). Put parchment on your baking sheets. Set aside some sugar for rolling if you're going that route.
- Mix Your Dough
- Beat the butter and sugar together until they're fluffy and light, around 3 minutes. Drop in the egg yolk and vanilla, and mix it all up. Slowly add the flour and salt until everything comes together nicely.
- Form Your Cookies
- Roll the dough into 1-inch balls. Give them a spin in sugar if you want. Put them on your lined sheets about 2 inches from each other. Push your thumb or a spoon into each one to make a little well.
- Add Jam and Bake
- Put about 1/2 teaspoon jam in each dent. Bake them for 12-15 minutes until the edges turn slightly golden. Let them sit on the sheet for 5 minutes before moving them to a rack.
Tricks For The Best Results
Don't pack your flour when measuring - spoon it in and level off. Make sure your dough balls are packed tight so they don't split. If they do crack when you make the dents, just pinch them back together. Warm up thick jam a bit so it's easier to spoon in. Always use cool baking sheets for each new batch so the cookies don't spread too much.
Delightful Serving Ideas
Arrange them on a fancy plate when friends come over. Try different jams for a colorful mix. They go great with coffee or tea in the afternoon. Add them to your holiday cookie lineup or bring to a cookie swap. Wrap them up in pretty boxes when giving as gifts.
 Pin it
How To Keep Them Fresh
Keep them in a sealed container at room temp for up to a week. You can freeze the raw dough balls without indents for up to 2 months. Just thaw them a bit before adding dents and jam. When stacking in containers, put parchment between layers so they don't stick together. Don't stack them if the jam isn't fully set yet.
Frequently Asked Questions
- → Why is chilling the dough important?
Chilling helps keep the cookies from flattening too much in the oven and stops cracks in the thumbprints.
- → Can I use different jams or fillings?
Absolutely! Go with the jams or preserves you love most. Heating makes filling easier, so warm it a little first.
- → What if my dough feels crumbly?
That's okay! Pressing and rolling it gently helps it come together, making soft buttery cookies.
- → How do I roll without cracks?
Smoothing the dough balls as you shape them keeps the thumbprint area neat when baked.
- → Can these be made ahead of time?
Yep, shape the cookies and freeze them before adding jam. Add the filling just before baking for fresh results.
Conclusion
Thumbprint cookies are the ultimate holiday dessert with their soft, buttery texture and jam-filled centers. They're great for celebrations or everyday sneakable treats.