
 Pin it
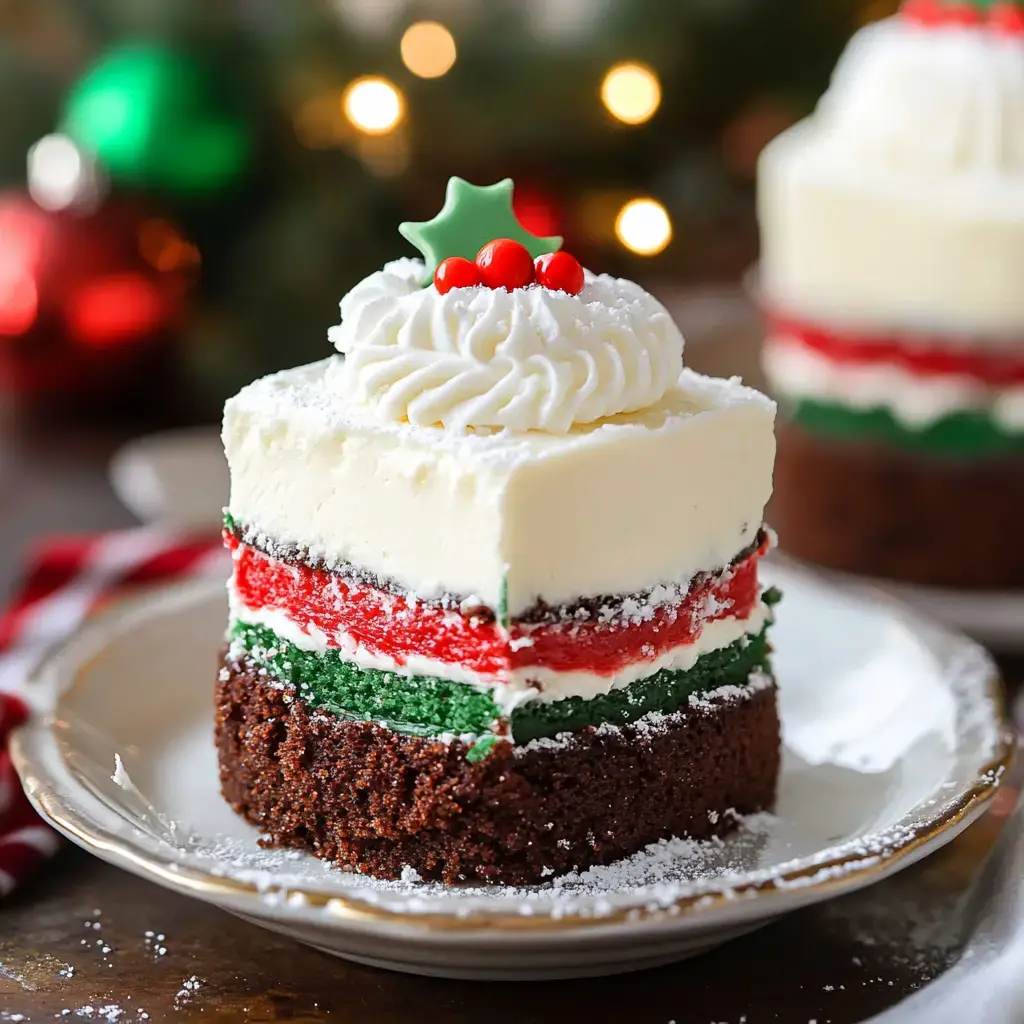
These handcrafted Holiday Mini Cakes (Festive Mini Chocolate Snacks) are a simple preparation that yields bright, merry snacks ideal for seasonal gatherings. With alternating bright cake sections, smooth buttercream, and shiny chocolate outer layer, these bite-sized treats merge eye-catching design with yummy taste for an impressive seasonal sweet.
What Makes These Seasonal Treats Special
These cute mini cakes give you both looks and flavor in one package. The bright red and green sections make them pop at any holiday event, while the mix of soft cake, velvety filling, and chocolate shell gives you amazing texture with each mouthful. They're perfect for Christmas parties, homemade presents, or making fun holiday moments with loved ones.
What You'll Need for Mini Holiday Cakes
- For the Cake Sections:
- 1 package vanilla or white cake mix
- 1-ounce green food coloring
- 1-ounce red food coloring
- 1 teaspoon vanilla extract
- Water, oil, and eggs (follow box directions)
- For the Middle Layer:
- 2 cups buttercream frosting
- 1/4 teaspoon peppermint extract (if you want)
- For the Outer Shell:
- 16 ounces Candyquick Chocolate
- 2 tablespoons shortening (when using standard chocolate)
- Tools You'll Need:
- Two 9x13 baking pans
- Parchment paper
- 2 1/2-inch round cookie cutter
- Cooling rack
- Offset spatula
How To Make Your Holiday Cakes
- Mix Your Colored Batters
- Heat oven to 350°F. Cover pans with parchment and spray with baker's spray. Make cake mix as directed on box. Split mix into two equal bowls. Color one red, one green.
- Cook Your Colorful Layers
- Put the colored batters in your ready pans. Bake for 12-15 minutes, giving pans a light tap halfway through. Let them cool fully on racks.
- Stack Your Colors
- Spread buttercream all over the green cake. Put the red cake on top. Chill until solid, about 30 minutes.
- Shape Your Treats
- Cut round mini cakes using your cookie cutter. Set them on a wire rack over a paper-lined tray.
- Cover With Chocolate
- Melt your chocolate following package tips. Pour it over your cakes, making sure they're fully covered. Wait until it hardens.
Smart Tips For Great Results
Go with gel food coloring for bright colors that won't thin your batter. Let your cakes cool all the way before you stack them. Make sure to chill between steps for nice clean cuts. Keep your chocolate at the right warmth for easy coating. Don't dawdle when covering the cakes so your chocolate doesn't harden too fast.
 Pin it
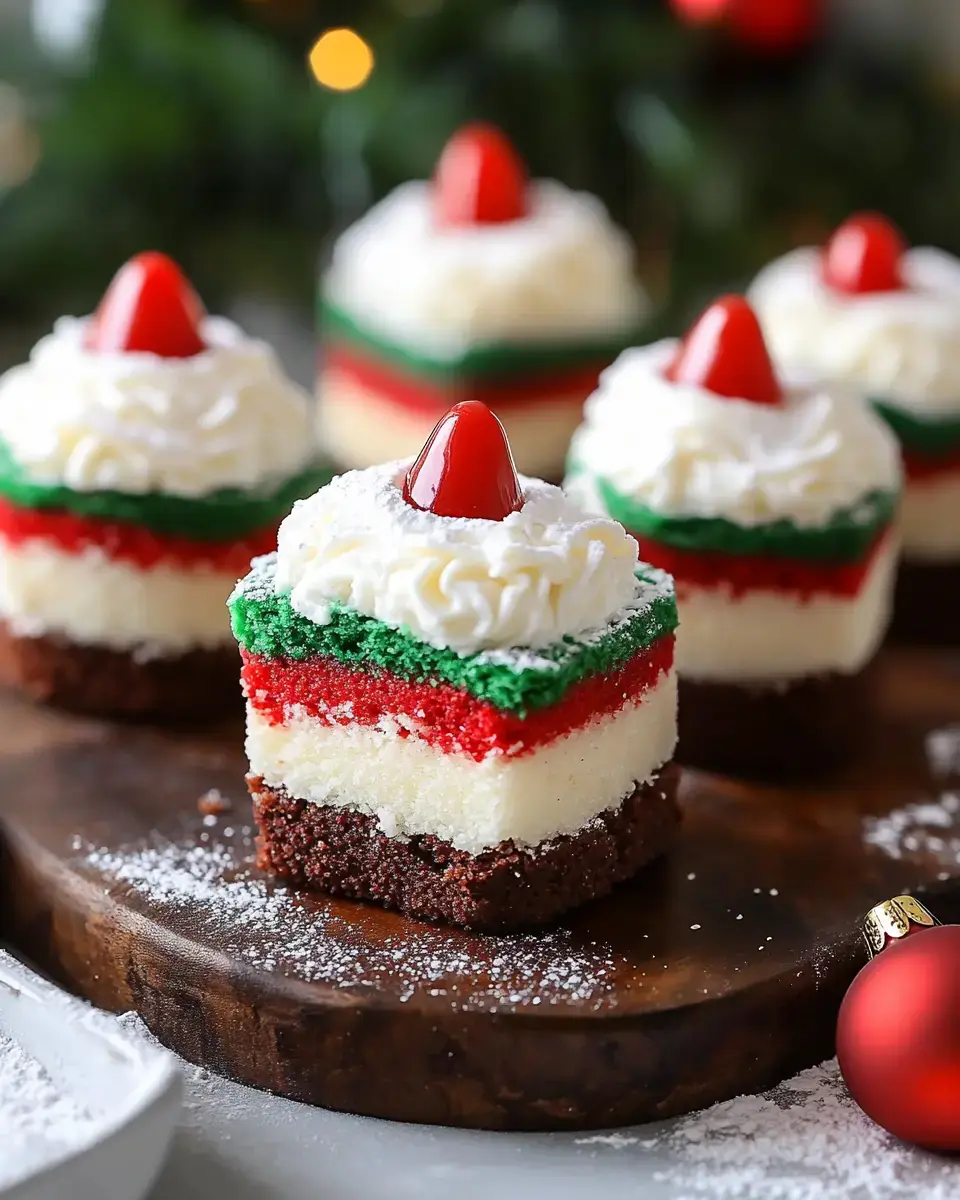
Ways To Serve Your Creations
Show them off on a holiday plate with some fresh mint for color. Make them the star of your dessert table by placing them at different heights. Enjoy them with hot chocolate or coffee at your holiday party. Wrap them up in clear boxes for lovely Christmas gifts. Try adding holiday sprinkles before the chocolate sets for extra flair.
Keeping Your Treats Fresh
Keep your finished cakes in a sealed container at room temp for up to 3 days. They'll stay good in the fridge for a week. You can make the cake layers ahead and freeze them for up to a month. Just thaw them completely before you put everything together. Don't keep them anywhere too warm or the chocolate might get soft.
Frequently Asked Questions
- → How long should I mix the frosting?
- Beat it on medium-high for at least 3 minutes, or up to 7 minutes for extra fluffiness.
- → Can I prep this in advance?
- Absolutely, store the filling in the fridge for up to two weeks and whip it again when you're ready.
- → What if the filling feels too thick?
- Add milk little by little and mix until it’s spreadable.
- → What cake should I pair this with?
- The recommended white cake works great, but you can use any type you like.
- → Why bother sifting the sugar?
- It helps get rid of lumps, so your filling turns out silky smooth.