
 Pin it
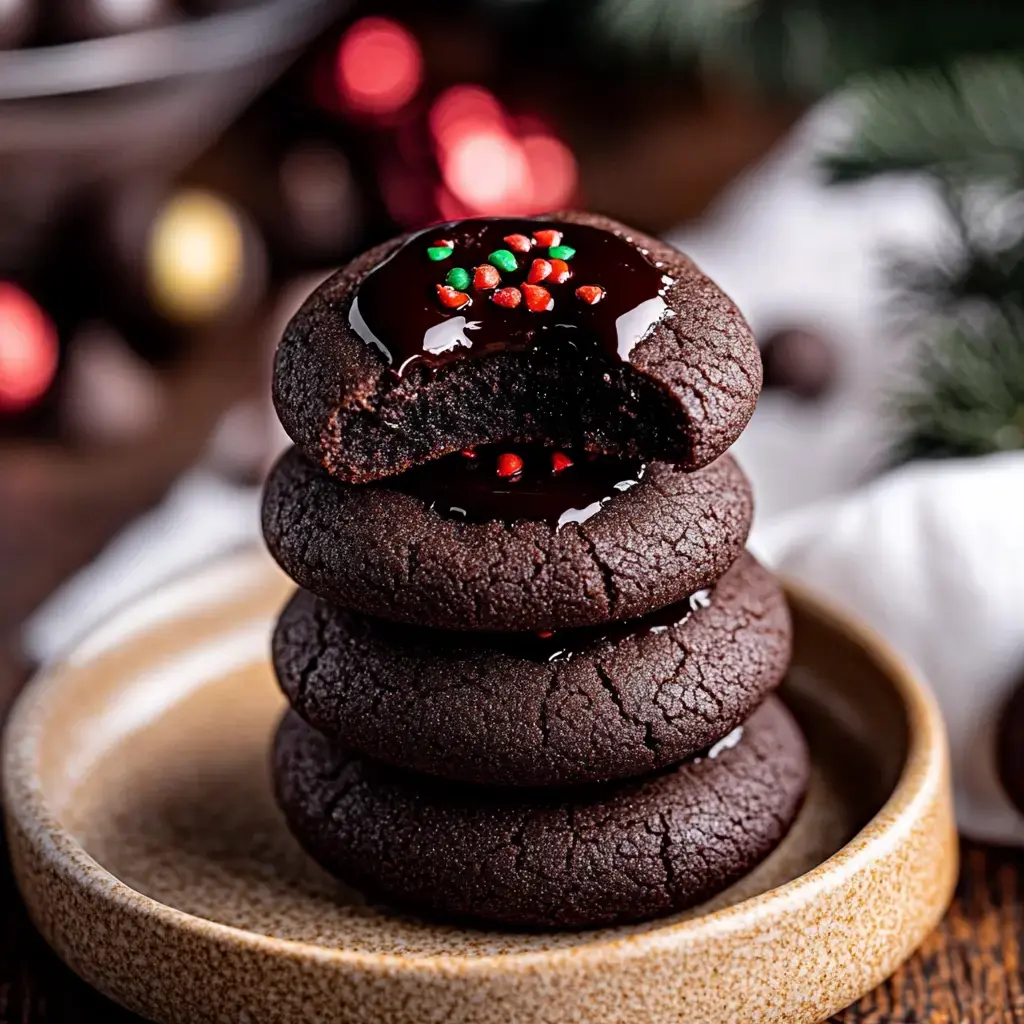
I began whipping up these dual chocolate indent cookies when I spotted this fantastic cocoa powder on discount. My initial attempt was super untidy - chocolate wound up everywhere, even mysteriously in my hair, but that deep cocoa aroma had my whole family lingering near the cooking area. They've become our top pick for family baking now. My little ones enjoy poking the small hollows with their thumbs, though sometimes you'll find cookies with extra indentations because they get too enthusiastic!
What Makes These Treats Irresistible
- Deep cocoa taste throughout
- Enjoyable to create with children who adore joining in
- Appear impressive yet aren't complicated
- Fill your space with wonderful cocoa scents
- Ideal for the cocoa enthusiasts you know
- Wonderful for cookie exchanges or presents
- Remain tender and chewy for several days if they don't vanish first!
Your Shopping List
- For The Cookies:
- Standard flour just the basic kind
- Premium black cocoa powder a worthy splurge
- Genuine butter allow it to warm naturally
- Brown and white sugar together they're magical
- A few egg yolks room temperature works best
- Quality chocolate for centers melts nicer
- Thick cream creates incredibly silky filling
- Kitchen Stuff:
- Small pot for chocolate melting
- Cookie sheets
- Big mixing bowl
- Measuring cups and spoons
Cookie Creation Steps
- First Prep
- Let butter soften naturally on countertop - once tried speeding up in microwave and ended up with chocolate liquid instead of proper cookies. During the wait, combine flour with cocoa powder. I used a whisk this round to avoid cocoa dust covering my kitchen!
- Creating The Base
- Whip butter with sugars until airy and pale - needs roughly 5 minutes using mixer or feels like forever manually (my arm knows this pain). Add egg yolks one after another. Mix in dry ingredients gradually unless you want to look like you've been working in a chocolate factory.
- Shaping Time
- Form dough into small rounds - golf ball size works perfectly. Kids adore this step though mysteriously lots of dough seems to disappear during the process. Make indents in middle gently - tiny thumbs create the cutest results!
- Oven Time
- Bake for 10-12 minutes. Your home begins smelling wonderful about now. Don't cook too long or they'll turn dry - slightly undercooked beats overcooked.
- Preparing The Center
- As cookies cool start chocolate filling. Warm cream until tiny bubbles form then pour onto chocolate. Wait a few minutes then mix until glossy and smooth. If lumpy just keep stirring I promise it'll come together.
- Finishing Touches
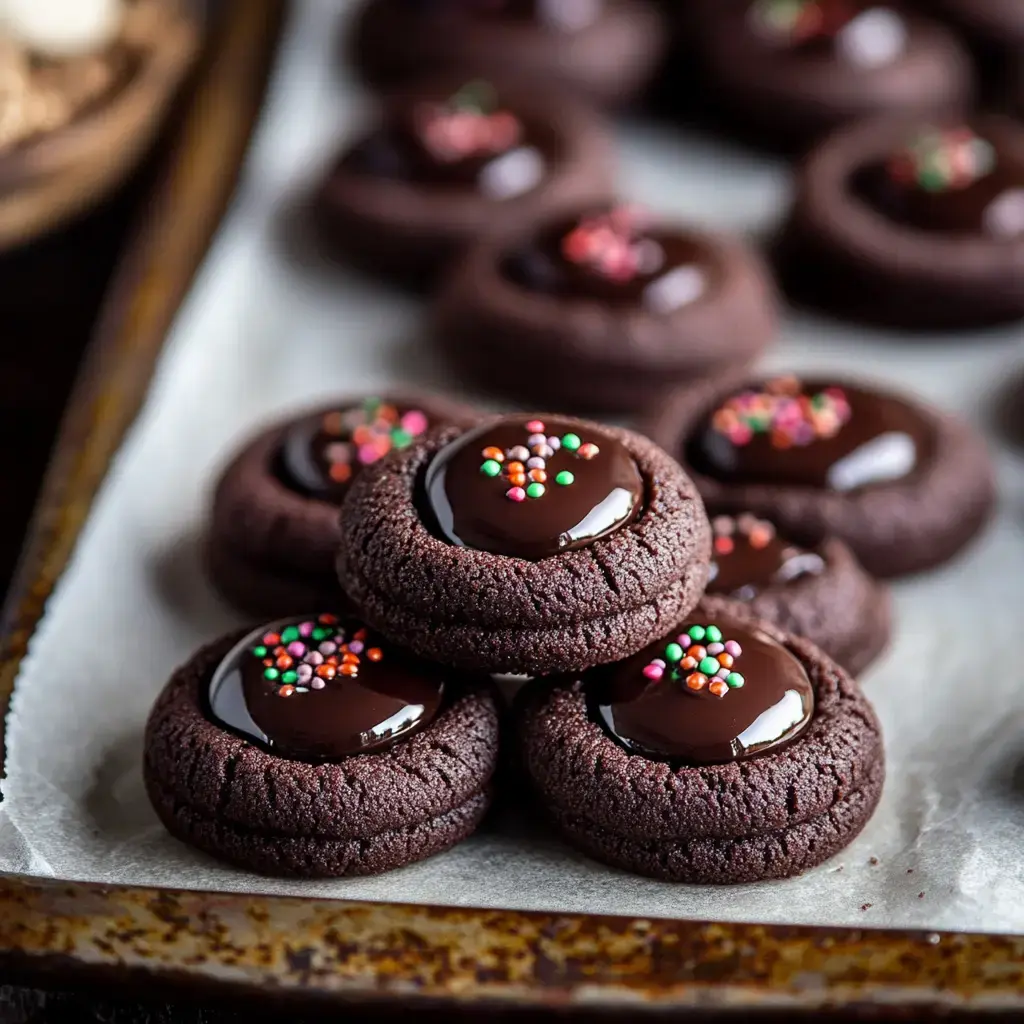
- Add chocolate mixture into each impression. Try to resist eating them all while chocolate hardens. Adding sprinkles makes them extra attractive if you can find them before kids use them all for their own decorating projects.
 Pin it
Handy Baking Secrets
I've picked up some handy moves making these many times now. Eggs at room temperature mix way smoother than cold ones. Always chill your dough for pretty cookies otherwise they'll spread across your tray. When indents puff during baking just push them down again while cookies are warm. And maybe store cookies somewhere high if you want leftovers - even the top shelf isn't safe from my sweet-toothed family!
Tasty Variations
I enjoy trying different fillings. Sometimes I put white chocolate inside for a nice contrast. Tried a peanut butter center once - my kids went wild for them. When you add a tiny bit of mint extract to chocolate filling they taste like fancy dinner mints. I've even stuffed some with caramel once and while they were messy to eat nobody seemed to mind!
Storage Suggestions
They'll stay tasty in an airtight box for about a week if they stick around that long (never happens at my place). Put wax paper between layers so they don't stick together. You can freeze the unfilled cookies for a couple months just add centers after thawing. Great for making ahead for gatherings or when you know cookie cravings will hit - which is basically always in our home!
Frequently Asked Questions
- → What's the best way to measure flour?
If you scoop flour straight from the bag, the cookies can turn heavy and dry. Always spoon it into the cup and level it off, or better yet, weigh it for better results.
- → Do I really need to chill the dough?
Chilling stops the cookies from spreading and keeps the thumbprint shape intact. Skipping this step might leave you with flat cookies.
- → Why reshape while they're hot?
Hot cookies are still soft, so you can fix their shape or thumbprint using a round cutter. It ensures a clean, even look.
- → Can ganache be prepped early?
For sure! Just know it’ll thicken once cooled. Reheat gently to get it smooth before filling. Be careful not to overheat or it’ll break.
- → Why pick Dutch cocoa?
Dutch cocoa creates a darker color and smoother chocolate taste. Natural cocoa is fine but brings a different flavor and appearance.