
 Pin it
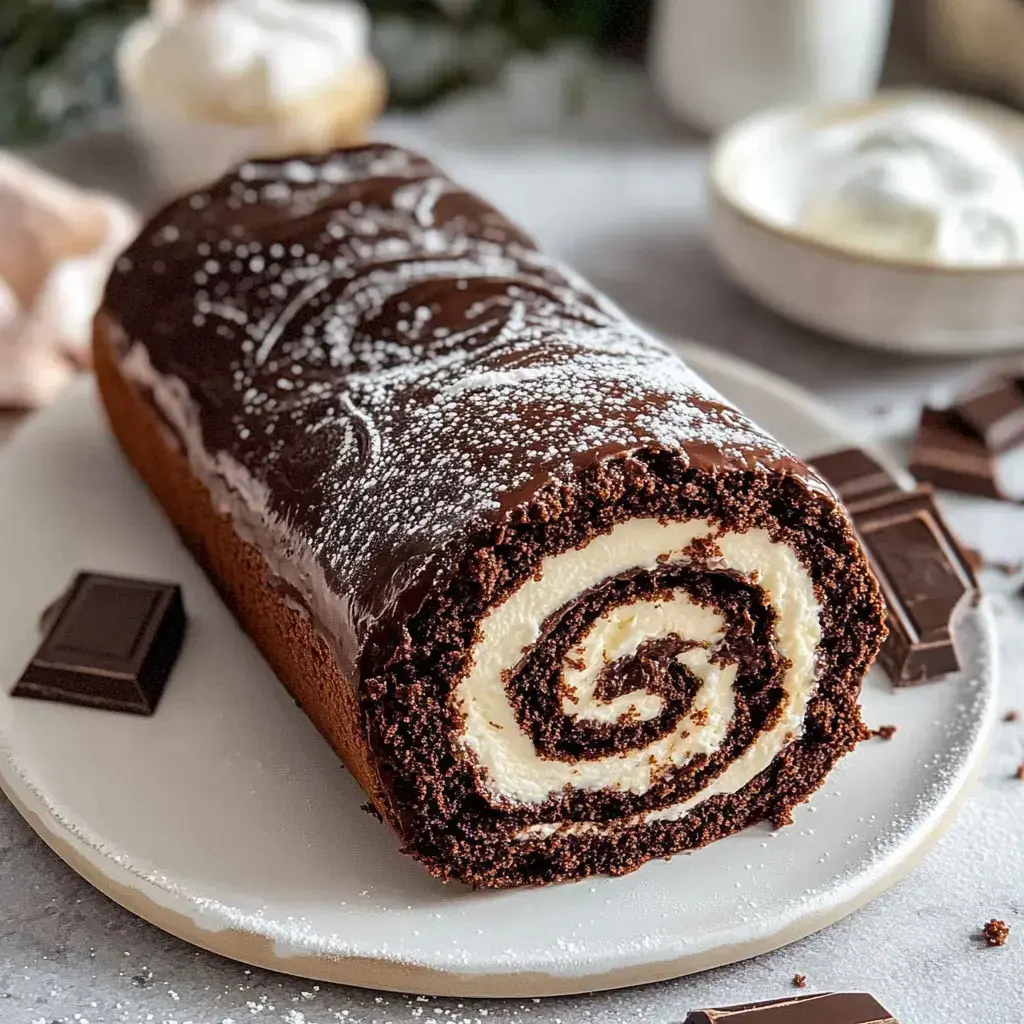
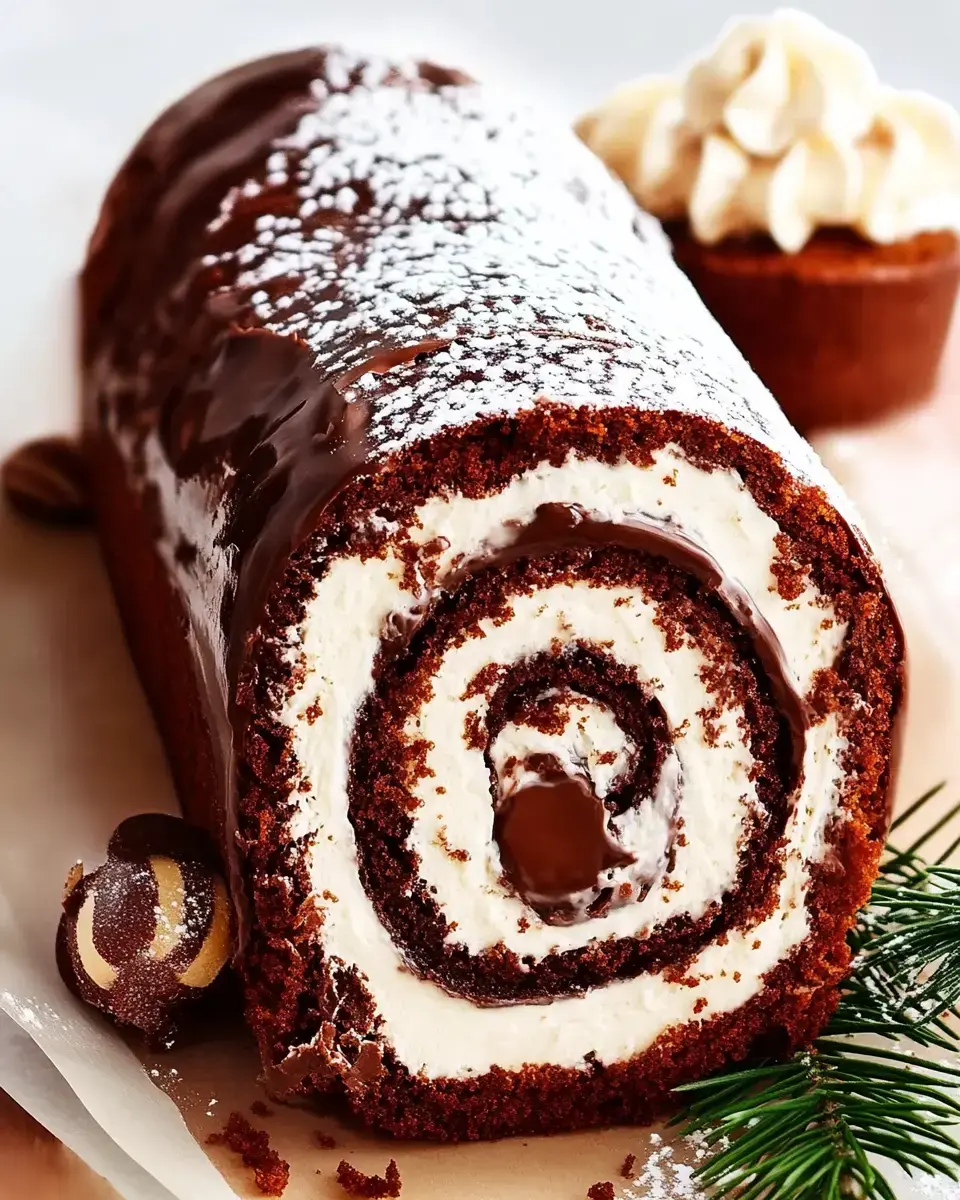
Luxurious Chocolate Swiss Roll Cake
I mastered this Swiss Roll Cake after binging so many baking programs, and now it's my favorite showstopper dessert. Picture featherlight chocolate cake wrapped around billowy cream, all covered in smooth chocolate ganache. It seems complicated but once you nail the rolling part, it's actually super enjoyable to create. And nothing beats that moment when you cut a slice and everyone's jaws drop – absolutely worth it.
What Makes This Recipe Special
There's something truly wonderful about crafting a roll cake. How the still-warm cake curls into its powdered sugar coat then opens up for that luscious filling. Each mouthful gives you the ideal balance of soft cake and creamy richness. When I take this to gatherings, folks always think I bought it from a fancy shop.
Ingredients for Chocolate Swiss Roll
- All-Purpose Flour: Basic pantry flour works perfectly, no fancy varieties needed.
- Unsweetened Cocoa Powder: Splurge on quality here, you'll taste the difference.
- Sugar: Cuts the cocoa bitterness and helps our cake stay soft.
- Eggs: The key players for getting that airy, light structure.
- Vanilla Extract: Boosts all the flavors around it.
- Heavy Cream: We'll use this for our ganache topping and the fluffy filling.
- Powdered Sugar: Adds sweetness to filling and helps with the rolling process.
- Cream Cheese: Gives our filling that wonderful creamy tang.
- Chocolate Chips: These transform into our gorgeous glossy ganache layer.
Step-by-Step Instructions
- Prepare the Cake Batter
- Combine your dry stuff then add eggs, sugar and vanilla, beating until smooth. Dump it into your lined pan and smooth it out evenly.
- Bake
- Stick it in the oven around 11 minutes. Watch it carefully, we want it just barely done so it won't crack when rolling.
- Roll the Cake
- Now comes the tricky bit. Flip that hot cake onto a tea towel with powdered sugar, take off the paper and start rolling. Don't stress if it looks messy.
- Make the Filling
- While the cake's cooling, beat your filling until it's airy and smooth. Unroll your cooled cake, spread that creamy mixture all over and roll it back up snugly.
- Coat with Ganache
- Warm your cream, pour over chocolate chips and stir until silky and shiny. Drizzle this over your rolled cake and let it firm up in the refrigerator.
Tips for Success
- Use a Jelly Roll Pan: This particular pan size creates the ideal thickness for easy rolling.
- Roll While Warm: This isn't optional, it really stops those annoying cracks.
- Cool Completely: Your filling will stay put instead of oozing everywhere.
- Wrap and Chill: Makes slicing those beautiful spiral pieces so much cleaner.
 Pin it
Storage and Freezing
Store your cake rolled up tight in the fridge and it'll remain tasty for up to three days. Need to make it ahead? Bundle it up before adding the ganache and stick it in the freezer for up to two months. Just let it thaw overnight in the fridge and add that shiny coating right before you serve it.
Variations
- Filling Flavors: I sometimes swap in marshmallow cream or chocolate mousse for a change of pace.
- Topping Options: Try a simple sugar dust or some drizzled caramel for extra flair.
- Festive Additions: During Christmas time, I love throwing in some peppermint flavor to make it more seasonal.
Frequently Asked Questions
- → What’s the reason for rolling the cake while it’s warm?
Rolling it warm keeps the cake flexible and prevents tears when adding the filling later.
- → How does a tea towel help?
It stops the cake from sticking while cooling and soaks up extra moisture.
- → Can this dessert be prepared in advance?
Absolutely! You can make it 1-2 days early and keep it chilled in the refrigerator.
- → Why cut the edges of the roll?
Neatened edges give a polished look and highlight the spiral layers.
- → How can I stop the cake from breaking?
Avoid overbaking the sponge and always roll it while it’s still warm.