
 Pin it
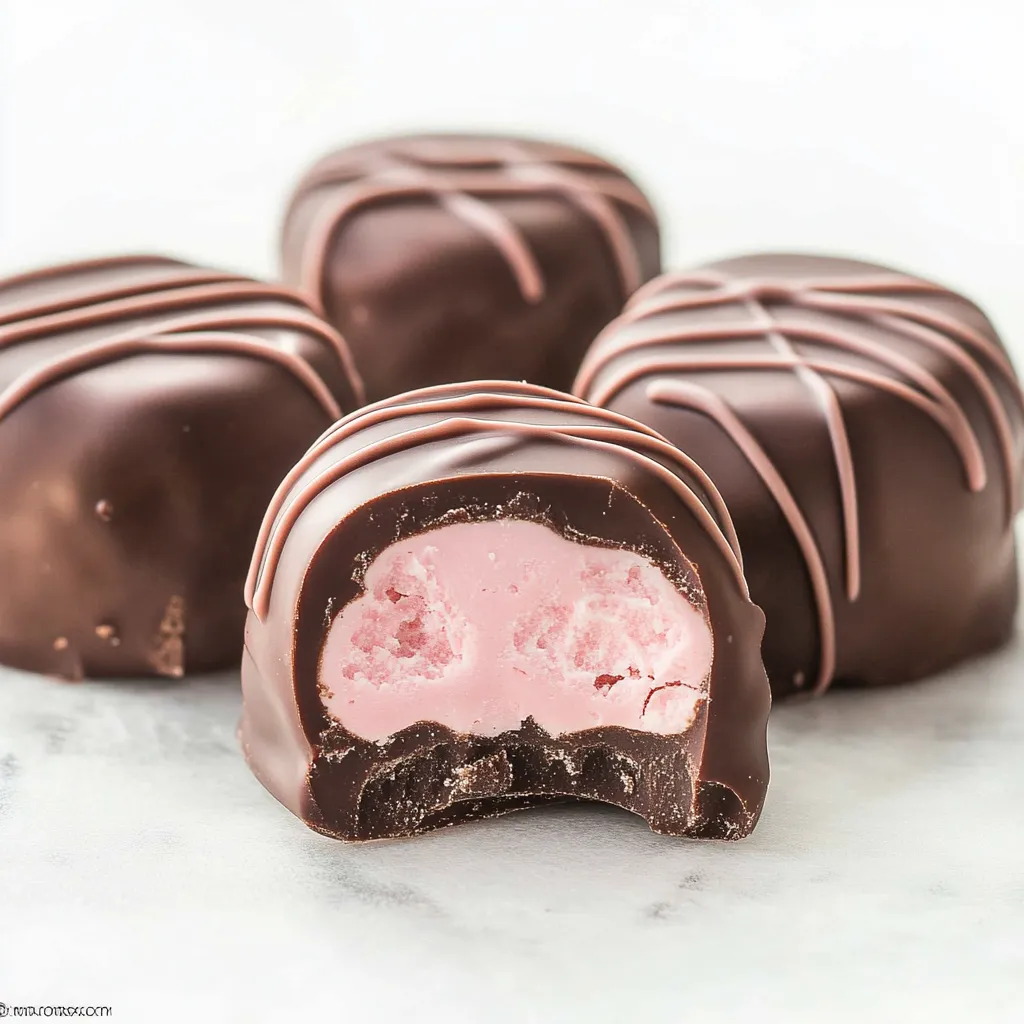
Turn basic items into fancy, homemade chocolates that look just like what you'd buy at a candy store. These strawberry cream-filled treats need just three simple things but give you amazing results without much hassle. They're great for presents or when you want something special.
After making chocolates for many years, I've found that getting the chocolate melted right and watching the temperature are the keys to success.
Key Ingredients
- Good Chocolate: Go for melting wafers when dipping
- Strawberry Frosting: 16 oz container, bought or homemade works
- White Chocolate: 12 oz for both filling and decorating
- Parchment Paper: To line your pans
- Extra Decorations: Maybe some sprinkles or colored sugar
Step-by-Step Guide
- 1. Making Your Filling:
- Put parchment in a 9x9 inch pan with edges hanging out 2 inches. Melt your white chocolate using a bowl over simmering water. The bowl shouldn't touch the water. Keep stirring until it's all smooth. Mix it with your strawberry frosting really well. Spread this mix flat in your lined pan. Stick it in the fridge for 30 minutes until it's firm enough to cut.
- 2. Getting Chocolate Ready:
- Melt your dipping chocolate in another clean bowl over warm water or pop it in the microwave for 30 seconds at a time, always stirring between. If you go the microwave route, use half power. Your chocolate should look smooth and shiny, about 90°F.
- 3. Coating Your Treats:
- Cut your cold filling into little 1-inch blocks. Use a fork to dunk each block into your melted chocolate. Tap the fork gently on the bowl to let extra chocolate drip off. Put them on a sheet covered with parchment.
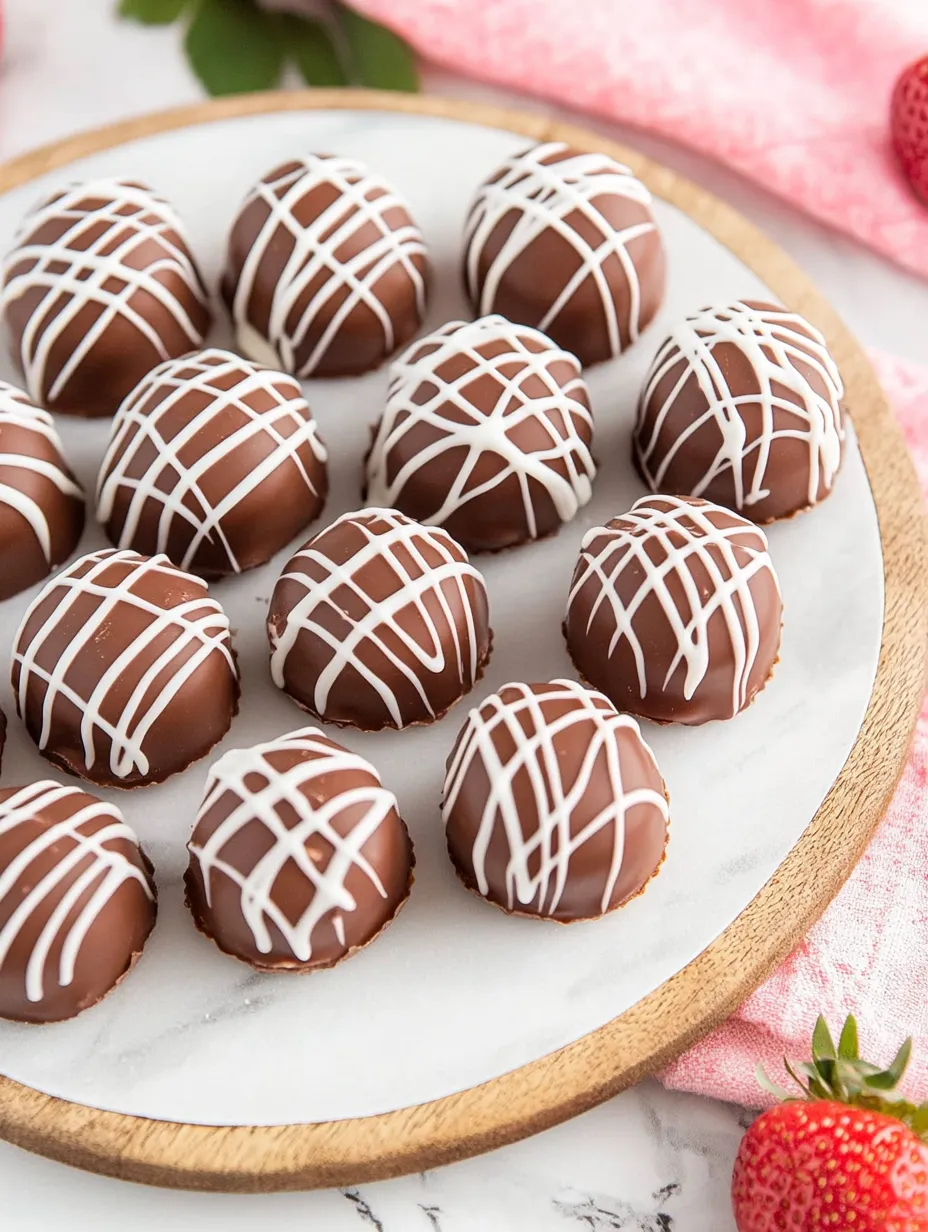
- 4. Making Them Pretty:
- While the chocolate's still wet, make patterns with your fork or drizzle different colored chocolate on top. Add sprinkles now if you want them. Let everything set up at room temp or pop in the fridge for 15 minutes.
- 5. Finishing and Keeping:
- Wait until they're totally hard before you touch them. Store them with parchment between layers in a sealed container. They'll stay good for two weeks at room temp or a month in the fridge.
 Pin it
Keeping and Serving Ideas
Keep your chocolates in single layers with parchment paper between them in a sealed container. They'll stay fresh for two weeks at room temperature or a month in the fridge. If you do refrigerate them, let them warm up before eating so they taste and feel their best.
Foods That Go Well Together
- Fresh picked strawberries
- A nice cup of coffee
- Bubbly for special times
- Warm cocoa
- A fancy tea break
- Packed in pretty boxes for gifts
 Pin it
Different Flavor Ideas
- Try raspberry frosting with dark chocolate
- Mix vanilla frosting with a bit of mint
- Orange frosting pairs well with dark chocolate
- Lemon frosting works great with white chocolate
- Coffee frosting tastes awesome with milk chocolate
 Pin it
These DIY chocolates show you can make fancy candy at home with just a handful of ingredients and some careful steps. Whether you give them away or munch on them yourself, they'll wow everyone with how good they look and taste.
Frequently Asked Questions
- → Can I try other frosting flavors?
- Of course! Any canned frosting will work for unique combinations.
- → What’s the best way to store them?
- Pop them in an airtight container, and they’ll stay fresh at room temp for up to two weeks.
- → Are chocolate wafers a good substitute?
- Yes! Candy melts or wafers are perfect, and they’re often easier to handle.
- → Why tap after dipping?
- It helps shake off extra chocolate, keeping them neat with no pools underneath.
- → Can I freeze them for later?
- Definitely. Seal them airtight, and they’ll last in the freezer for three months.