
 Pin it
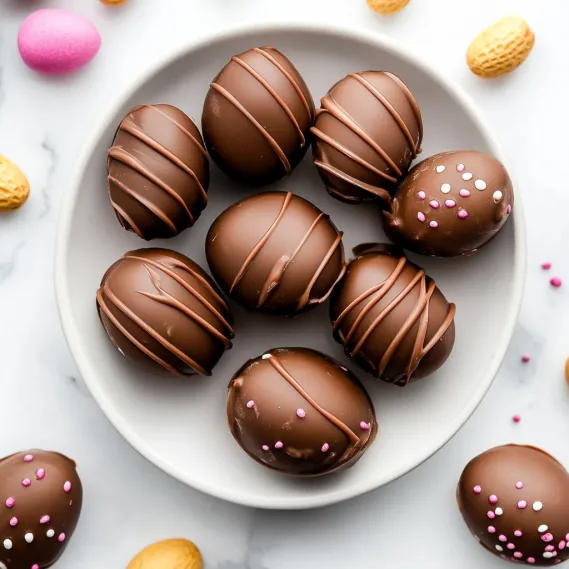
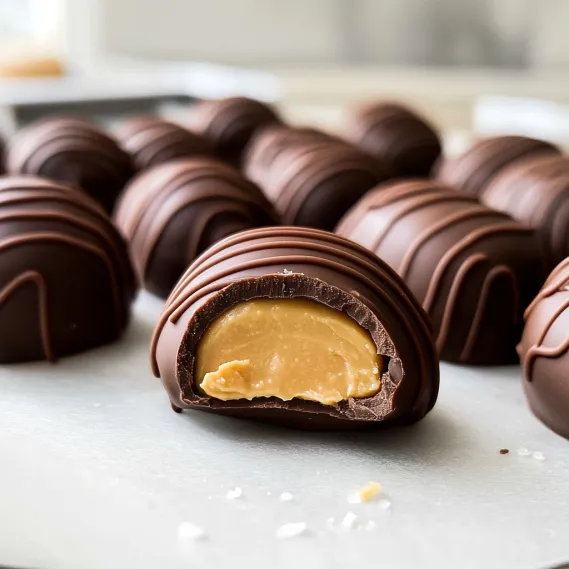
These DIY chocolate peanut butter Easter eggs hit all the right notes with their smooth, sweet peanut butter inside wrapped in decadent chocolate outside. Each mouthful gives you that familiar chocolate-peanut butter mix we all love, similar to store versions but tasting way fresher and more luxurious. The velvety, dissolving peanut butter center works magically against the crisp chocolate coating, making a texture combo that's hard to put down. Add a touch of fancy sea salt on top and these simple sweets become something truly special.
I started making these egg candies while hunting for something better than store-bought peanut butter eggs. After trying loads of different versions and tweaking the peanut butter mix until it felt just right, they've turned into my family's most wanted spring treat. Even my super fussy nephew told me they're "way tastier than the ones from shops" - pretty big words coming from a 10-year-old who knows his chocolate stuff!
Key Ingredients and Smart Choices
- Smooth Peanut Butter: Stick with regular brands like Skippy or Jif for best results. The natural kinds will make your filling fall apart and turn crumbly.
- Butter: Adds depth and helps everything stick together. Make sure it's soft but not melty for the best mix.
- Powdered Sugar: Gives sweetness and holds everything together. This recipe has just enough to make them sweet without drowning out the peanut butter.
- Real Baking Chocolate: Worth spending a bit more on good baking bars for the smoothest coating. Don't use chocolate chips - they won't melt right for dipping.
- Sea Salt Flakes: You can skip this, but that little salty kick really makes the sweetness pop.
Your peanut butter choice really matters when making these treats. I've tried the natural stuff but it just doesn't work right. The regular supermarket brands give you that perfect smooth texture and flavor that works best for candies.
Step-by-Step Making Guide
- Step 1: Mix Up Your Filling
- Whip 6 tablespoons of soft butter until fluffy, then dump in 1 cup smooth peanut butter and mix till they're totally combined. Slowly add 2 cups powdered sugar, 1 teaspoon vanilla, and 1/4 teaspoon salt, beating until you get a thick dough you can shape. It should feel firm but not dry or falling apart.
- Step 2: Form Your Eggs
- Grab a cookie scoop or measuring spoon to take out about 1 1/2 tablespoons of mix. Roll it into a ball, then flatten it between your hands to about 3/4-inch thick. Pinch one end slightly to look egg-shaped. Put all your shaped eggs on a baking sheet lined with parchment.
- Step 3: Cool Them Down
- Stick your peanut butter eggs in the fridge for at least an hour until they're firm. This key step makes sure they don't fall apart when you dip them and keeps them from melting in the warm chocolate. For even better results, leave them overnight - they'll taste better and be easier to work with.
- Step 4: Get Your Chocolate Ready
- Cut up 12 ounces of good baking chocolate into small bits so it melts evenly. Heat it in a microwave-safe bowl, stopping every 20 seconds to stir, until it's almost fully melted. Stir in 1 teaspoon vegetable oil until smooth. Let it cool about 5 minutes so it won't melt your filling.
- Step 5: Dip and Top Them
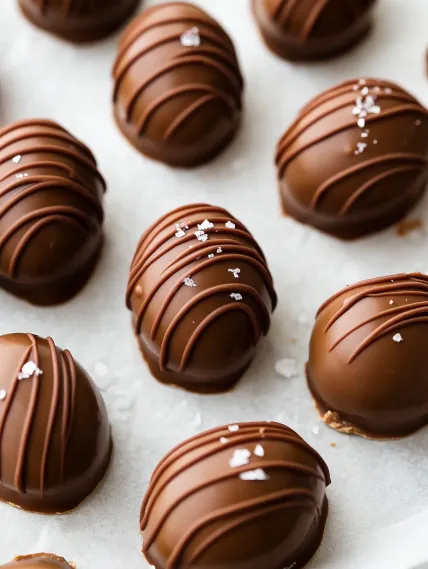
- Take one cold egg at a time and dip it fully in chocolate using a fork. Tap the fork on the bowl edge to knock off extra chocolate, then use a toothpick to slide the egg onto your parchment paper. Right away, sprinkle with sea salt flakes or colorful sprinkles if you want. Chill until the chocolate gets hard, about 30 minutes.
 Pin it
I found out how important proper chilling is the hard way. My first try, I got impatient and tried dipping after cooling for just 15 minutes. The eggs started melting into the warm chocolate right away, making a messy (but still yummy) chocolate-peanut butter soup! Now I always make these a day ahead, shaping them and leaving them in the fridge overnight for perfect results.
Making Them Look Store-Bought
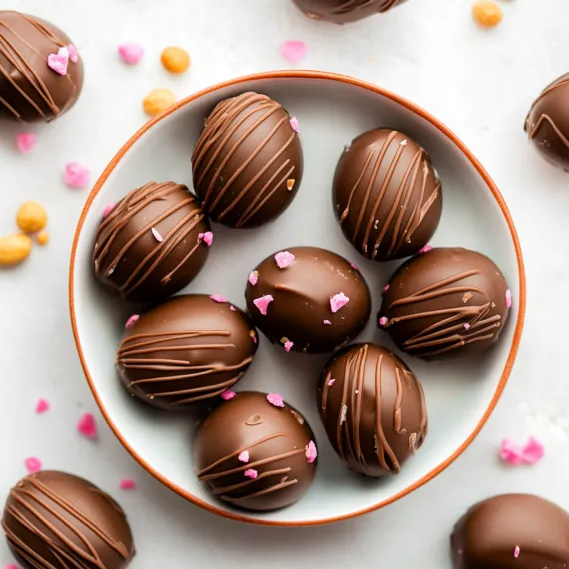
The trick to beautiful homemade candies is all in how you dip them. I've figured out a way that gives a smooth, even coat without that puddle around the bottom that screams "I made these at home." After dipping each egg, I tap the fork hard against the bowl edge several times to get rid of extra chocolate. Then I slide the egg off using a gentle side-to-side motion instead of just pushing it off. This makes a cleaner finish. For a really fancy look, I use leftover chocolate to make designs on top. Just put the extra chocolate in a small plastic bag, cut a tiny hole in one corner, and zigzag it across the tops. My friends always think I bought them from a fancy candy shop.
 Pin it
Great Combinations and Gift Options
These Easter egg treats make wonderful presents when packed nicely. I put colored tissue paper in small gift boxes and arrange 6-8 eggs inside for a look that's as good as expensive chocolate stores. For Easter baskets, I wrap each egg in bright foil (you can get it at craft stores) for a festive touch. They go great with spring drinks - try them with a nice cup of coffee or, my favorite, a glass of cold milk. For a grown-up Easter gathering, they taste amazing with dessert wine or even straight bourbon, which goes really well with the peanut butter.
Keeping Them Fresh and Planning Ahead
One great thing about these candies is how long they stay good. Keep them in a sealed container in the fridge for up to 2 weeks, though at my house they never last that long! You can also freeze the plain peanut butter eggs (before coating) for up to 3 months - just shape them, freeze them solid on a tray, then pop them in a freezer bag. When you're ready to finish, let them thaw in the fridge overnight before coating with chocolate. For Easter parties, I often make these up to a week ahead, which takes the rush out of holiday prep. Just let them sit out about 10 minutes before serving so they taste and feel their best.
 Pin it
These homemade peanut butter Easter eggs have become such a big part of our family traditions that Easter just wouldn't feel right without them. There's something really rewarding about turning such basic ingredients into something so tasty. Shaping and dipping can even be a fun family activity - though I'll admit I get pretty picky about the dipping part! Whether you're making them as gifts, for an Easter celebration, or just because you're craving that chocolate-peanut butter combo, these little treats bring happiness in every bite.
Frequently Asked Questions
- → Can I swap in natural peanut butter for this?
- Natural peanut butter isn't a great choice because its higher oil content makes the filling too soft and oily to shape properly. Stick to creamy brands like Jif or Skippy for the best texture.
- → What’s wrong with using chocolate chips for dipping?
- Chocolate chips contain stabilizers that prevent them from melting smoothly enough for a good coating. For the best results, use baking chocolate bars or melting wafers instead for a perfect finish.
- → My mixture is falling apart—how do I fix it?
- If it's too crumbly, try warming it with your hands, adding a little water, or using more butter to help it stick. For sticky dough, pop it in the fridge for 15–20 minutes to firm up.
- → Can I make other shapes with this recipe?
- Totally! Try rolling the filling into balls, hearts, or discs. Just avoid making them too thin so they don’t break when dipped, and adjust the chilling time if needed.
- → How do I avoid messy chocolate coating?
- Here are some tips: Keep the eggs chilled before dipping, tap off extra chocolate gently, use a fork to dip and slide off candies, and trim pooled chocolate with a knife once it’s semi-set.
- → Can I try a different nut butter?
- Sure! Almond or cashew butter works too, but expect a slight change in texture and flavor. Almond butter is thicker, so you might need extra butter to mix smoothly, and you can add sugar to taste if it’s not sweet enough.