
 Pin it
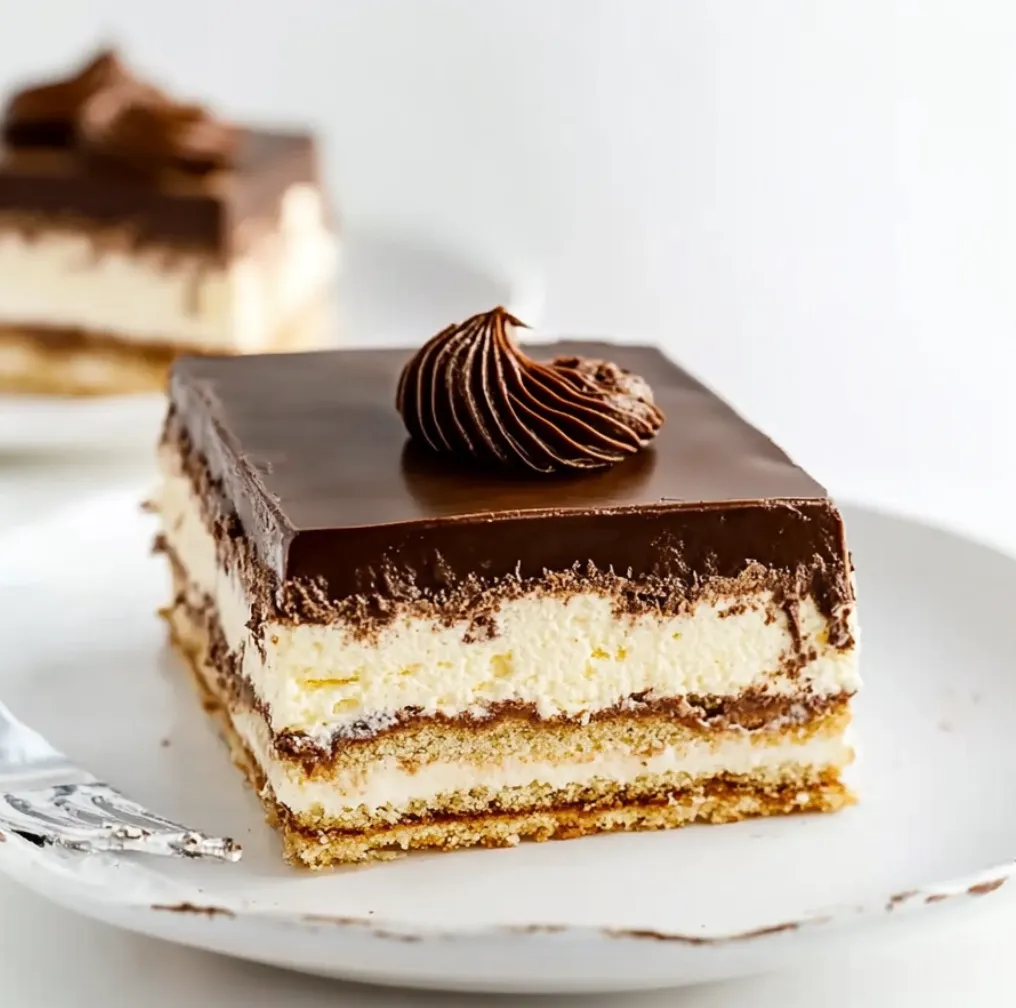
Transform a classic French treat into an easy layered delight that packs all those yummy flavors without switching on your oven. Smooth vanilla pudding, crunchy graham crackers, and decadent chocolate frosting blend together for a dessert that tastes straight from a fancy bakery, but comes together in just minutes. After making this crowd-pleaser countless times for my family, I've found that letting everything sit together is the real trick - it gives you that authentic melt-in-your-mouth texture.
I whipped this up for my kid's party yesterday, and my mother-in-law (who's crazy about French desserts) couldn't tell it wasn't made with actual pastry dough. What's the trick? Just wait - giving those layers time to work their overnight magic makes all the difference.
Key Components and Shopping Advice
- Graham Crackers: Pick ones that aren't broken and still fresh. The regular honey ones work amazingly well since they've got just the right amount of sweetness and structure to soak up the pudding
- Vanilla Pudding Mix: You need the instant kind here; the cook-and-serve version won't give you the right consistency. I always grab French vanilla for that true éclair flavor
- Heavy Whipping Cream: Don't go for the stuff in a tub - use actual cream. The extra richness really shows in the final product
- Chocolate Frosting: Any good store brand will do the job, but look for something thick and shiny to nail that classic éclair look
 Pin it
Comprehensive Assembly Instructions
- Creating Your Filling:
- First, mix up your pudding foundation - this starts the whole process. Empty the instant pudding into a big bowl with cold milk. Here's a tip from my many attempts: stir by hand for roughly 2 minutes until it begins to set but stays slightly runny. Then carefully blend in your whipped cream using a spatula with gentle figure-eight movements to maintain the airy texture. This soft touch ensures your filling stays perfectly smooth.
- Creating Your Layers:
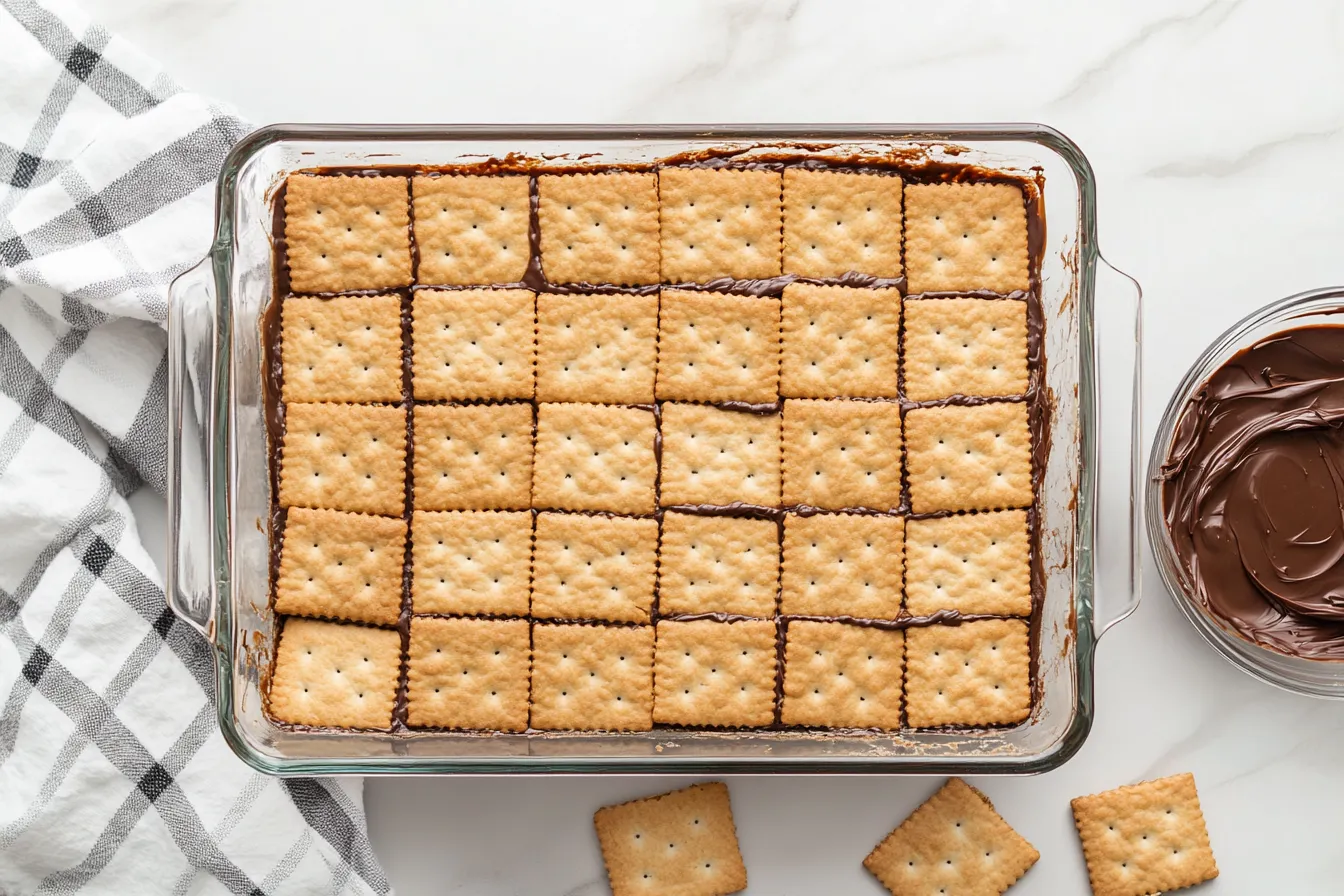
- Take a 13x9 inch dish and begin with a base of graham crackers. Feel free to snap some to cover the whole surface - it's like fitting together a simple puzzle. Spread a thick layer of pudding mix over the crackers, making sure to cover everything completely. Getting this even coverage means perfect slices later. Continue stacking crackers and pudding until everything's used up, with crackers as your final layer.
- Topping It Off:
- Now for the best part - adding the chocolate. Warm your frosting in the microwave for just 15-20 seconds. This simple step makes it glide smoothly across those top crackers. Start from the middle and move outward, letting the chocolate flow naturally to the sides. Don't stress if it looks imperfect - it'll settle beautifully while cooling.
 Pin it
My little one helped me put this together for her school fundraiser last week. She couldn't believe how the hard crackers changed into soft cake-like layers by morning. It's become our go-to project in the kitchen, and she always claims the right to clean the pudding bowl!
Achieving That Dreamy Consistency
The true beauty of this dessert happens during the waiting period. While it chills, the crackers slowly soak up moisture from the pudding, turning from crunchy to wonderfully soft. It's like a mini miracle happening in your refrigerator - it gets better hour by hour. I love sneaking a peek and knowing that time is doing all the work on those stacked layers.
Prep-Ahead Convenience
What I really love about this treat is how perfectly it works when made in advance. I often put it together two days before I need it, and the extra time actually improves it. The flavors combine beautifully, and the texture turns out just right. Just keep it wrapped up in the fridge, and try not to check it too much!
Ways To Serve
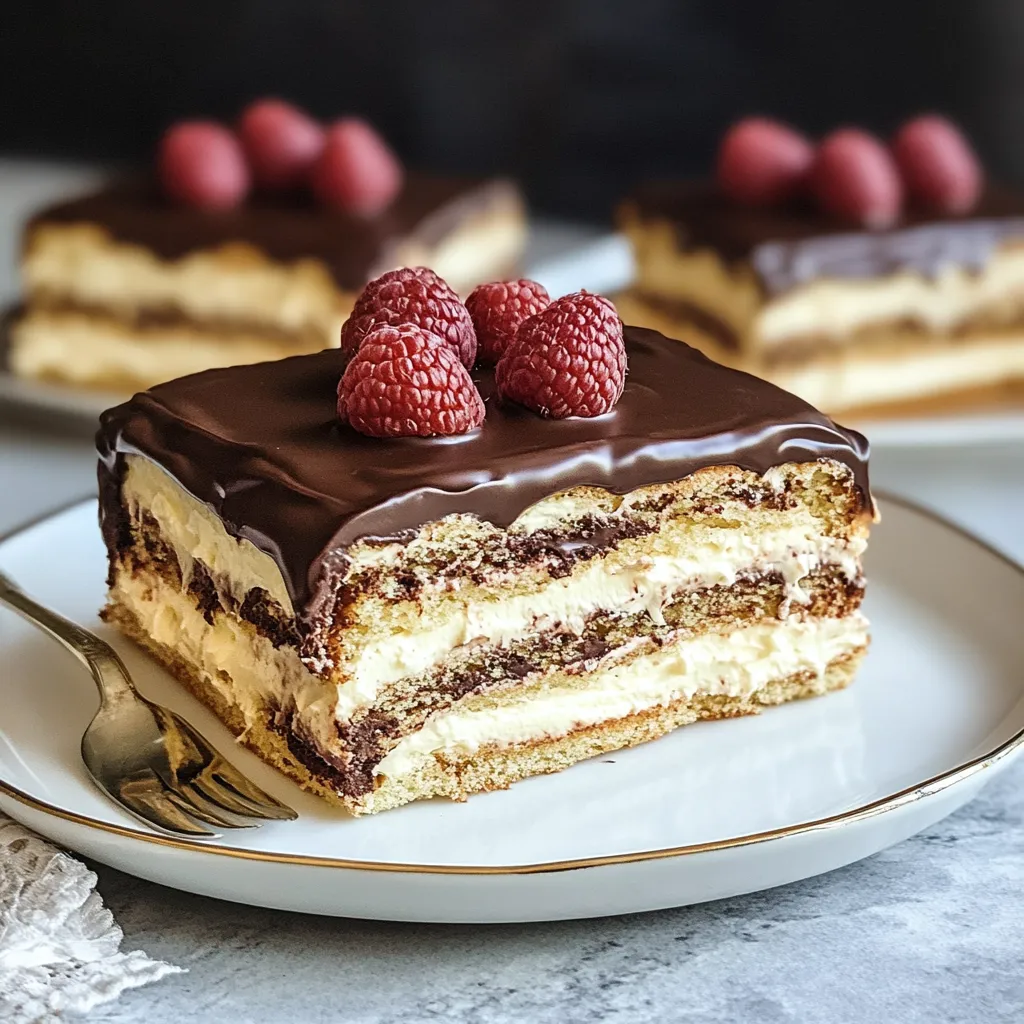
I've learned that slicing this dessert into squares works best when it's thoroughly chilled. Go with a sharp knife and clean it between cuts for the cleanest edges. Adding a tiny bit of chocolate sauce or a fresh berry on top makes it look extra fancy when you've got guests.
Keeping It Fresh
This treat stays good in the fridge for about 5 days, though we usually finish it way before then at my house. Wrap it well with plastic to keep it from picking up other food smells. The chocolate layer helps protect everything underneath, but you still want to keep it all nicely covered.
 Pin it
Final Thoughts: This no-bake treat reminds me of hanging out in my grandma's kitchen during hot summer days. She always said the easiest recipes often create the most special memories. What started as a way to make something sweet without heating up the house has turned into a family favorite. Whenever I make it, I remember her saying that being patient in the kitchen often leads to the tastiest results.
Whether you're fixing this for a family meal, a community gathering, or just to satisfy a sweet tooth, this shows you don't need fancy methods or hard-to-find ingredients to make something amazing. It reminds us that sometimes the nicest things just need a bit of time and care to come together perfectly.
Frequently Asked Questions
- → What's the ideal amount of time to chill the cake?
Giving it at least 8 hours is ideal, overnight is even better! If you wait 24 hours, the biscuits will get perfectly soft and the flavor improves.
- → Is it possible to prepare this dessert in advance?
Totally! You can make it up to two days early, and the layers will just become richer and softer with time in the fridge.
- → Any tricks to make frosting easier to spread?
Pop the frosting in the microwave for 20 seconds, stir it, and voilà! You’ll be able to spread it smoothly without cracking the biscuits.
- → How long can I keep leftover cake?
It’ll stay fresh in the fridge for up to four days with a good cover. Or, if wrapped tightly, freeze it for up to two months.
- → Can I swap in homemade ingredients?
Yep, absolutely! Use your own pastry cream instead of boxed pudding, fresh whipped cream, or even homemade frosting for an extra touch.