
 Pin it
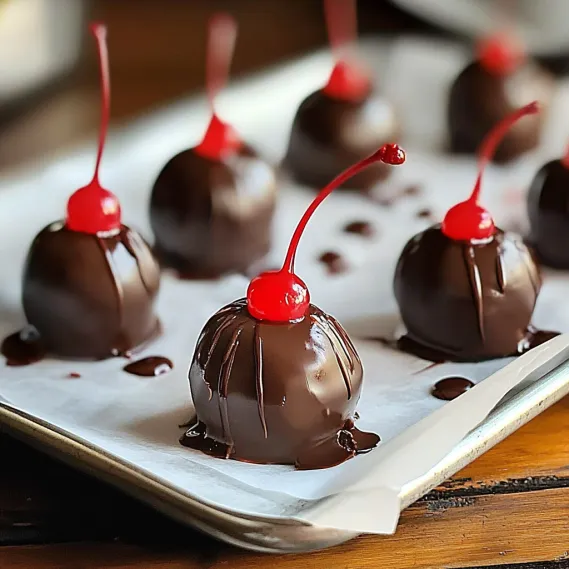
When you take that first bite of a homemade Amish Chocolate Covered Cherry, it's pure bliss – the smooth chocolate exterior breaks open to show off a sweet fondant layer, and then comes that amazing cherry juice center. You'll get hit with all kinds of textures and tastes that'll keep you coming back for more.
For Christmas last year, I put these in cute little boxes for my kid's teachers. Later on, my daughter's math teacher told me she hid them from her family so she wouldn't have to share them! The trick? Taking time to dry the cherries properly and letting the candies sit long enough for that amazing liquid center to develop on its own.
Key Components and Shopping Advice
- Maraschino Cherries: Go for big, firm ones with nice color. I like using cherries with stems for that classic look, but ones without stems work great too.
- Powdered Sugar: Make sure it's fresh with no clumps. The super-fine texture helps create that smooth filling that will turn into the runny center.
- Butter: Grab salted butter and let it soften. The bit of salt helps balance all the sweetness in the candy.
- Chocolate: Pick good-quality semisweet or dark chocolate for the best melt and taste. Don't use chocolate chips since they have additives that make dipping harder.
- Cherry Juice: Save some from the jar of cherries – it adds flavor and helps with that cool change from solid to liquid centers.
I've learned that picking really good maraschino cherries makes the biggest difference in how these taste. That bright red color and unique tangy-sweet flavor comes from using real maraschino cherries instead of regular black tea with food coloring, which some people suggest as a backup option.
Step-By-Step Making Process
- Step 1: Get Your Cherries Ready
- Drain the cherries but keep ¼ cup of juice for later. Pat them totally dry with paper towels, then lay them out on fresh paper towels to air dry for at least half an hour. This drying part is super important – it helps the fondant stick right and keeps the chocolate from getting messed up when you dip.
- Step 2: Mix Up The Magic Filling
- In a big bowl, mix 3 cups of sifted powdered sugar with 3 tablespoons of soft salted butter and that cherry juice you saved. Use an electric mixer until it turns into a soft dough. You might need to add up to 1 more cup of powdered sugar to get it just right – it should hold its shape when you mold it.
- Step 3: Wrap Those Cherries
- Chill your fondant for 20 minutes to firm it up. Take a spoonful, roll it into a ball, then flatten it into a disc. Put a dried cherry in the middle and fold the fondant around it, covering everything except the stem if your cherries have them. Put them back in the fridge for 20 minutes to get firm before the next step.
- Step 4: Give Them A Chocolate Bath
- Melt 12 ounces of good chocolate in a microwave-safe bowl. Heat it at half power for 30 seconds at a time, stirring well between each until it's smooth. Work with just a few cherries at once (keep the rest cold), and dip each one using a fork or candy tool, making sure it's fully covered. Pop them back in the fridge for 20 minutes to set the chocolate.
- Step 5: Let The Transformation Begin
- Let the dipped cherries sit at room temperature on parchment paper until the chocolate is totally hard, about 1-2 hours. Store them in one layer in an airtight container at room temperature for 3-6 days – this is when the magic happens and the filling slowly turns into that perfect liquid center.
 Pin it
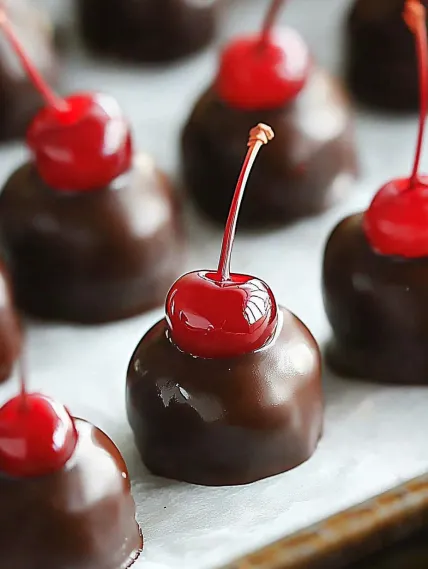
The first time I tried making these, I was really worried about getting the wrapping part right. After a few wonky attempts, I figured out that simple folds work just fine - they taste amazing no matter how they look. These days my kids help with the folding, each using their own style that's become part of our family tradition.
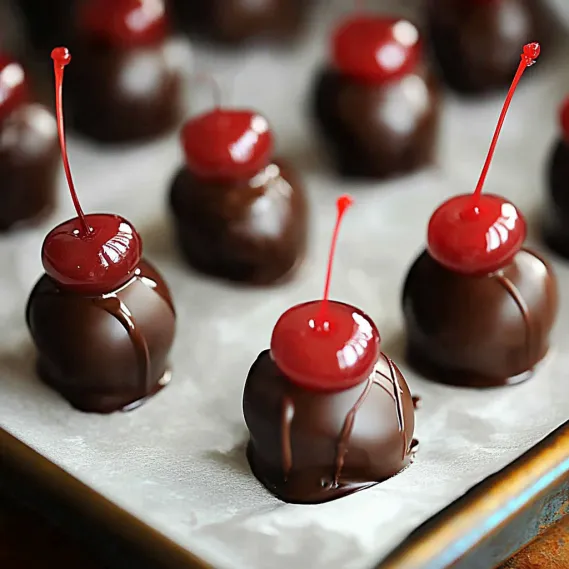
Mastering Texture Contrast
What makes these treats so special is how they mix different textures - that snap of chocolate with the smooth center. I've found that managing moisture is the big secret here. Start by really drying those cherries well so they don't make everything soggy. Then the powdered sugar mix needs to be just right - not too wet or too dry. Finally, giving them enough time to transform is crucial - rushing this process just won't give you that amazing liquid center that makes these candies so special.
 Pin it
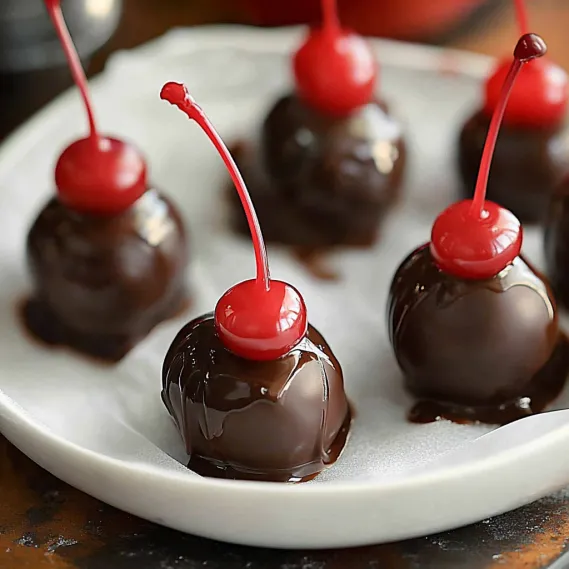
Clever Prep For Parties
The best thing about these cherries is you can work on them ahead of time. When I'm planning for guests, I often break this down into steps: I'll wrap the cherries up to a month before and freeze them, dip them in chocolate a day or two ahead, and then just let them sit until party time. The whole house smells amazing when I'm working with the chocolate, which always gets everyone excited about dessert. For bigger gatherings, I'll make extra batches so there's plenty to go around since they tend to disappear fast!
New Ways To Enjoy Any Extras
If you somehow end up with leftover chocolate cherries (which hardly ever happens at my place!), you can turn them into something new. Try chopping them up and mixing them into vanilla ice cream for an amazing sundae, or use them to top off a plain cheesecake for extra flavor. My favorite trick is slicing them in half and putting them on waffles with a bit of whipped cream, making breakfast feel super fancy while using up any cherries that might be past their prime.
 Pin it
Pro Pointers For Success
- Let your wrapped cherries sit for a full day before dipping in chocolate for better texture
- For extra flavor, add a tiny drop of almond extract to your fondant mixture
- Can't find good cherries? Check specialty baking stores or online shops like King Arthur Baking or Nuts.com
- Try different coatings – white chocolate drizzled over dark makes them look fancy
- For a pretty display, arrange them on a dark plate with mint leaves between them to highlight those bright red stems peeking out
Frequently Asked Questions
- → Why does the moisture on the cherries matter?
- Making sure the cherries are dried well is key. Water can ruin the fondant by making it too wet to stick or even mess with how the chocolate coating sets. Towel-dry them carefully to get the best outcome.
- → How long can I store these chocolate-dipped cherries?
- When stored in an airtight box at room temperature, they’ll last around 1 to 2 weeks. Over time, the fondant’s texture can melt slightly and create a gooier center—just like commercially made ones! For this effect, prepare them 3 to 5 days in advance.
- → Can I use a different kind of chocolate for coating?
- Of course! Feel free to pick dark, milk, or white chocolate—whatever suits your taste. Just make sure to use a quality chocolate designed for melting rather than typical chocolate chips, which can sometimes cause issues with texture.
- → What do I do if my fondant is sticking too much?
- If it’s hard to work with, sprinkle in some extra powdered sugar until you can handle it more easily. Dusting your hands with sugar can help too. And if it’s still too sticky, chill it for about 10 to 15 minutes before wrapping the cherries.
- → What if the cherries don’t have stems—can I still make them?
- No problem! You can use a fork to help coat the cherries in chocolate. Once dipped, lay them on parchment paper, and if the coating doesn’t look perfect, a toothpick can help you fix it up.
- → What’s the fix if my chocolate won’t set?
- If it’s not hardening, your kitchen may be too warm, or the chocolate wasn’t properly tempered. Set the cherries in the fridge for about 15-20 minutes to help them cool. While tempering gives the best texture and shine, it’s optional for this recipe.