
 Pin it
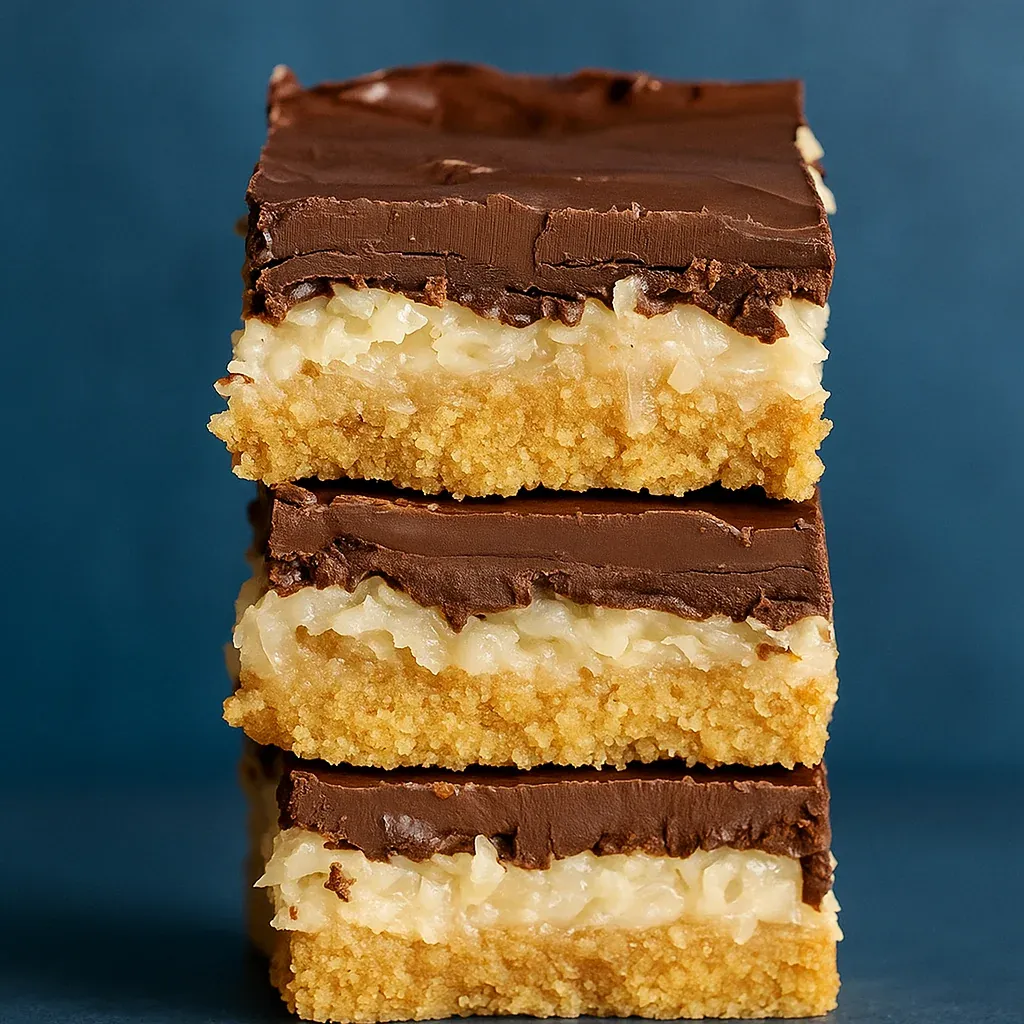
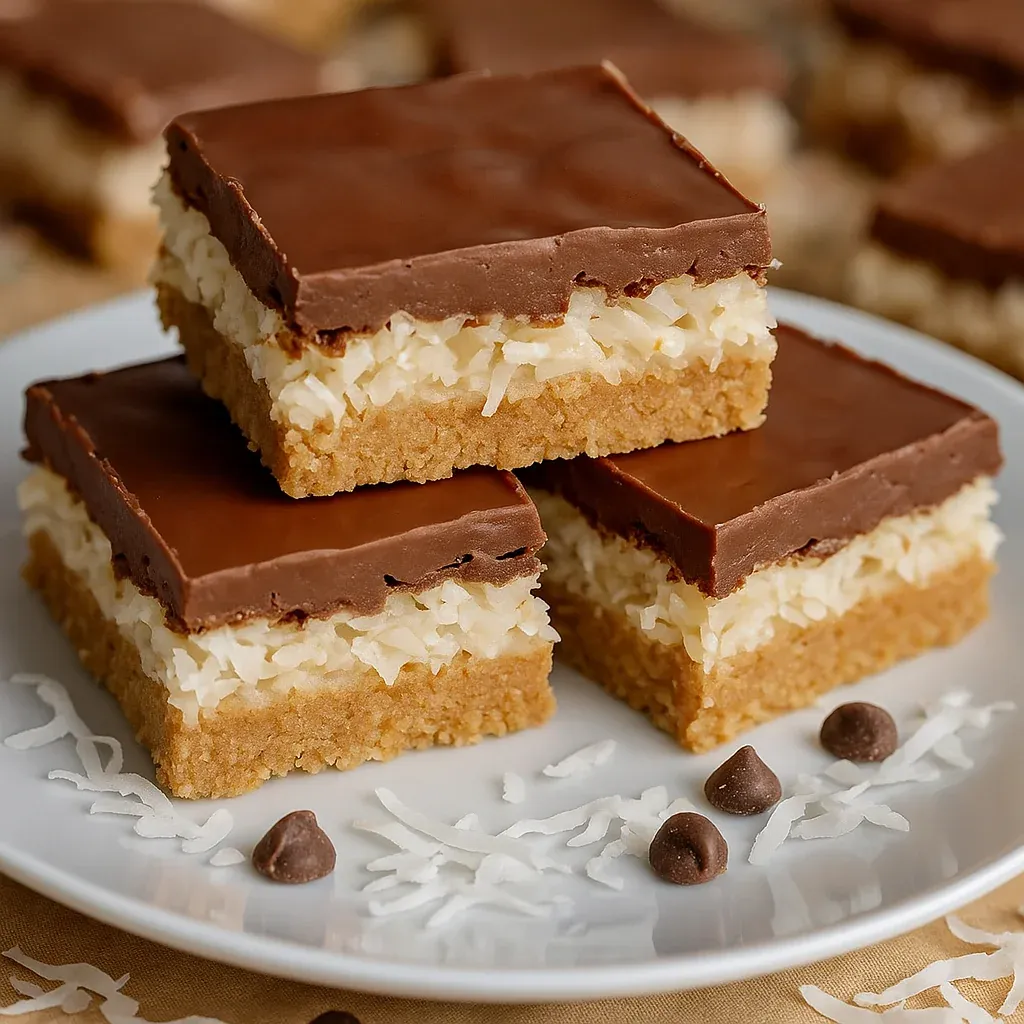
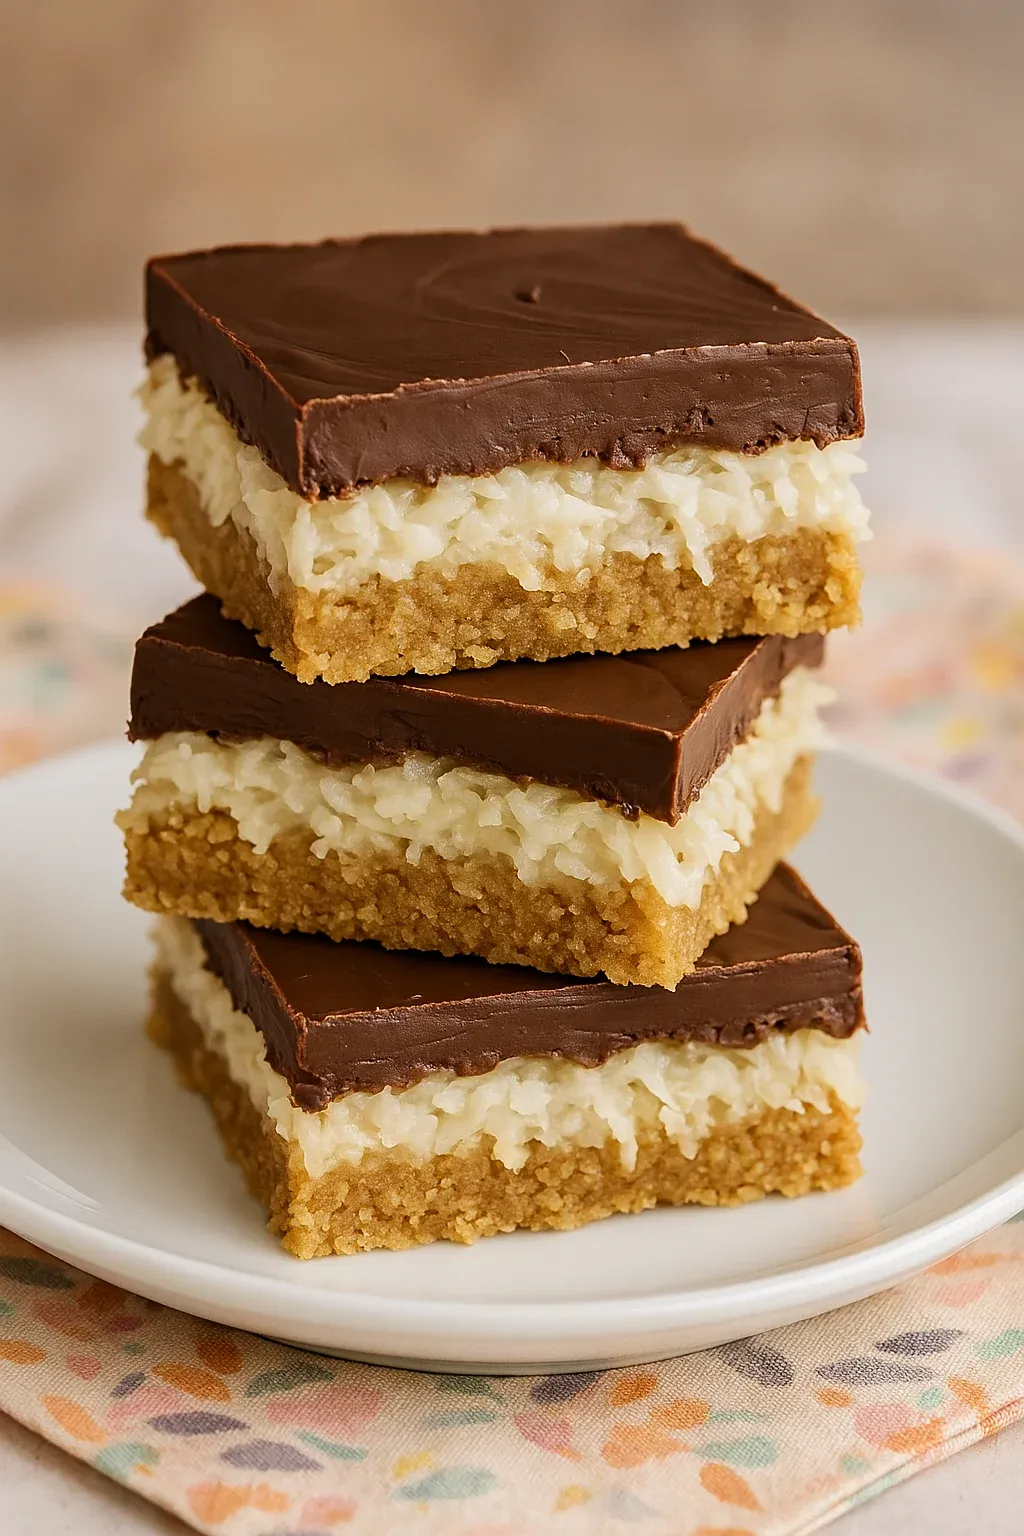
This butter-rich chocolate coconut square turns basic kitchen items into an addictive sweet that'll make you forget about store-bought candy bars. When I mix up the graham base, fluffy coconut middle, and dark chocolate top, these little squares vanish from my kitchen counter before I can even announce they're ready.
I first whipped these up when I wanted something easier than traditional magic cookie bars but still packed with that nostalgic taste. They've become the most requested treat at family get-togethers, with my sister's kids calling them "candy bars but way better."
Ingredients
- Graham crackers: They make up the crunchy bottom that balances all the soft layers
- Melted butter: Holds the base together and adds a smooth richness
- Granulated sugar: Gives just enough sweetness to the base without going overboard
- Sweetened flaked coconut: Brings that signature chewy texture in every mouthful
- Sweetened condensed milk: Turns into something almost like caramel that glues everything into place
- Chocolate chips: Make the perfect finishing touch. Go for good quality semisweet ones
- Vegetable oil: Keeps your chocolate layer smooth so it won't crack when you cut it
Step-by-Step Instructions
- Prepare the Graham Crust:
- Break down graham crackers in your food processor until they're sandy. Throw in sugar and melted butter, then pulse until everything looks like damp sand that sticks when you press it. This makes sure your base won't fall apart after baking.
- Create the Base Layer:
- Push the graham mix firmly into an 8×8 pan lined with foil or parchment, making sure it's flat everywhere. A measuring cup works great to pack it down tight, which stops the base from crumbling. Pop it in a 350°F oven for 15 minutes until the edges start turning gold.
- Add the Coconut Layer:
- Scatter coconut flakes all over the hot crust, making sure it's totally covered. Drizzle sweetened condensed milk slowly across everything, maybe tilting the pan a bit to get it everywhere. You want all the coconut coated without puddles forming anywhere.
- Second Bake:
- Stick the pan back in the oven for another 15 minutes. You'll see the milk start bubbling a little and turning caramel-like, while the coconut gets lightly toasted. When you take it out, the filling should be set but still a touch soft.
- Create the Chocolate Topping:
- Mix chocolate chips and vegetable oil in a bowl you can microwave. Heat them for 30 seconds at a time, stirring lots between each zap until it's completely smooth. The oil keeps the chocolate from getting too hard later when you want to cut the bars.
- Finish and Cool:
- Pour your melted chocolate over the warm coconut layer, spreading it quickly to make an even top. Let everything cool completely at room temp for the prettiest shine, though you can stick it in the fridge if you're in a hurry.
- Slice and Serve:
- After it's fully cooled, pull the whole thing out using the foil edges and put it on a cutting board. Cut it into 16 squares with a sharp knife, wiping the blade clean after each cut for the prettiest slices.
 Pin it
What I love most about making these bars is watching the coconut change in the oven. My kitchen fills up with that amazing toasty coconut smell that takes me back to summer trips to Florida when my grandma would bake similar treats. Even people who say they don't like coconut end up asking for seconds of these squares.
Storage Tips
These chocolate coconut treats last surprisingly well. Keep them in a sealed container with parchment between layers so they don't stick together. They'll stay fresh on your counter for up to 5 days, though they're at their best during the first 3 days. If you want them to last longer, stick them in the fridge for up to 2 weeks. Many of my friends actually prefer them cold because they get this amazing fudgy texture.
Variation Ideas
Switch up these classic bars with a few simple add-ins. Toss some toasted sliced almonds over the coconut before adding the milk for an Almond Joy feel. Make a salty-sweet version by sprinkling sea salt flakes on the warm chocolate. For a summer party treat, mix some lime zest into the coconut and add a splash of rum to the chocolate for bars that taste like a piña colada.
 Pin it
Serving Suggestions
These rich bars taste fantastic on their own, but the right pairings can make them even better. Warm them slightly and top with vanilla ice cream for a fancy dessert. Put them on platters with fresh berries to add color and balance the sweetness. For coffee mornings, cut them smaller and serve with strong espresso or cappuccino. The bitter coffee works really well with the sweet coconut and chocolate flavors.
Frequently Asked Questions
- → Can I use unsweetened coconut instead of sweetened coconut?
Yes, but the sweetness will be reduced. Add sugar to the crust or use sweetened condensed milk to balance it out.
- → Are these bars okay to make in advance?
Definitely! Keep them in an airtight container. They’re good for three days on the counter or a week in the fridge.
- → What can I use instead of graham crackers?
Swap graham crackers with digestive biscuits, shortbread, or chocolate cookies to mix things up.
- → Why doesn’t my chocolate layer look shiny?
Let the melted chocolate cool naturally. Refrigeration can harden it but might reduce shine.
- → Can these bars be nut-free?
Sure thing! Just don’t add almonds or walnuts. They’ll still taste great without them.