
 Pin it
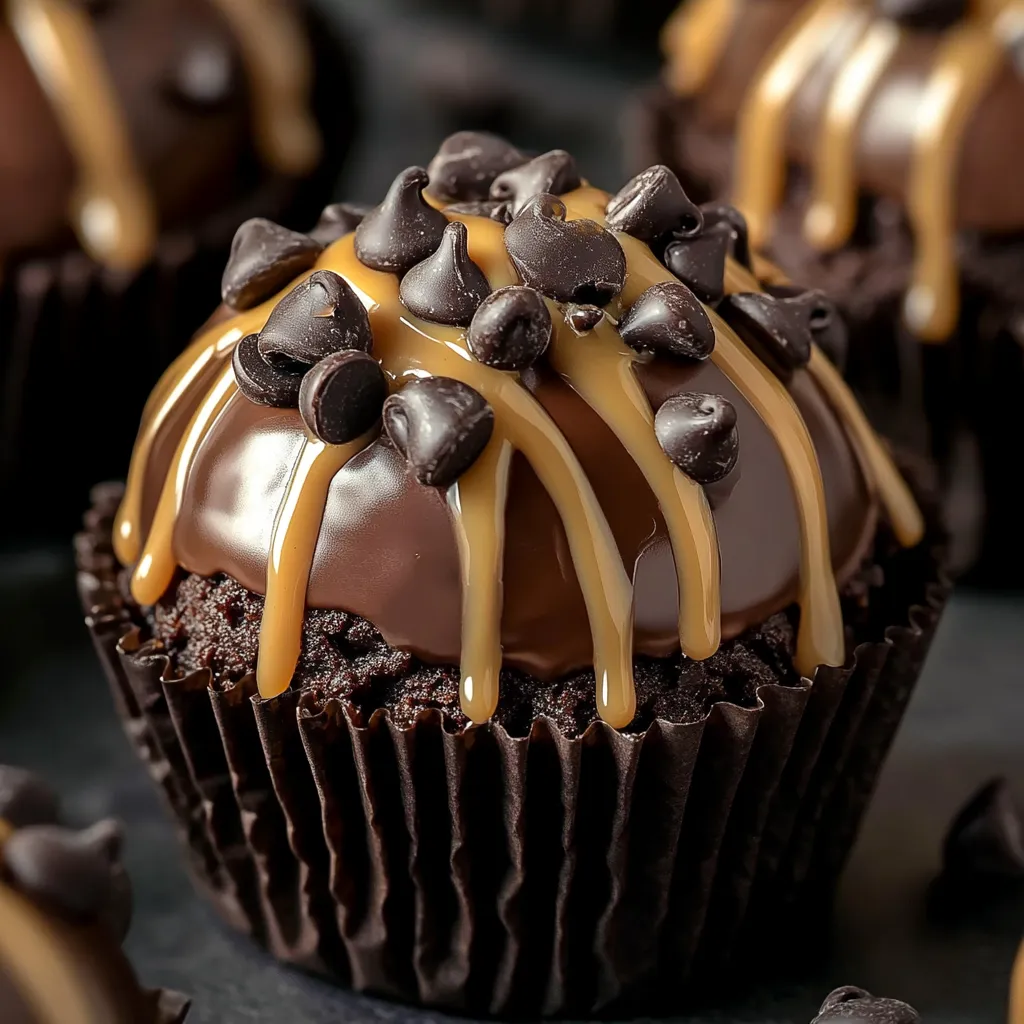
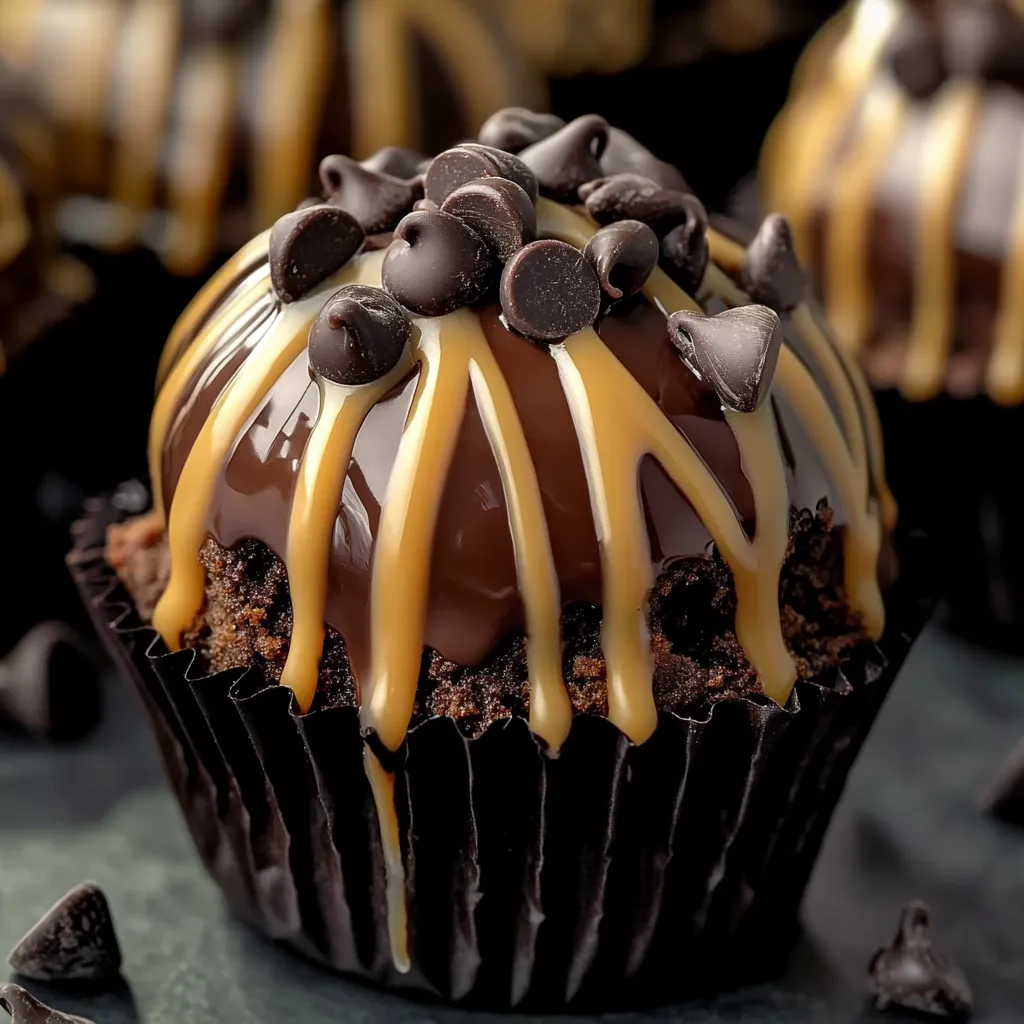
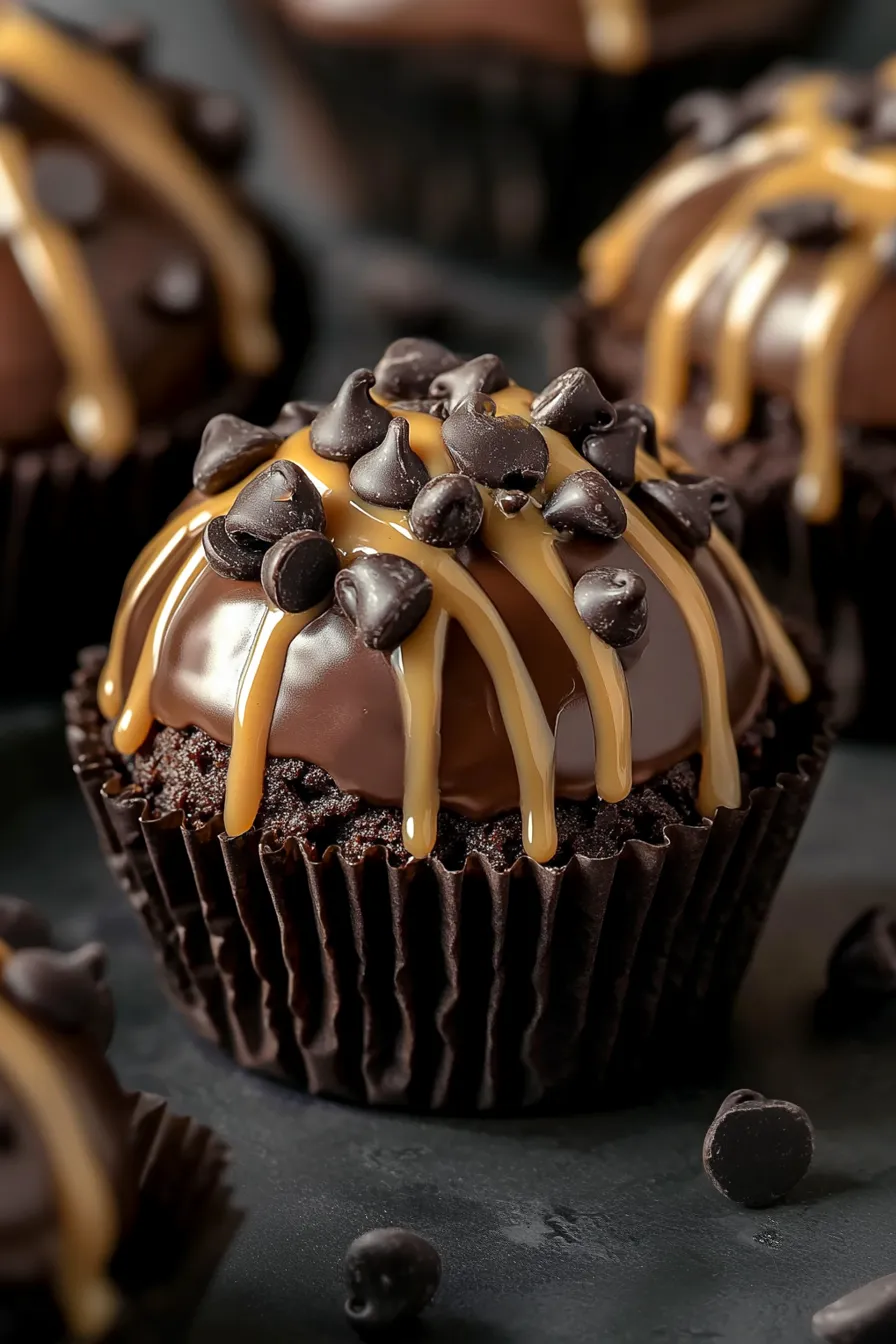
Craving something that combines the chewy goodness of brownies with smooth chocolate chip cookie dough? You'll fall head over heels for these Chocolate Chip Cookie Dough Brownie Bombs. They stack fudgy homemade brownies with safe-to-eat cookie dough, then get dunked in smooth melted chocolate. These little treats will win over everyone who loves chocolate or cookie dough - they simply can't resist!
I can't forget the first time I snuck one of these at a family birthday. The whole plate was empty within minutes, and now my family asks for them at every get-together.
- Unsalted butter: soften for dough and melt for brownies to create rich, soft textures. Grab the good stuff for best flavor.
- Granulated sugar: keeps your brownies soft without making them heavy.
- Large eggs: hold the brownie mix together while adding richness - always pick fresh ones.
- Vanilla extract: adds depth to both components. Go for real vanilla for better taste.
- Unsweetened cocoa powder: pick quality powder for deep chocolate flavor in brownies. Either Dutch or regular types work fine.
- All-purpose flour: builds the framework for brownies and dough. Heat it first for the dough part to kill any germs.
- Salt: cuts through sweetness and boosts chocolate flavor - don't leave it out.
- Baking powder: helps brownies rise just enough for the right texture.
- Brown sugar: pressed firmly in the cookie dough for that classic taste. Try dark brown for extra flavor.
- Milk: helps make smooth, workable dough.
- Mini chocolate chips: small size means chocolate in every dough bite.
- Semisweet chocolate chips: create a coating that's balanced, not too sweet. Pick brands with actual cocoa butter.
- Coconut oil: makes the outer shell shiny and gives it that nice snap. The refined kind won't taste like coconut.
Easy Preparation Guide
- Bake the Brownie Base:
- Mix melted butter with granulated sugar, eggs and vanilla until it looks shiny and gets thicker. This combo makes the brownies fudgy with amazing flavor. Throw in cocoa powder, flour, salt and baking powder. Stir just enough to mix everything - don't overdo it. Spread into a greased 9x9 inch pan and bake at 350 degrees Fahrenheit for 20-25 minutes. You want the sides firm but the middle slightly soft. Let them cool completely in the pan, then cut into tiny squares about teaspoon-sized so they're easy to wrap.
- Create the Edible Cookie Dough:
- Stir softened butter with brown sugar using just a spoon or rubber spatula. Add vanilla extract for taste. Then mix in your heat-treated flour and milk. Keep stirring until you get soft dough, then add those mini chocolate chips. Your dough should stay together but still feel soft. Take about a tablespoon of dough and flatten it in your hand. Wrap it around each little brownie square, pressing the edges closed, then roll it between your palms to make a nice ball.
- Coat Each Bomb in Chocolate:
- Slowly melt your semisweet chocolate chips with coconut oil. You can use the microwave in 30-second bursts or try a double boiler on the stove. Keep stirring until it's totally smooth. Dip each wrapped brownie ball into the melted chocolate. Use two forks to roll them around and lift them out, letting extra chocolate drip off. Put each one on a parchment-covered tray with space between them. Pop them in the fridge until the chocolate gets hard and shiny. You might need to work in batches if you have lots to coat.
 Pin it
I really love the cookie dough middle the most. It reminds me of childhood and those tiny chocolate chips give you little bursts of chocolate in every bite. Whenever I bring these to parties, people can't stop talking about them once they discover what's inside!
Clever Storage Solutions
Store your brownie bombs in a sealed container in the fridge for about a week. Put parchment paper between layers so they don't stick together. To keep them longer, freeze them on a tray first, then put them in a freezer bag. You can eat them right from the fridge or let them warm up a bit for a softer middle. When I'm planning for a party, I make them ahead, freeze them, then move them to the fridge the night before.
Handy Ingredient Alternatives
Don't have coconut oil? Try some vegetable shortening or a spoonful of butter in your chocolate coating instead. If you're out of mini chips, just chop up regular chocolate chips into smaller pieces. Need a gluten-free option? Just swap in a cup-for-cup gluten-free flour mix for both the brownies and cookie dough. Remember to heat any flour you use in the dough to make it safe to eat.
Fun Presentation Ideas
These brownie bombs taste best when they're cool. Try cutting them in half to show off the layers at your next dessert table. They taste amazing crumbled over ice cream sundaes too. You can even pack a few in a parchment-lined box for holiday gifts. For special occasions, I sometimes add a little white chocolate drizzle or sprinkle some sea salt on top.
 Pin it
Delightful History Behind The Treat
Americans first created brownies back in the late 1800s, and they've become a favorite at school sales and family events ever since. Safe-to-eat cookie dough is newer, born from our love of sneaking raw batter. These Brownie Bombs bring both classics together in an exciting new way. Each bite delivers joy and a taste of dessert history right to your mouth.
You won't believe how addictive these different textures are together. I guarantee these will vanish faster than anything else on your dessert spread.
Frequently Asked Questions
- → How can I keep the brownies soft?
Don't bake the brownies too long. Take them out once a toothpick shows a few crumbs left—it keeps them nice and fudgy.
- → Is this cookie dough safe to eat raw?
Yes! The flour's heat-treated, and no eggs are used, so you can enjoy it without worry.
- → What type of chocolate can I use for coating?
Feel free to switch it up! Use white, milk, or dark chocolate—it all depends on what you like best.
- → How do I dip the bombs in chocolate?
Take a fork, dip each bomb in melted chocolate, and tap lightly to let extra drip off. Then place them on a lined tray.
- → Should I chill them before serving?
Yep, chilling helps the chocolate set and makes handling easier when you serve them.