
 Pin it
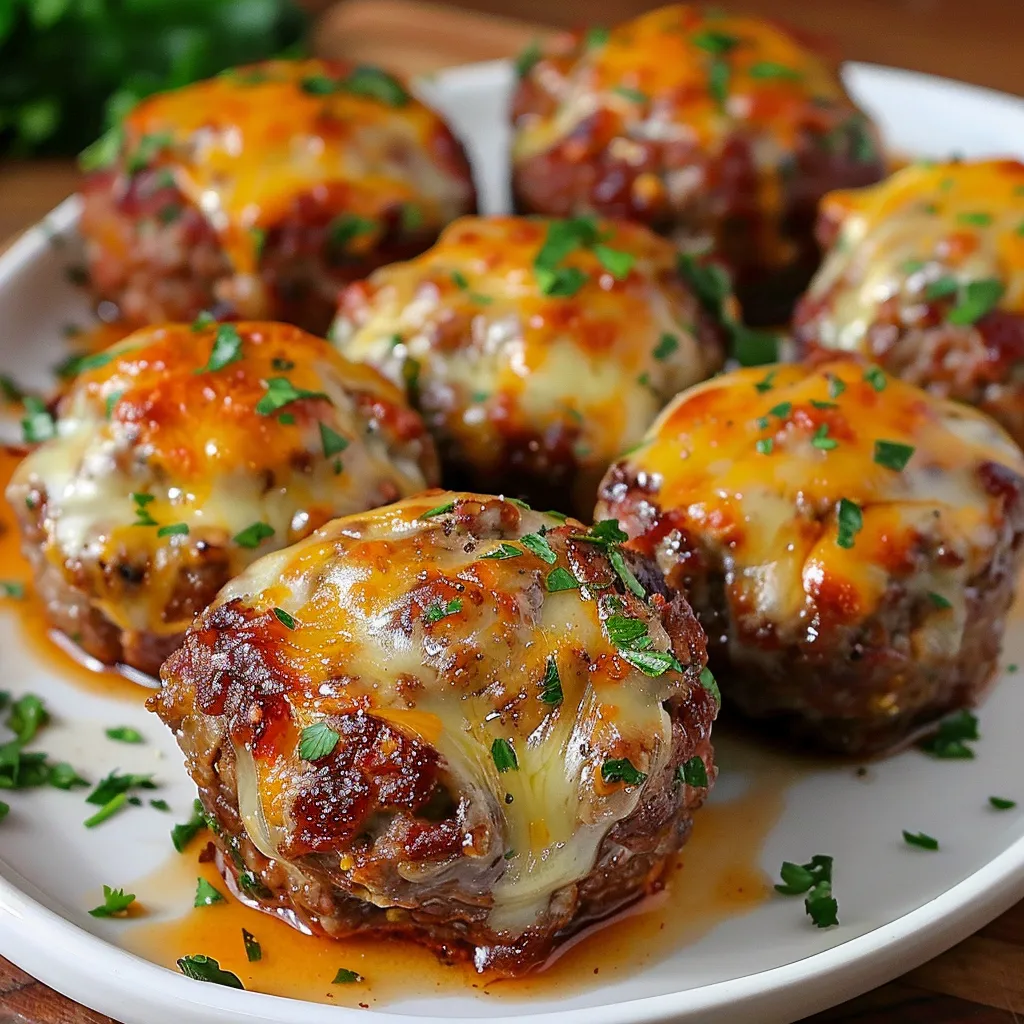
These mini cheese-filled meatloaf snacks turn the usual home comfort dish into bite-sized treats, each hiding a gooey cheese center. They pack all the great taste of old-fashioned meatloaf in a fun, grab-and-go size that wins over everyone from kids to grown-ups.
I came up with these tasty bites during football season when I needed something better than plain old meatballs. They were such a smash hit that now I make them anytime I want to wow my guests without spending forever cooking.
What You'll Need
- Ground beef: This makes up the main part of our snacks, go for 80/20 meat to fat for the tastiest results
- Breadcrumbs: They soak up liquid and keep everything together while making sure the texture isn't heavy
- Milk: Makes everything moist and softens the meat for the right feel
- Egg: Works as the glue that keeps all ingredients stuck together
- Onion: Gives a nice sweet taste and adds moisture
- Garlic: Adds rich flavor that works well with the beef
- Salt and pepper: Simple seasonings that make everything else taste better
- Worcestershire sauce: Brings that special savory kick that's key to great meatloaf
- Ketchup: Creates a tasty sweet-tangy coating that browns up nicely
- Mustard: Adds a bit of zip that balances the ketchup's sweetness
- Cheddar cheese: The magic filling that melts in the middle, pick sharp cheddar for extra flavor punch
- Fresh parsley: Adds a fresh taste and pretty green color to cut through the richness
Tasty Steps For Cheese-Filled Meatloaf Bites
- Get Your Oven Ready:
- Turn your oven to 375°F and put parchment on a baking sheet for super easy cleanup. The paper stops sticking and helps the outside cook nicely while keeping any escaping cheese contained.
- Combine Everything:
- Put ground beef, breadcrumbs, milk, egg, diced onion, crushed garlic, salt, pepper, and Worcestershire sauce in a big bowl. Mix it all up with your hands but don't go crazy or they'll end up tough. The mix should feel wet but stick together when you shape it.
- Make The Cheese Pockets:
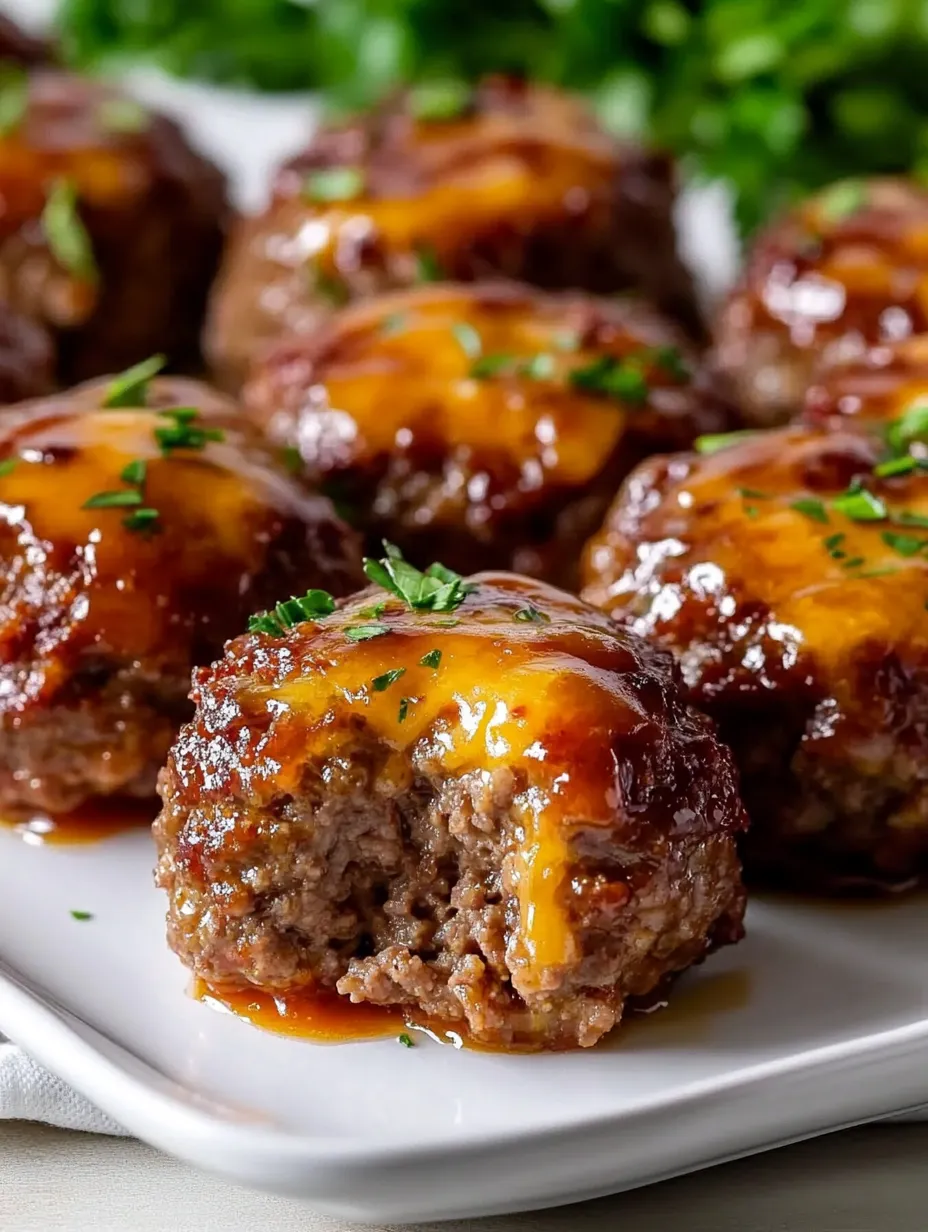
- Grab about 2 spoonfuls of meat mix and flatten it in your hand. Drop a tiny bit of grated cheddar in the middle. Carefully wrap the meat around the cheese so it's totally covered, then roll it between your hands to make a nice round ball about 1.5 inches big. Put them on your lined sheet with some space between each one.
- Whip Up The Topping:
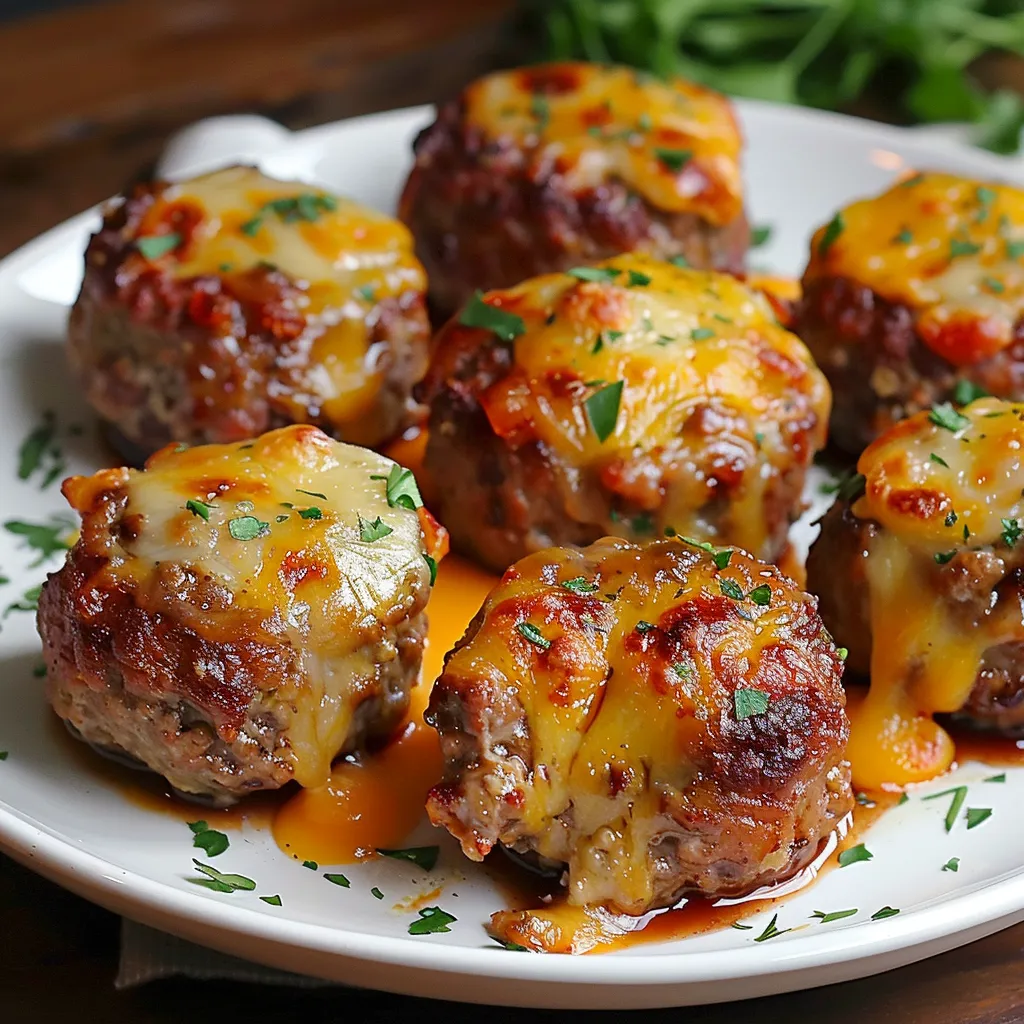
- Mix ketchup and mustard in a small bowl until they're completely blended. This easy topping adds sweet tanginess and helps the outside get caramelized. Brush a good amount on top of each meatloaf bite.
- Cook Them Just Right:
- Stick the baking sheet in your hot oven and let them cook for 25-30 minutes. They're done when they hit 160°F inside and the tops look shiny and caramelized. The cheese should be all melty inside but not leaking out.
- Add The Finishing Touch:
- Throw some chopped fresh parsley on top for a pop of color and fresh taste. Serve them right away while the cheese inside is still hot and gooey.
 Pin it
The shredded cheddar really makes these special. I found out by chance that letting the cheese sit at room temp before putting it in makes it melt even better. My hubby always says he hates meatloaf, but I've caught him sneaking these right off the rack before I can even serve them.
Ways To Enjoy
These cheese-packed bites work great as party snacks but can easily be turned into dinner when paired with sides. Try them with some mashed potatoes and cooked veggies for a full meal, or stick toothpicks in them and put out some extra ketchup or BBQ sauce for dipping. For something fun, put them on small dinner rolls with extra melted cheese on top for mini sandwiches.
 Pin it
Smart Twists
The basic version tastes amazing, but you can switch things up tons of ways. Try stuffing them with different cheeses like pepper jack for some heat, mozzarella for extra stretch, or blue cheese for a tangy kick. You can also mix different flavors into the meat mixture. Ranch powder, Italian herbs, or taco seasoning all taste great. For something really special, wrap each bite in a strip of bacon before cooking to add flavor and make them look extra fancy.
Keeping Leftovers
These little guys warm up really well so they're perfect for planning ahead. Keep cooled bites in a sealed container in your fridge for up to 3 days. To freeze them, let them cool completely, then put them on a lined baking sheet and freeze until hard. After that, move them to a freezer bag or box. They'll stay good for up to 3 months. To warm up fridge bites, microwave for 30 seconds or heat in a 350°F oven for about 10 minutes. Frozen ones can go right into a 350°F oven for about 15 minutes until they're hot all the way through.
Frequently Asked Questions
- → Can I choose a different cheese?
Of course! Swap in melty options like mozzarella, Monterey Jack, or even pepper jack for a twist.
- → Can I prep these in advance?
Sure thing! Get them ready, store in the fridge, and bake when you're set to serve. They reheat well, too.
- → How do I check if they're done baking?
Check with a meat thermometer—the center should hit 160°F (71°C) to be safe to eat.
- → Can I freeze them?
Absolutely! Freeze before or after cooking. If frozen raw, pop them straight into the oven and add a bit more bake time.
- → What goes well with these bites?
Try mashed potatoes, salads, or roasted veggies for sides. For party vibes, add some tasty dipping sauces!