
 Pin it
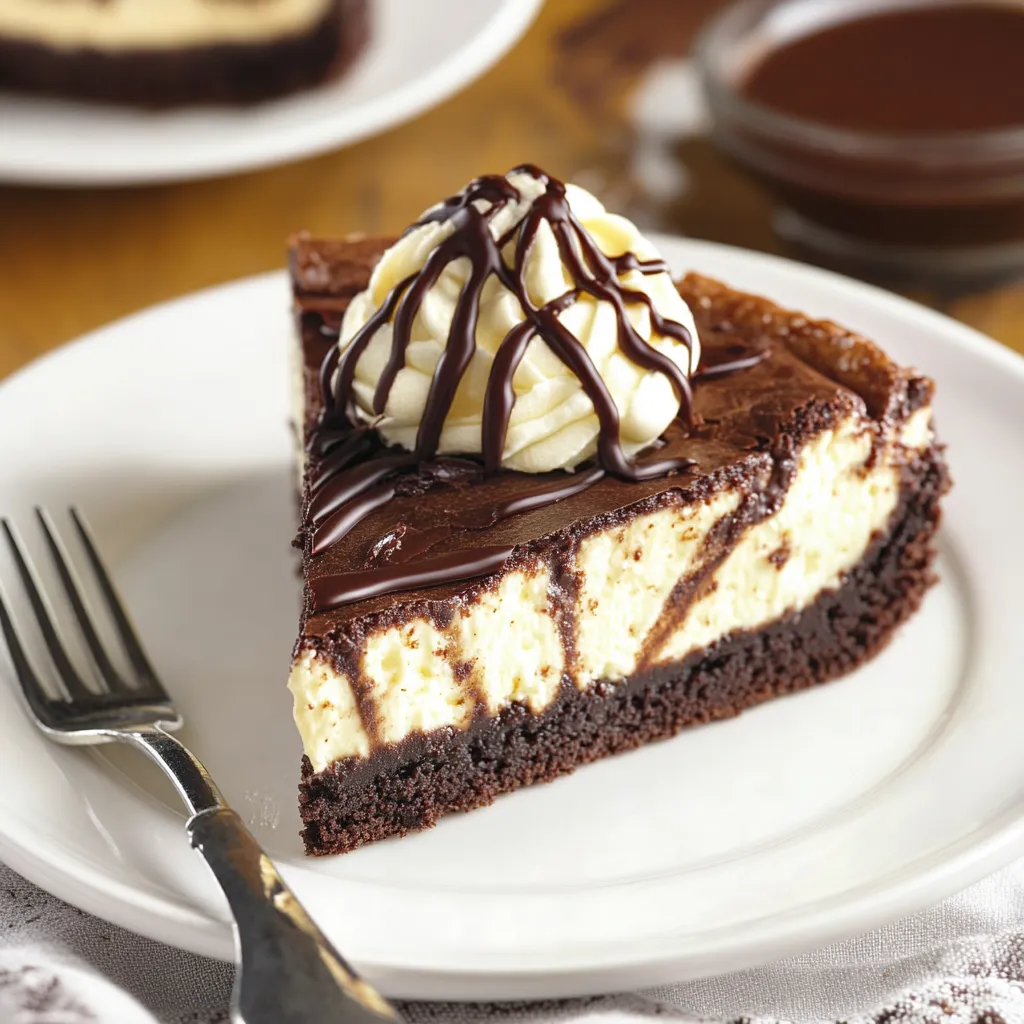
Smooth, creamy cheesecake sits atop a decadent brownie base in this mouthwatering dessert that brings together two favorite treats. The amazing contrast between the chocolate foundation and the silky top layer creates something truly special for your tastebuds. This dessert has quickly become what I always make for birthday parties - it vanishes from the table so fast everyone's asking for more before I can even offer seconds!
The first time I threw this together for my brother's party, everyone gasped when they saw the perfect layers. The brownie bottom had those slightly crunchy edges but stayed soft in the middle - it totally changed how we celebrate family events.
Key Ingredients and Shopping Advice:
- Cream cheese: I always grab Philadelphia brand because it makes the creamiest top layer. Don't go for low-fat if you want that rich taste
- Sour cream: Gives you that slight tang and helps create the New York-style texture everyone loves. Get the full-fat kind and let it warm up completely
- Heavy cream: Make sure to pick up "heavy whipping cream" instead of regular "whipping cream" since the extra fat helps everything hold together
- Brownie mix: Go for one that promises a fudgy result instead of cake-like texture. I've had amazing results with Ghirardelli Double Chocolate
Easy-to-Follow Making Process:
- Getting ready
- Put your oven rack right in the middle so heat spreads evenly
- Don't rush when lining your springform pan, push the paper into every corner
- Use plenty of cooking spray on the sides, especially where the pan connects
- Pull your cold stuff from the fridge at least 2 hours early so everything's truly room temp
- Making your brownie foundation
- Stir the brownie mix just until everything comes together - too much mixing makes them hard
- Lightly bang the pan on your counter to get rid of bubbles
- Keep an eye on it during the first bake - you want it firm enough to hold the top layer
- Look for a slightly dry top but still soft inside
- Getting the top layer just right
- Beat the cream cheese by itself first until it's totally smooth with no little chunks
- Wipe down the bowl sides and bottom often
- Pour in each ingredient slowly to avoid lumps
- Use a soft spatula to mix in the eggs by hand, counting as you go
- Baking it perfectly
- Keep that oven door shut while baking - don't sneak a look!
- Check for the right jiggle - outer edges should be set but center still wobbles
- Follow the cooling steps carefully - set your phone timer for each part
- Watch for the edges pulling slightly away from the pan as a done sign
 Pin it
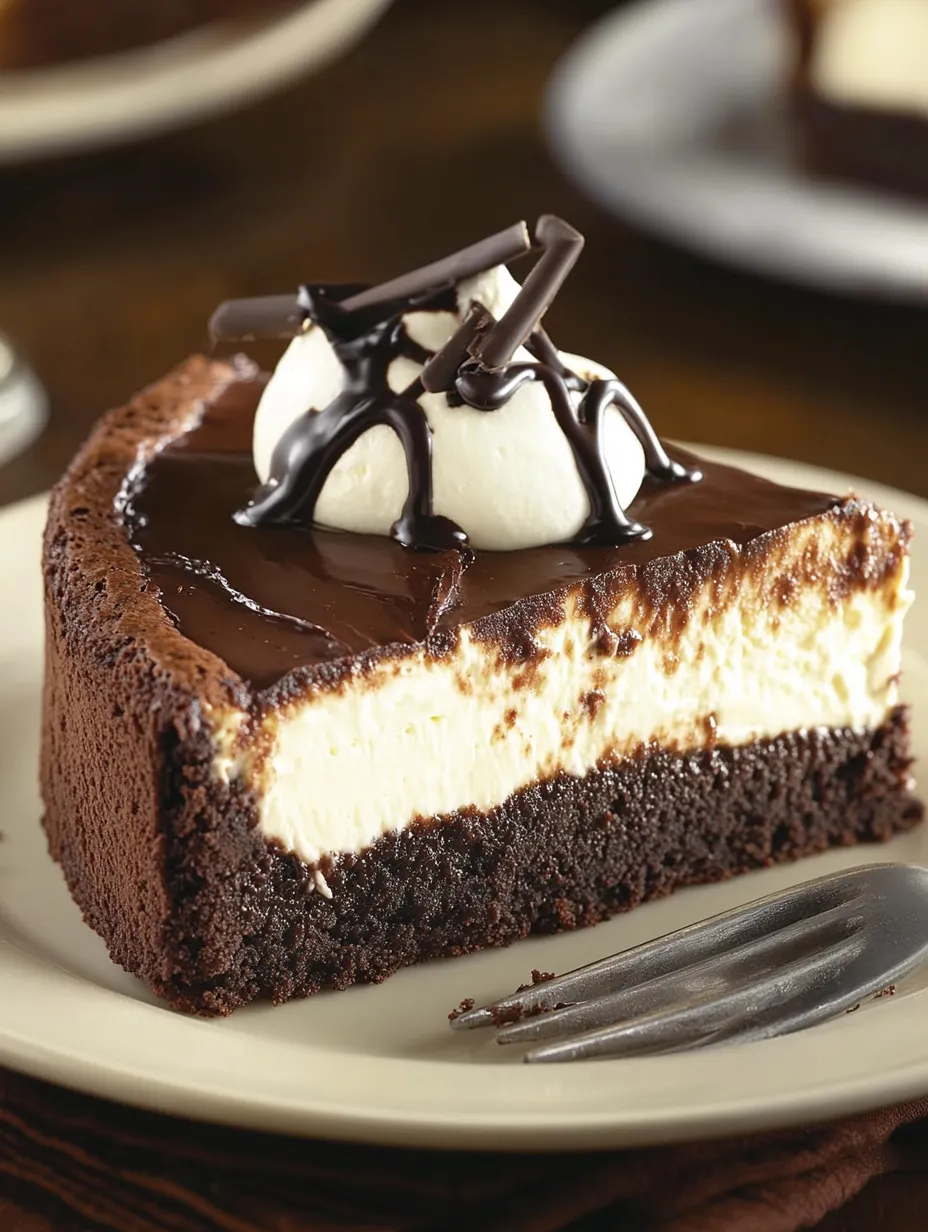
The trick to getting that perfect brownie foundation came from my grandma, who always told me slight underbaking was the secret. She showed me that keeping the brownie layer a bit fudgy would stop the whole thing from drying out during the long bake time.
How to Get Perfect Cuts:
Getting the right temperature makes all the difference for beautiful slices. I keep hot water in a tall glass nearby and dip my knife after each cut, wiping it with a paper towel. This simple trick makes every piece look like it belongs in a cookbook photo.
How Textures Change:
What's really cool about this dessert is how it changes overnight. The brownie gets even more fudgy while the top gets silkier and smoother. That's why I always make it a day ahead - waiting really pays off.
Ways to Serve It:
It's totally amazing by itself, but I love setting up different toppings for guests. Fresh berries, warm caramel, chopped nuts, and chocolate shavings let everyone create their own perfect bite. Everyone at my last dinner loved getting to customize their dessert.
How to Keep It Fresh:
Wrapping it right is super important. After it's fully cooled, I put a paper towel over the top (it soaks up moisture) before covering with plastic. This stops those annoying water drops from forming on top.
I've tried tons of different cheesecake recipes over the years, but this Brownie Bottom version is still my favorite creation. The mix of rich, fudgy chocolate base with creamy, vanilla-filled top layer is just magical. While it takes some patience and careful attention, trust me, it's worth every minute you put in. Just remember, even if you get a crack or two, some whipped cream on top hides everything, and it'll still taste amazing. From what I've seen, it's often the slightly imperfect desserts that carry the most love and make the best memories when family gathers around the table.
Tasty Twists to Try:
Don't be scared to experiment with this dessert! You can swap the brownie for blondies or even cookie dough. For the top layer, try adding different flavors like almond, lemon, or peppermint. You can also mix in fruit purees, chocolate chips, or nuts for extra flavor and crunch. Here are some combos I really love:
- Peanut Butter Dream: Use peanut butter brownie mix and swirl peanut butter through the top layer. Sprinkle chopped peanut butter cups on top.
- Cookie Crunch: Mix crushed Oreos into both layers. Finish with more crushed cookies on top.
- Sweet and Salty: Pour caramel over the brownie before adding the top layer. Add a sprinkle of sea salt before serving.
 Pin it
Why Cooling Matters:
The slow cooling process isn't something you should skip - it stops cracks from forming. When you take it straight from a hot oven to cool air, it shrinks too fast and splits. By letting it cool down slowly in the warm oven with the door cracked, you're helping it adjust gradually, which keeps the top smooth and crack-free. This step really makes a difference in how it looks.
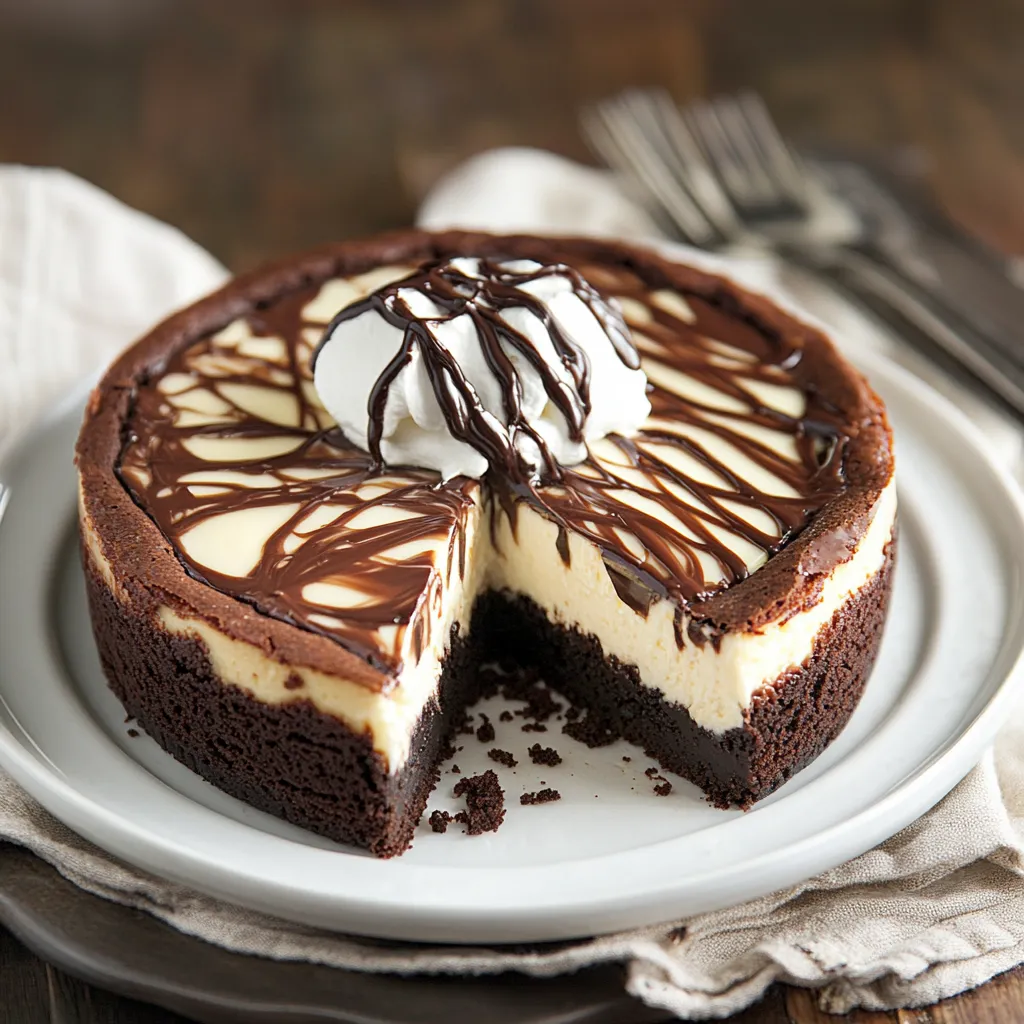
Making It Look Amazing:
A pretty presentation takes this from just tasty to totally impressive. I like to remove the pan sides once it's completely cold, then run a thin knife around the bottom to free it from the base. This gives it a clean, professional edge. You can then move it to a serving plate and dress it up with fresh berries, whipped cream, or chocolate shavings. A drizzle of chocolate or caramel sauce makes it look extra fancy.
 Pin it
No Gluten Needed:
If you or your guests can't eat gluten, you can easily adapt this. Just use a gluten-free brownie mix and check that all other ingredients don't contain gluten. Many brands now make really good gluten-free brownie mixes that still turn out fudgy and delicious. You could also make a crust using almond flour, butter, and sugar instead. These simple changes mean everyone can enjoy this amazing dessert.
From all my years in the kitchen, this dessert really gets people excited. It's the perfect blend of fudgy brownie and smooth, tangy top layer. Though it needs some patience and careful steps, the result is totally worth it. It's a dessert that'll wow your family and friends and become one you make again and again. Just remember, baking is about sharing joy and creating memories, so have fun making it and enjoy every bite with your loved ones!
Frequently Asked Questions
- → Why not whisk eggs in fully?
- Stirring eggs gently stops air bubbles, so your cheesecake won’t crack.
- → Is a water bath really needed?
- No, this one skips it. A slow cool does the trick!
- → Can I prep this early?
- Yep! Chill it for up to 5 days, wrapped well.
- → Why bake the brownie first?
- It locks in that fudgy goodness while staying moist.
- → Can I freeze leftovers?
- Totally! Seal it up and freeze for 3 months max, then thaw overnight.