
 Pin it
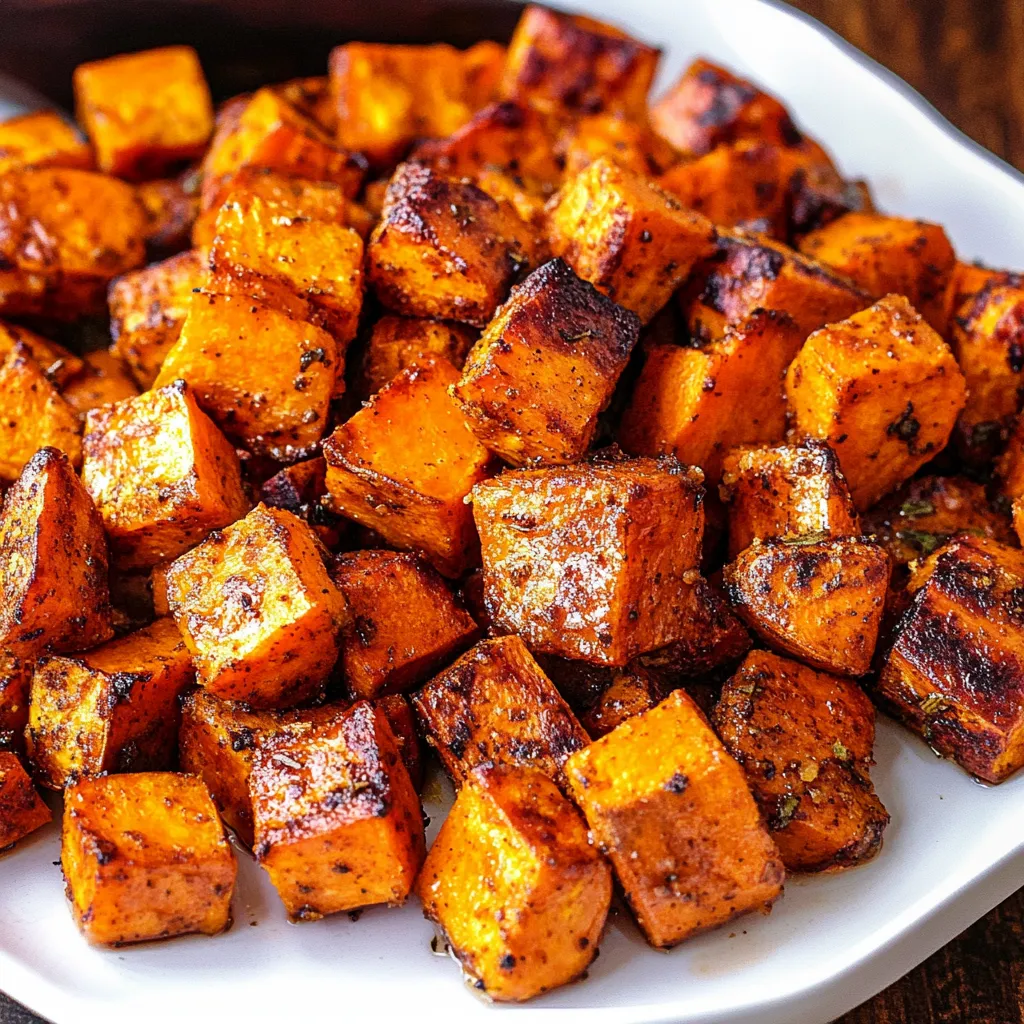
Get ready to devour these melt-in-your-mouth, caramelized roasted sweet potatoes! They're ready to go in under 15 minutes of prep (just wait for them to roast) with basic pantry spices and absolutely NO dishes to clean afterward! These cubes get amazingly crisp around the edges while staying soft and velvety inside - making them the ultimate side that goes with practically any meal you can think of.
I've started cooking these sweet potatoes every week since figuring out how nicely they go with everything from morning eggs to dinnertime proteins. The natural sweetness mixed with savory spices creates a side that everyone reaches for first when they fill their plates.
Key Ingredients and Shopping Advice
- Sweet Potatoes: Go for Orange or Red-Skinned kinds (sometimes called "yams" at stores)
- Olive Oil: Extra virgin gives the nicest taste, but any cooking oil will do the job
- Maple Syrup: Stick with real maple, not the breakfast syrup kind, for better browning
- Spices: A tasty mix of garlic powder, paprika, chili powder, cinnamon, salt and pepper
- Parchment Paper: Makes cleanup super easy and stops sticking
Step-by-Step Cooking Guide
- Get Your Oven Hot: Turn it to 425°F. This high heat is crucial for getting that yummy caramelization without making the insides mushy.
- Cut Up the Sweet Potatoes: Take the skin off and chop them into ½-inch chunks. Try to keep them roughly the same size so they cook evenly, but don't worry if they aren't perfect.
- Add Flavors Right on the Tray: Put parchment on a big baking sheet. Drop the potato chunks onto it, pour over the olive oil and maple syrup, then sprinkle all spices on top.
- Mix Everything: Get in there with your hands or a spatula to coat all pieces with the oil and spices. This is when the flavor magic starts!
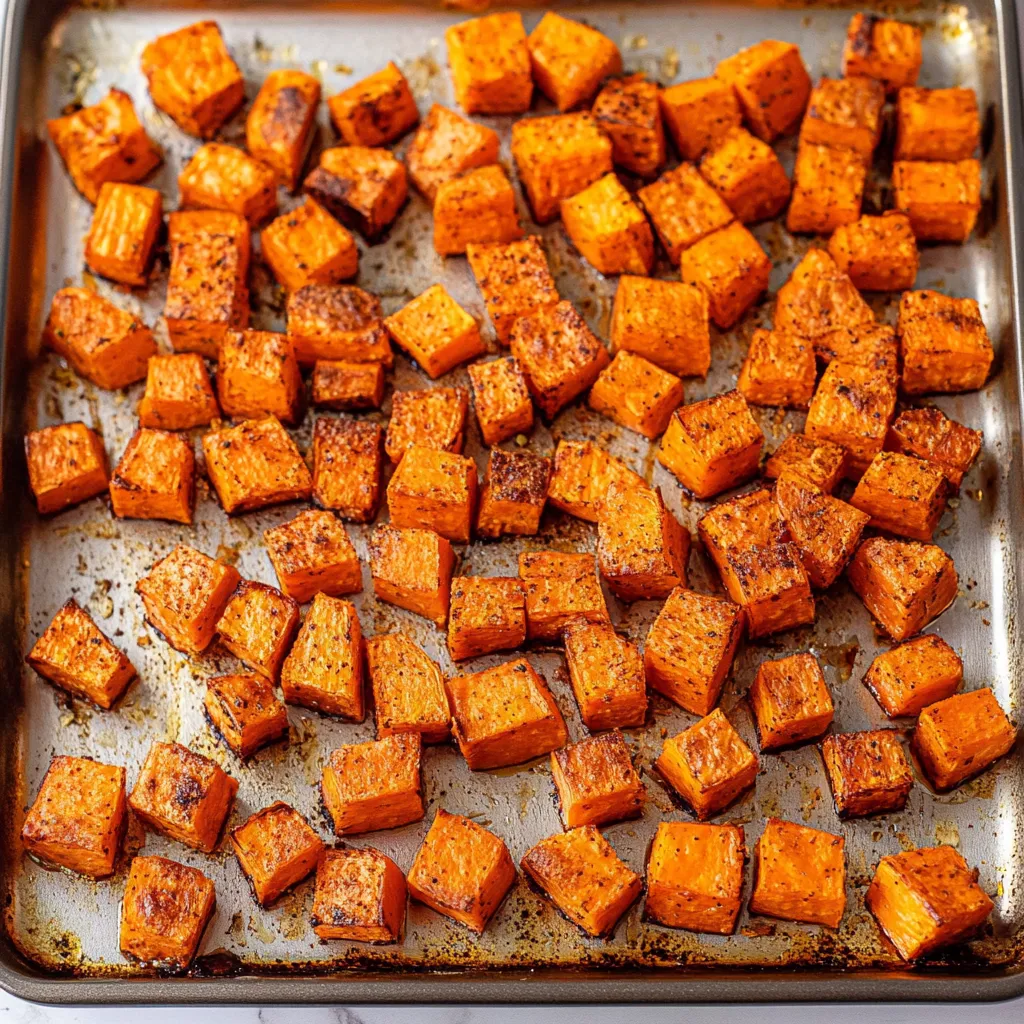
- Spread Them Out: Make sure the potatoes aren't touching each other in a single layer. This key step makes sure they roast properly instead of steaming.
- Start Roasting: Put the tray in your hot oven and cook for 15 minutes. Take them out and flip them with a spatula, then put them back in.
- Finish Cooking: Let them roast another 10-20 minutes until the edges turn brown and you can easily stick a fork through the centers.
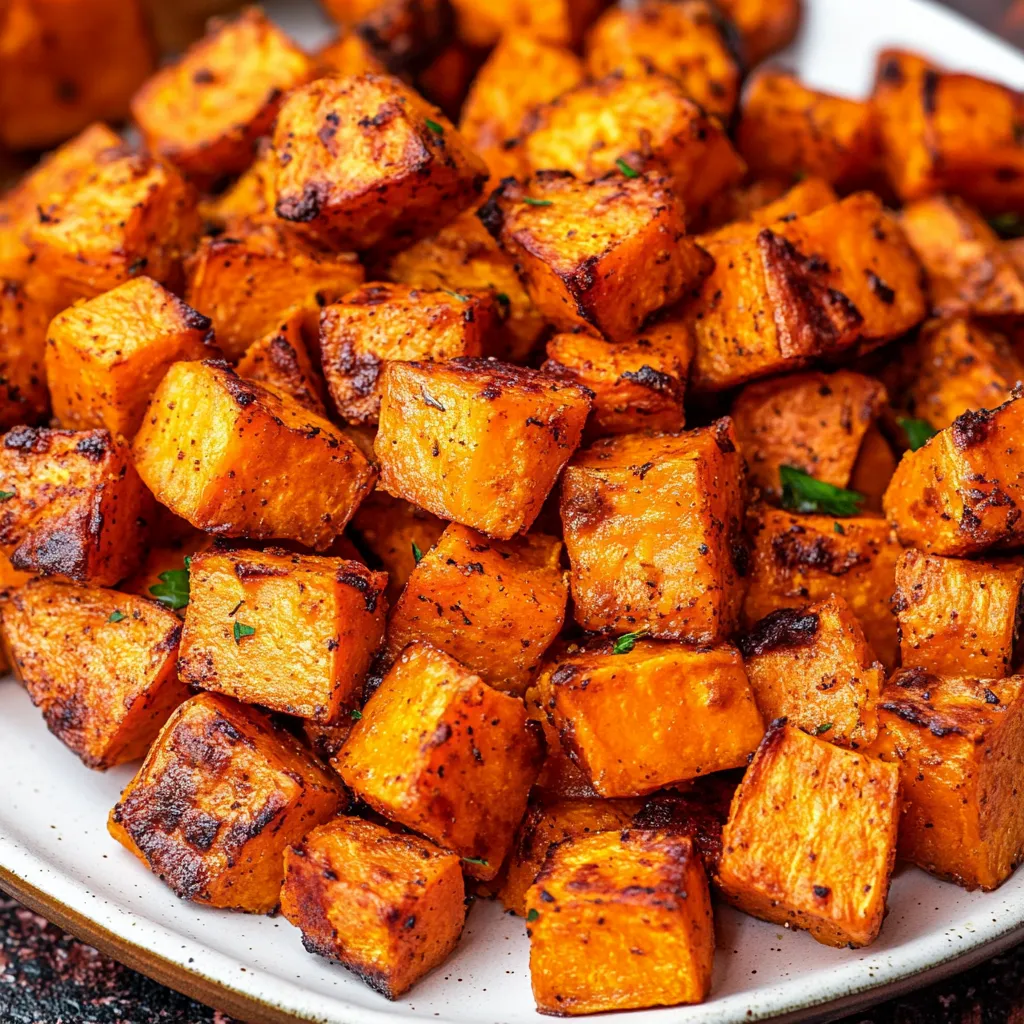
- Let Them Sit: Cool them for 5 minutes right on the baking sheet. This quick rest helps make the outsides even crispier.
- Time to Eat: Move them to a dish and enjoy while warm, or let them cool completely if you're prepping meals ahead.
 Pin it
I found out about these tricks through lots of mistakes, especially when I packed too many potatoes on the pan my first few tries and ended up with steamed instead of roasted pieces. Now I always make sure there's plenty of space between each chunk.
Packed With Nutrients
Sweet potatoes aren't just tasty – they're super good for you too. They're loaded with beta-carotene, which our bodies turn into vitamin A, supporting healthy eyesight, stronger immunity, and better skin. Each serving of these roasted bits gives you plenty of fiber that's good for your digestion and gut health. Their sweet taste actually comes with a lower glycemic index than regular potatoes, so they're a smarter carb choice that won't spike your energy levels up and down throughout the day.
Perfect For Any Time Of Year
You can find sweet potatoes all year, but they really stand out in fall and winter meals. During autumn, I sometimes throw in a bit of pumpkin pie spice to match other seasonal dishes. In winter, a little cayenne adds nice warmth when it's cold outside. Spring calls for gentler flavors from fresh herbs like rosemary or thyme. Summer brings chances to serve these cooled down in salads with avocado and lime dressing. They're so flexible that they'll become a kitchen favorite no matter what season it is.
A Hit With The Kids
These roasted sweet potato chunks have won over many veggie-hating children in my family. The natural sweetness boosted by maple syrup makes them easy for young taste buds to enjoy. I've noticed that calling them "orange fries" or "nature's candy" gets them eaten much faster at dinner time. For really picky eaters, try putting the cubes in fun shapes on their plates or serving with a yogurt dip to get them interested.
 Pin it
Fantastic For Busy Weeks
The handiness of this dish can't be stressed enough. For weekly meal planning, I often cook twice as much on Sunday afternoons. After cooling, I split them into containers for quick options throughout the week. They keep their texture surprisingly well, though they aren't quite as crispy after storage. To perk up stored sweet potatoes, lay them on a baking sheet and warm at 375°F for 5-7 minutes. This quick heating brings back most of their original crunch.
Wrapping Up
These roasted sweet potato cubes have become something I make all the time now. I love how they go with anything - they taste great next to grilled chicken, mixed into morning hash, thrown into salads, or stuffed in tacos. Their bright color, amazing crispy-yet-soft texture, and wonderful flavor make them a welcome addition to any meal throughout the week.
Frequently Asked Questions
- → Can I skip maple syrup?
- Of course! They taste great without it too.
- → How do I store leftovers?
- Pop them in an airtight container in the fridge for up to five days. Reheat in the oven for the best taste.
- → Can I switch up the seasonings?
- Go for it! Italian herbs, curry, or classic salt and pepper work perfectly.
- → Why aren’t mine crispy?
- Keep them spread out in one layer, and make sure your oven's at 425°F!
- → Is prep ahead possible?
- Yes! You can peel and cube them up to 3 days early. Just let them rest in water in the fridge.