
 Pin it
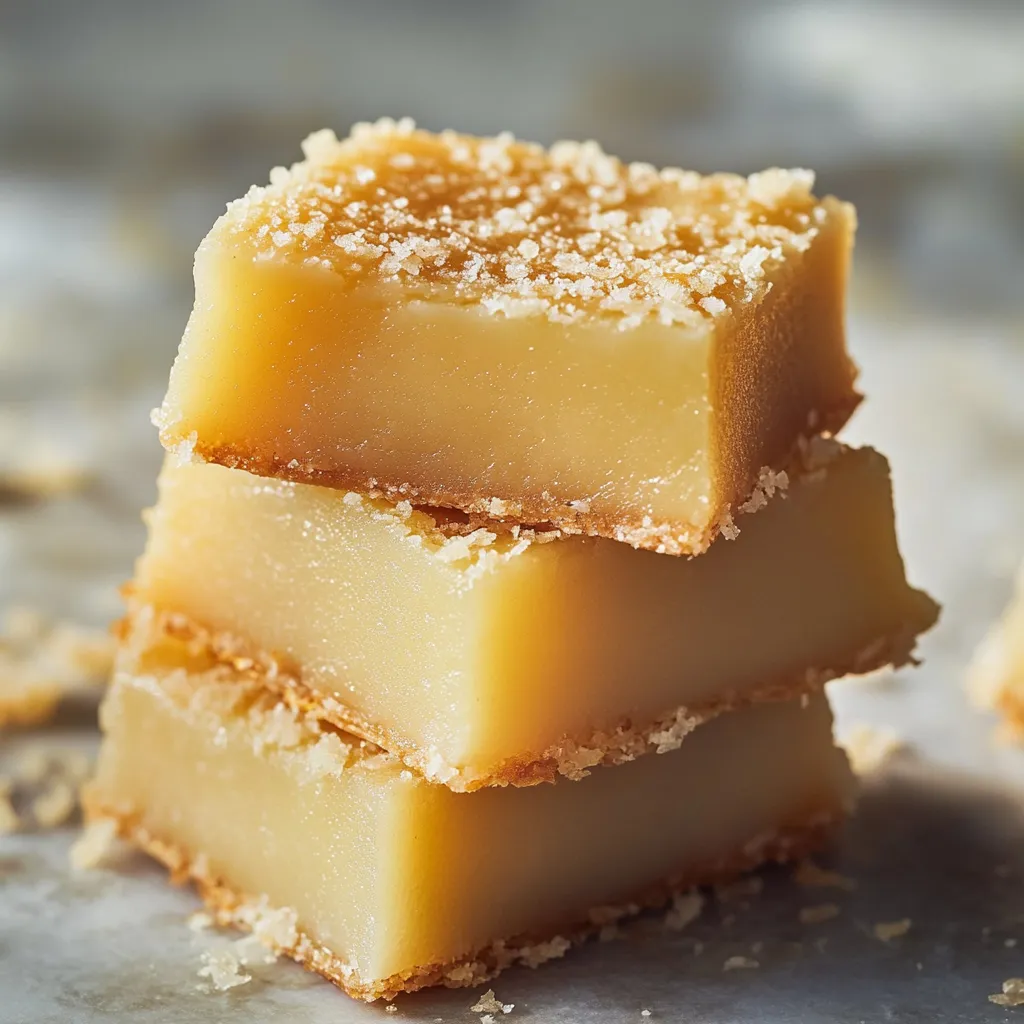
Every bite of Hawaiian butter mochi brings pure joy - soft and stretchy inside with a crunchy, golden coconut exterior. This treasured island sweet turns everyday cabinet staples into a mouthwatering treat that perfectly balances sweetness and that amazing chewy feel.
These butter mochi squares vanished instantly at our block party luau. Everyone grabbed seconds of that crunchy coconut top and chewy middle - even folks who'd never tried mochi before couldn't get enough.
Must-Have Ingredients
- Mochiko Sweet Rice Flour: 16 oz/454g box, can't make real mochi without it
- Butter: 1 cup/226g unsalted, melted, makes those crispy edges
- Sugar: 2 cups/400g granulated, gives just enough sweetness
- Milk: 1 cup/240ml whole, adds that creamy richness
- Eggs: 4 large, room temperature, holds everything together
- Coconut Milk: 13.5 oz/400ml can unsweetened, brings that island taste
- Baking Powder: 2 teaspoons, gives it a slight rise
- Vanilla Extract: 1 tablespoon pure, makes everything taste better
- Salt: 1 teaspoon kosher, cuts the sweetness
- Coconut: 1 cup/85g unsweetened shredded, creates that amazing top layer
- Sea Salt: 1/2 teaspoon flaky (optional), finishes it off nicely
Cooking Steps
- Get Ready:
- Heat your oven to 350°F (175°C). Butter a 9x13-inch metal baking pan really well.
- Mix the Powders:
- Stir together mochiko, sugar, baking powder, and salt until you can't see any lumps.
- Mix the Liquids:
- Beat those eggs good, then mix in milk and vanilla until it looks smooth.
- Put Everything Together:
- Pour your wet stuff into the dry stuff and mix it all up. Don't worry about overmixing, mochiko can take it.
- Finish Up:
- Stir in your melted butter and coconut milk until it looks silky. Pour the batter in your pan, tap it on the counter to get air bubbles out. Sprinkle coconut all over the top with a pinch of sea salt if you want.
 Pin it
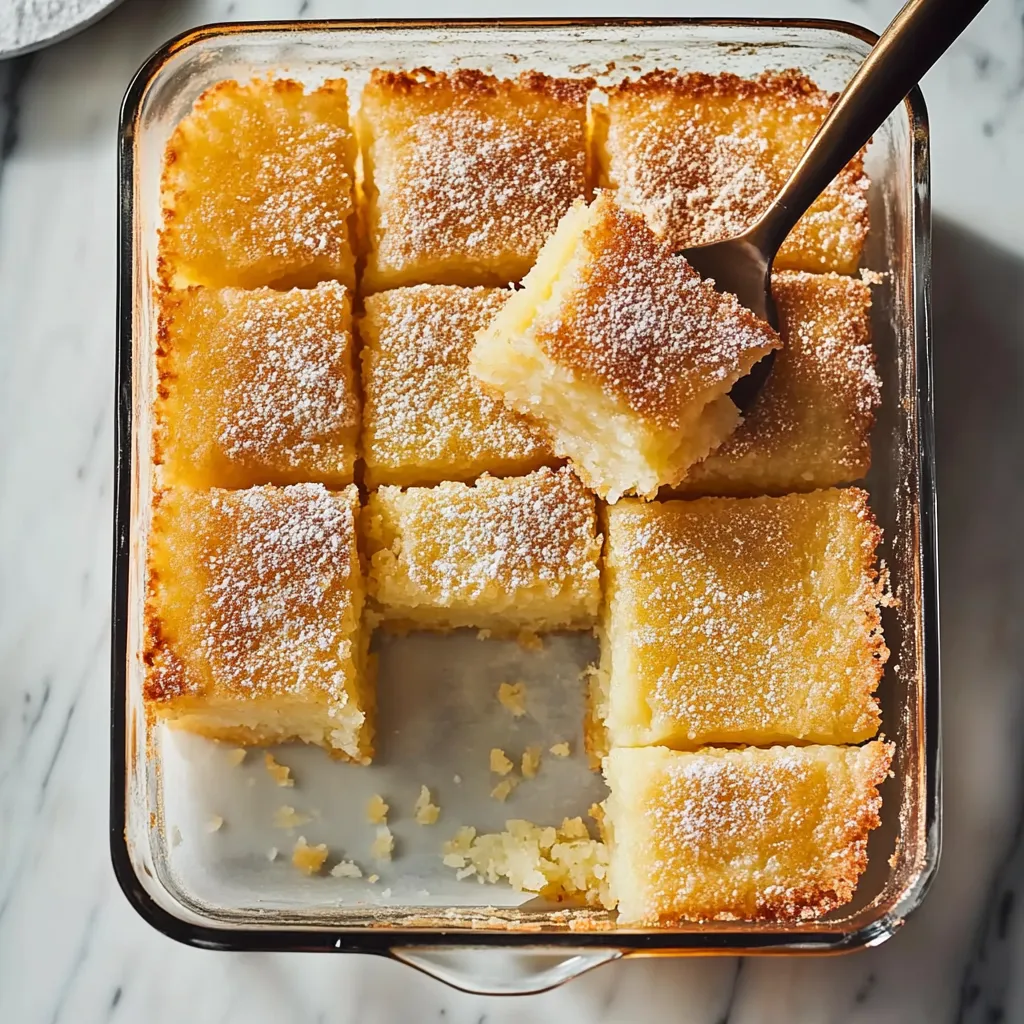
In my home, the corner pieces always get snatched up first. Their extra chewy edges next to that soft middle make them super popular. I've started cutting those pieces bigger to avoid family squabbles.
Baking Know-How
Look for a nice golden top that still jiggles a bit in the middle. When you give the pan a little shake, you want some wobble. That's how you know it's done just right.
Resting Time
Let it cool all the way down on a wire rack for an hour before cutting. This waiting time really matters for getting the texture right and making clean cuts.
Getting Ready
Get all your stuff measured and lined up before you start cooking. This way everything goes smoothly from start to finish without any rushing around.
Serving Ideas
Cut it into big squares when you're ready to eat. While most folks enjoy it just as is, fresh tropical fruit on the side makes it even better.
Different Takes
Try adding a splash of almond or coconut extract if you want to play with the flavor while keeping that classic mochi bounce.
Keeping It Fresh
Keep it in a sealed container at room temp for up to three days. The texture changes a bit over time but stays wonderfully chewy.
 Pin it
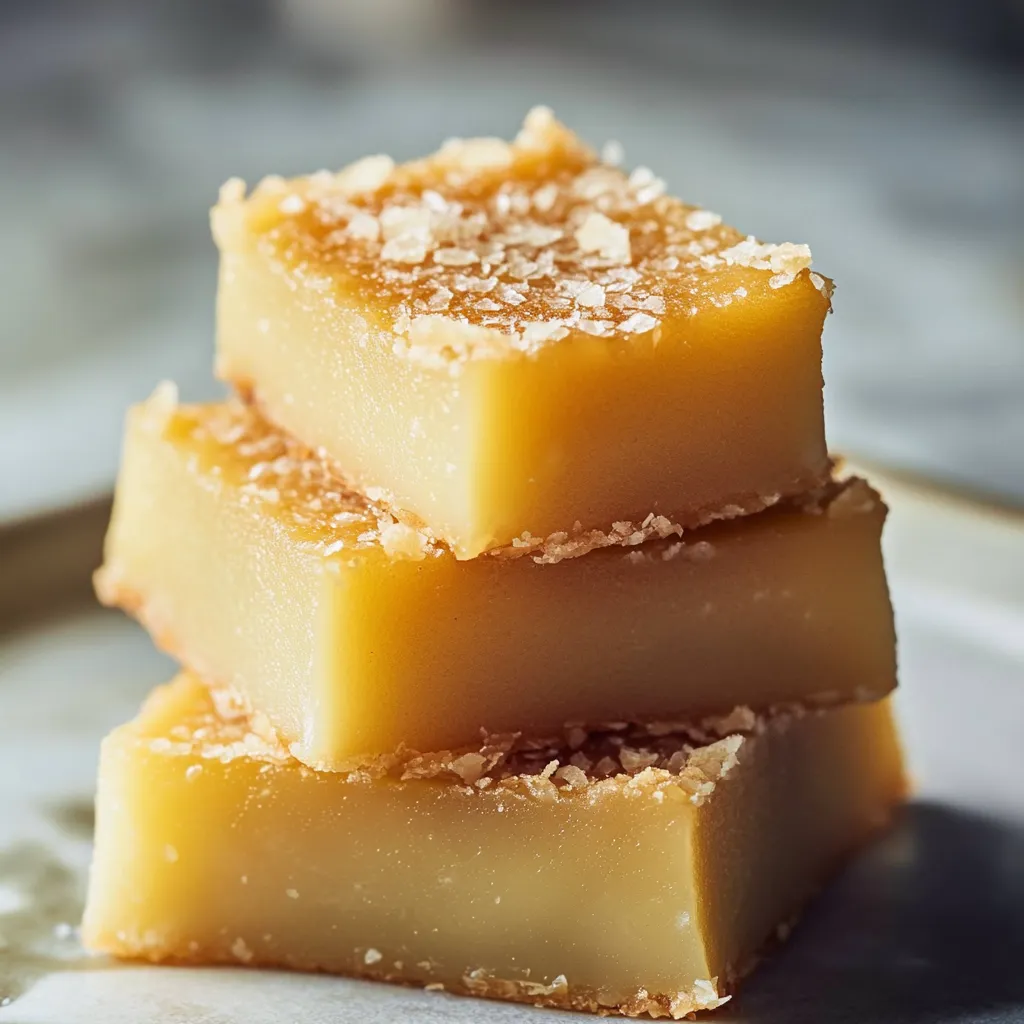
I've spent years tweaking this butter mochi recipe to get it just right. Now it reliably creates moments of pure happiness with each chewy bite. The way it showcases traditional Hawaiian flavors makes it perfect for any get-together, bringing a taste of island comfort to everyone who tries it.
Frequently Asked Questions
- → What's mochiko flour, and where can I grab some?
- Mochiko is sweet rice flour that gives mochi its unique stickiness! Look for it in Asian grocery stores or the international aisle.
- → Why does a plastic knife work better for cutting mochi?
- Mochi tends to stick to blades. A plastic knife keeps things cleaner and slices easily.
- → How do I adapt this for someone avoiding dairy?
- Swap in extra coconut milk for cow's milk and use melted coconut oil instead of butter.
- → Best tip for keeping butter mochi fresh?
- Put it in an airtight container. At room temp, it lasts 3 days; in the fridge, a whole week.
- → Why are there cracks on top of my mochi?
- Cracks are no problem at all! It won't affect the taste. To avoid them, bake at a steady temperature and cool gradually.