
 Pin it
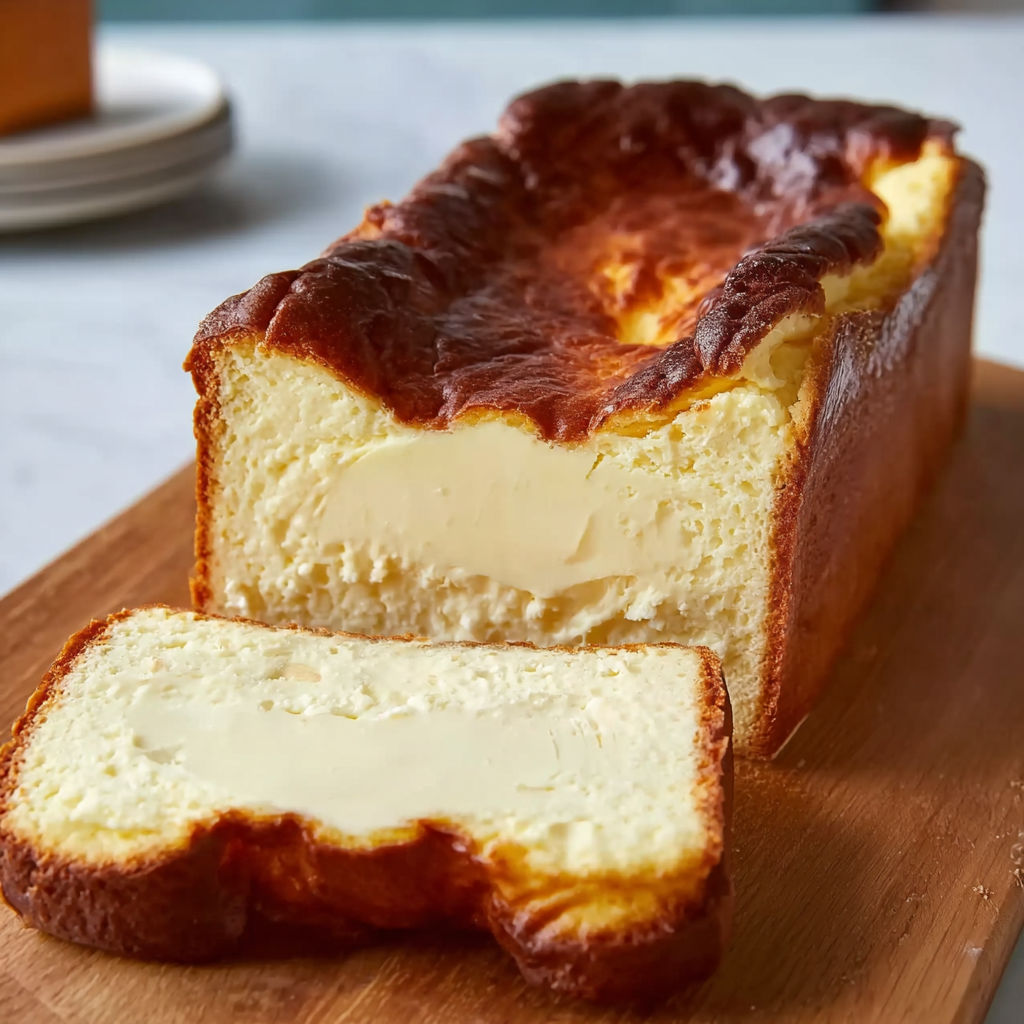
This luxurious Burnt Basque Cheesecake turns into a perfect slice-ready treat when cooked in a loaf pan. The browned outside hides an unbelievably smooth center that'll make you wonder why you ever wasted time with old-school cheesecake methods.
I stumbled on this during quarantine when cream cheese was about the only dairy left at my grocery store. What began as just trying something new has turned into the dessert everyone asks for when they come over.
Ingredients
- Cream cheese Go with full fat for the best taste and feel. Always pick the solid block type, not the soft tub stuff
- Granulated sugar Gives just the right sweetness and helps get that nice brown top
- Eggs They hold everything together. Make sure they're not cold from the fridge for better mixing
- Heavy cream Makes everything super smooth and stops it from getting too thick
- Vanilla extract Adds a nice warm background flavor. Grab the real stuff not the fake kind
- Salt Brings out all the tastes and cuts through the sweetness
- All-purpose flour Just a spoonful keeps things stable without making it taste like bread
How To Make Burnt Basque Cheesecake in a Loaf Pan
- Set up your pan
- Put parchment paper in your loaf pan with extra hanging over the sides. Don't worry about the wrinkles they're part of the look. The extra paper makes it easy to lift out later.
- Mix your foundation
- Whip cream cheese and sugar for a full 3 minutes until it's really light and fluffy. Scrape the bowl a few times to catch any lumps. It should look almost whipped-cream-like.
- Handle the eggs carefully
- Add eggs one by one, mixing for half a minute between each. This slow approach keeps the mix smooth and stops it from separating.
- Pour in the wet stuff
- Add heavy cream, vanilla, and salt. Mix until it looks like thick pancake mix with a nice shine about a minute. Don't rush this part as it affects how the cake turns out.
- Add flour carefully
- Sift flour right into the bowl to avoid lumps, then fold it in with a spatula using gentle up-and-down motions. Don't mix too much or your cheesecake might get tough.
- Bake it hot
- Pour into your lined pan and bake at a high heat 400°F. The hot oven makes that dark top while keeping the inside creamy. It's done when the edges are set but the middle still jiggles a bit like soft jello.
The best thing about making this is watching people try it for the first time. The difference between the caramel-like outside and the soft inside always makes their eyes go wide and they always want the recipe. My next-door neighbor even said it beat any cheesecake she'd had during her trips to Spain.
Knowing When It's Just Right
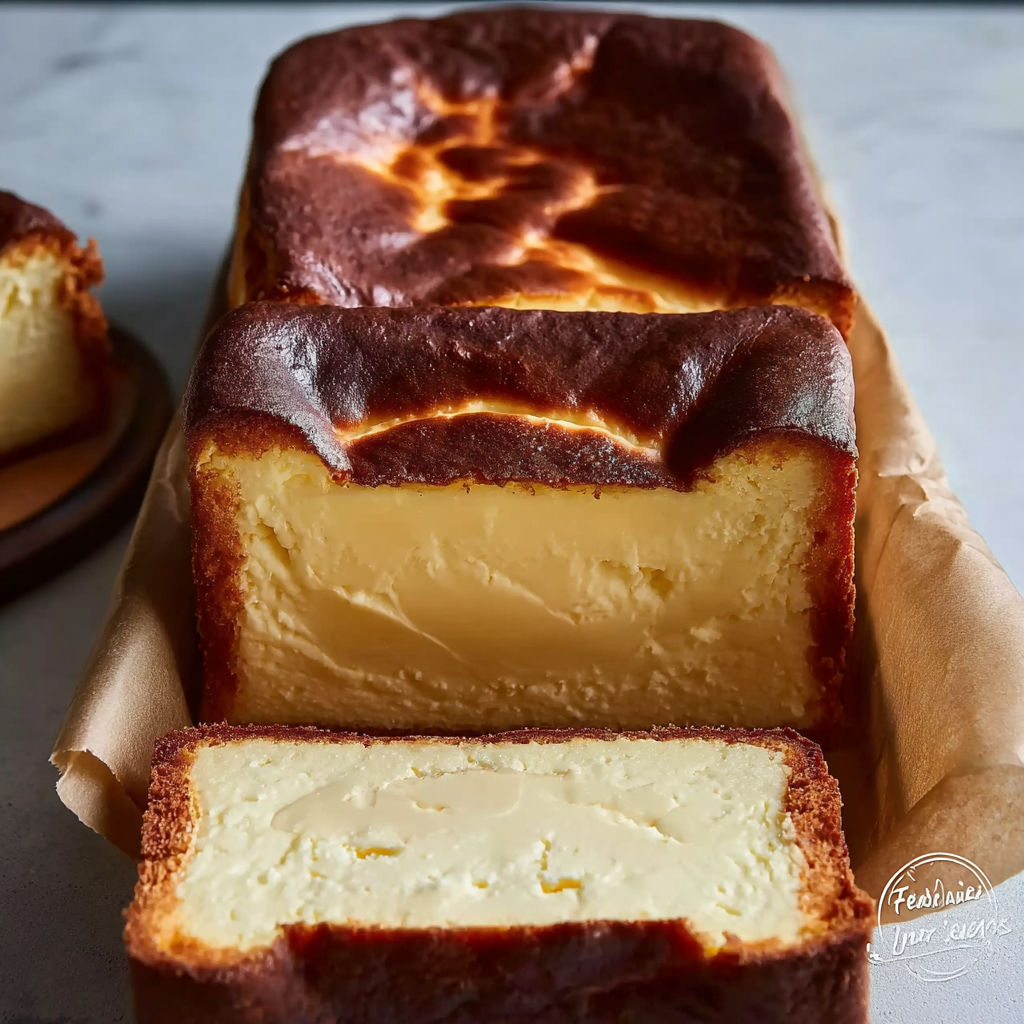
Getting your Basque cheesecake cooked perfectly takes both know-how and gut feeling. Look for deep golden brown edges and a middle that's puffed up but still moves a little when you gently shake the pan. Not enough cooking leaves you with a pudding center that won't set right, but too much makes it too firm and ruins that signature creaminess. Remember it'll keep cooking even after you pull it from the oven.
 Pin it
Storage and Make-Ahead Tips
This cheesecake actually gets better after sitting in the fridge. Keep it covered for up to 5 days, though it tastes best between 1-2 days after baking. The flavors mix together and the inside gets even silkier. You can stick single slices in the freezer wrapped tight in plastic and then foil for up to 2 months. Let them thaw in the fridge overnight for the best results.
Flavor Variations
While the basic recipe is amazing on its own, you can play around with some extra flavors. Try adding a spoonful of lemon zest or a teaspoon of espresso powder to the mix. For a grown-up twist, pour in 2 tablespoons of something like Grand Marnier or Amaretto. Serve it with fresh berries or warm jam to add some bright fruit flavors against the creamy cake.
The Spanish Connection
This cheesecake comes from La Viña restaurant in San Sebastián, Spain, where they've been making it since the 90s. Unlike traditional cheesecakes with cookie crusts and careful baking, Basque cheesecake loves high heat and keeping things simple. The loaf pan version gives you the same amazing taste but works better for smaller families. Every slice shows off that pretty fade from brown outside to creamy middle.
 Pin it
Frequently Asked Questions
- → How can I tell if it's done baking?
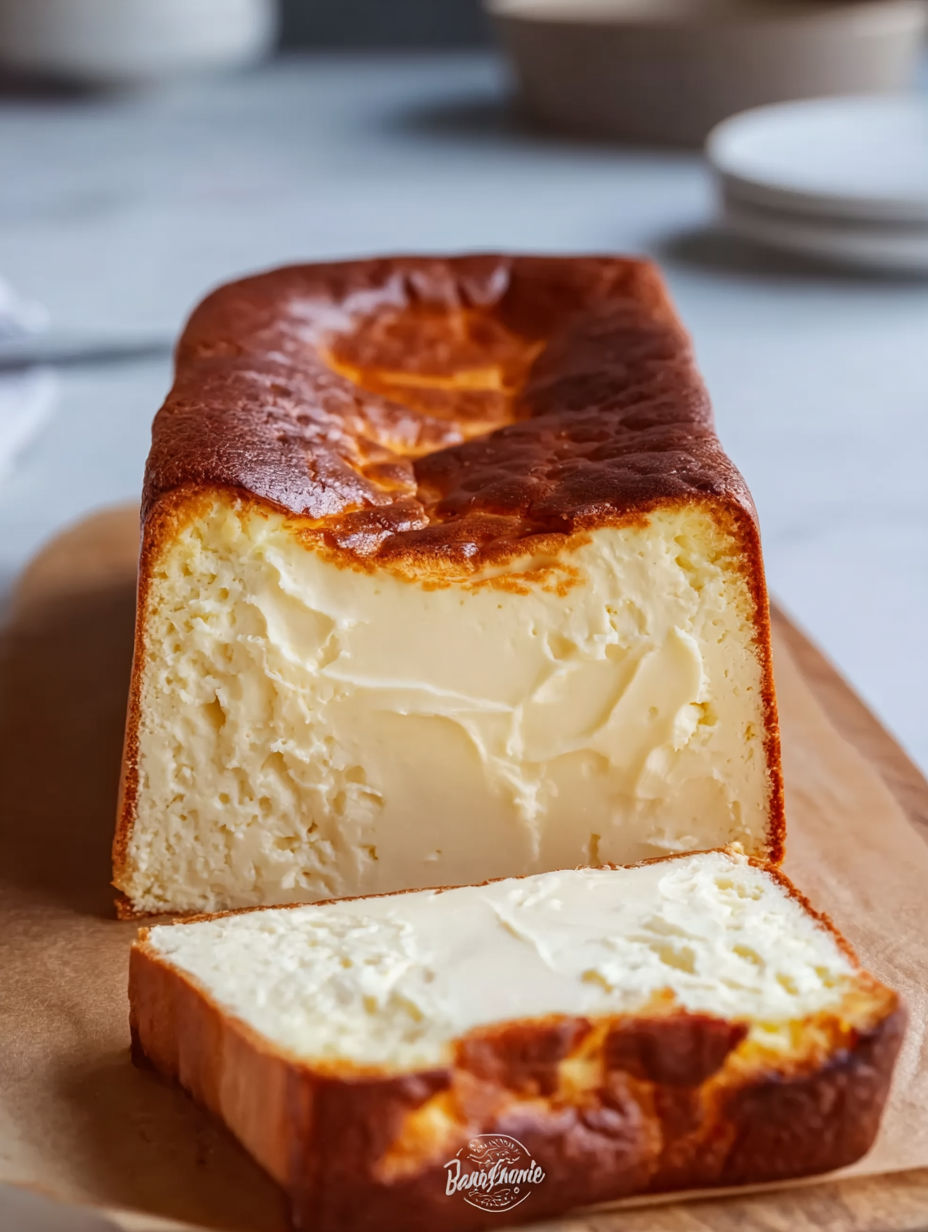
When the top looks deep golden brown—almost burnt—and the middle still wobbles just a bit if you shake the pan gently, you're good to go. Cracks? They add to the charm of this rustic dessert.
- → Is it okay to use low-fat cream cheese?
You'll want full-fat cream cheese here! It’s what gives the cheesecake its creamy, silky texture and rich taste. Low-fat options won't cut it for this style of dessert.
- → Why does it need to chill so long?
Patience pays off! Chilling it for a minimum of 4 hours (or leave it overnight if you can) lets it set perfectly and brings out its flavors. It also helps when slicing, making sure each piece looks clean and polished.
- → Can I customize the flavors?
Sure thing! While it's delicious as is, you can play around – maybe a pop of lemon zest, a splash of liqueur, or a tiny scoop of espresso powder. Just keep it simple so the original flavor still shines.
- → What’s the best way to store leftovers?
Just pop leftovers in the fridge, wrapped up tight or in an airtight box, and they’ll be good for up to 5 days. Take it out and let it warm slightly for the best taste and texture before serving.
- → How's this different from regular cheesecake?
Basque cheesecake is all about a dark, caramelized crust and a texture that’s more like pudding than the dense versions you're used to. No crust, no water bath—instead, it’s cracked, creamy, and wildly flavorful.