
 Pin it
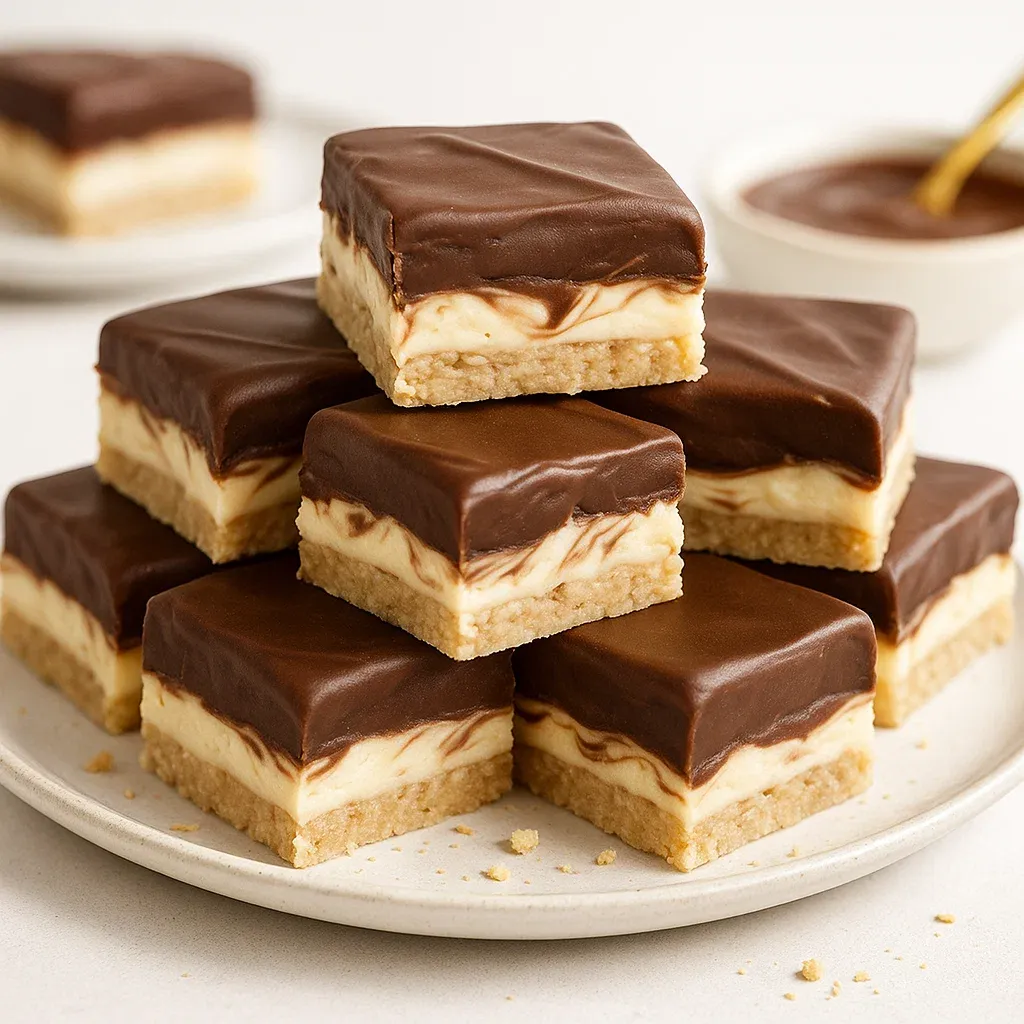
This no-bake Boston Cream Fudge brings together all the tasty elements of Boston Cream Pie in an easy-to-make treat. The swirled layers pack vanilla and chocolate flavors into every bite. You'll wow your friends with how good it looks and tastes, even though it doesn't need any fancy baking skills.
I whipped up this fudge the first time when I needed a quick homemade gift for a Christmas party. I was in a rush but still wanted to bring something special. Everyone was so amazed by the pretty marble pattern and rich taste that now my friends ask me to make it every holiday season.
Ingredients
- Granulated sugar: gives the sweet base and helps create the right fudge consistency
- Unsalted butter: brings richness and makes the fudge melt as you eat it
- Heavy cream: gives that smooth, creamy texture that good fudge needs
- Light corn syrup: keeps the sugar from getting grainy so your fudge stays smooth
- White baking chocolate: creates the vanilla layer - get good quality for better flavor
- Marshmallow cream: keeps the fudge structure right and gives it that perfect soft texture
- Vanilla extract: boosts the creamy flavor - try to use the real stuff
- Unsweetened cocoa powder: makes the chocolate layer - Dutch process gives deeper color
- Semi sweet chocolate chips: for the top layer - pick ones that melt without lumps
- Vegetable oil: makes the chocolate coating flow better for easy dipping
How To Make Boston Cream Fudge
- Set Up Your Pan:
- Put parchment paper in an 8x8 inch pan with extra hanging over the sides so you can lift it out later. Spray lightly with cooking spray to make sure nothing sticks. This step really matters for getting nice-looking pieces.
- Mix The Fudge Base:
- Put sugar, butter, heavy cream, and corn syrup in a thick pot over medium heat. Keep stirring until it starts bubbling well, about 3 minutes. Keep stirring while it boils for another 4 to 5 minutes until your candy thermometer shows 235 to 240°F. Getting this temperature right makes sure your fudge turns out perfect.
- Mix In The White Chocolate:
- Take the pot off the heat and right away stir in the chopped white chocolate until it's completely melted. Then mix in the marshmallow cream and vanilla until everything's blended. The mix should look shiny and thick. Work fast because it'll start getting firm as it cools.
- Make The Layers:
- Pour about three-fourths of the white fudge into your pan and spread it out evenly. Add cocoa powder to what's left and stir until it's completely mixed. This makes your chocolate part that's like the filling in Boston cream pie.
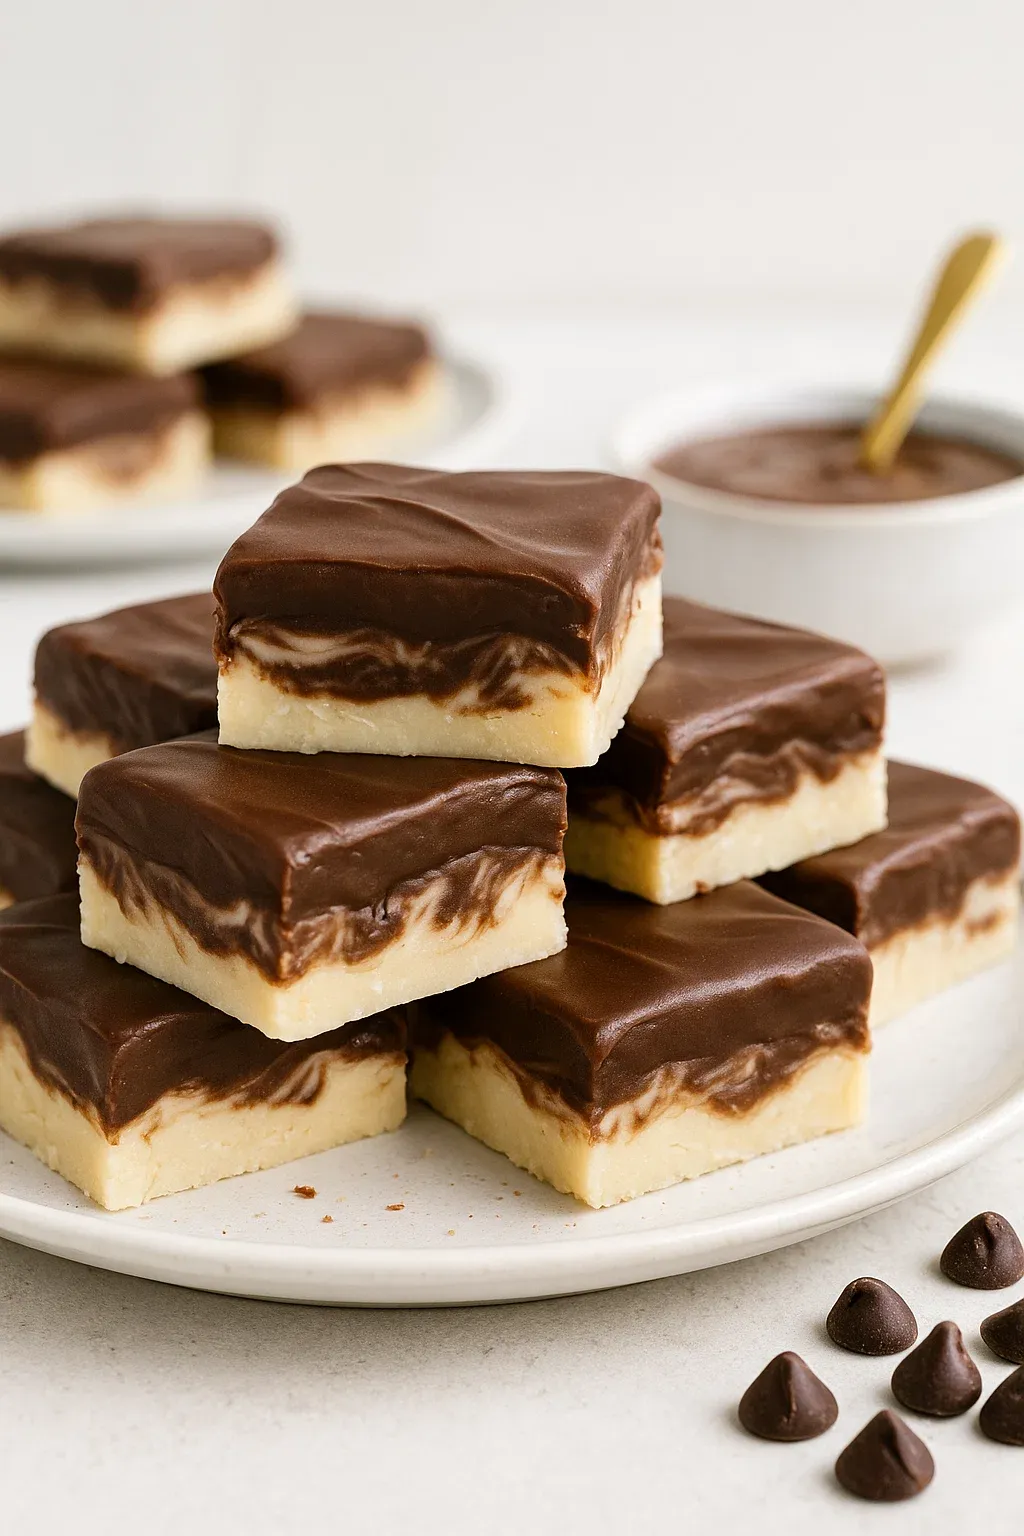
- Create The Swirl Pattern:
- Carefully spoon the chocolate mix over the white layer. Take a toothpick or skewer and gently swirl them together with just a few moves. Don't mix too much - you want to see clear layers with pretty swirls when you cut it.
- Let It Cool:
- Leave the fudge at room temperature for about an hour, then cover it with foil and put it in the fridge for another hour. Cooling it slowly helps get the texture just right. When it's completely firm, use the parchment paper to lift it out of the pan.
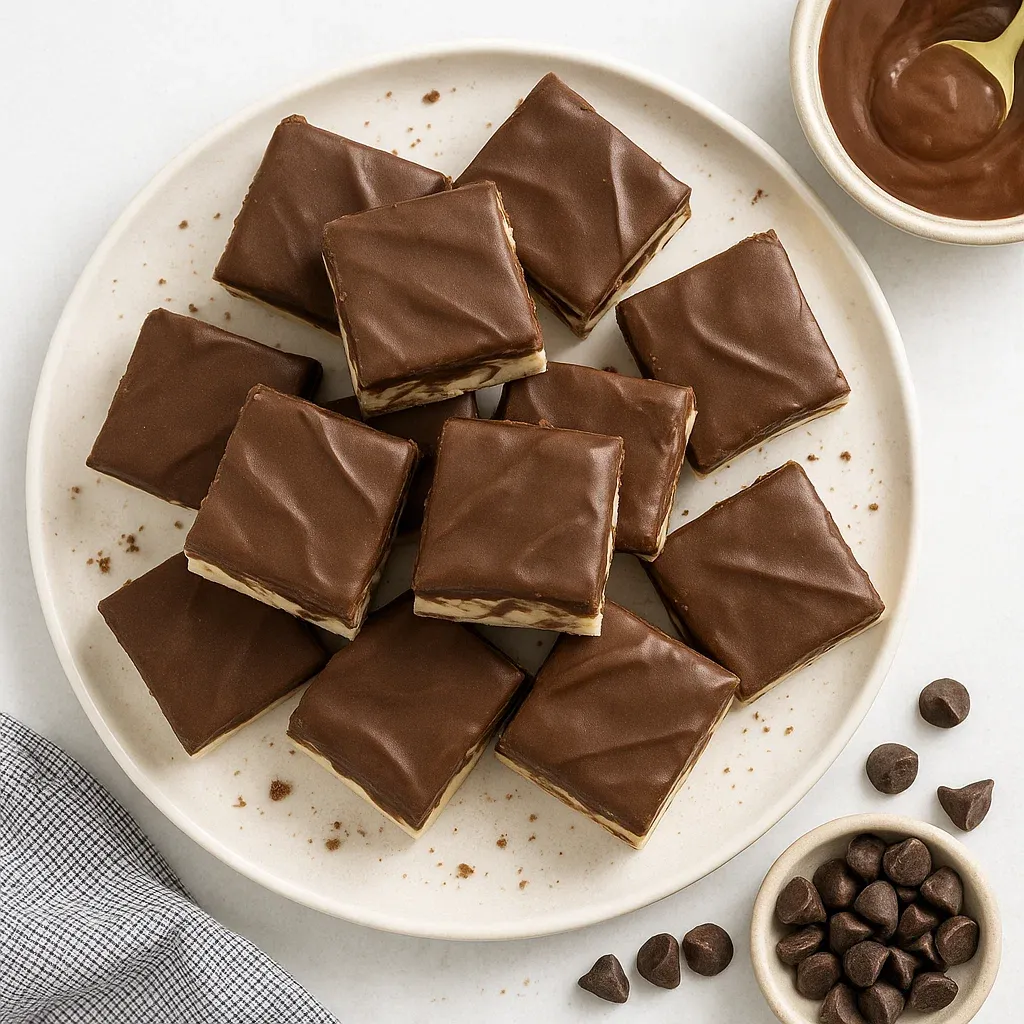
- Finish With Chocolate:
- Cut the fudge into squares. Melt chocolate chips with oil in the microwave, heating for short times and stirring in between. Dip the top of each fudge square into the melted chocolate, let extra drip off. Put them on parchment paper until the chocolate hardens before serving or storing.
 Pin it
Marshmallow cream is really the key to making this fudge special. Some folks use condensed milk in fudge, but marshmallow cream gives you that super smooth, creamy feel that matches the custard in real Boston Cream Pie. My grandma showed me this trick a long time ago, and I've made all my fudge this way ever since.
Storage Tips
Keep your fudge fresh by storing it in a sealed container at room temperature for up to a week. Put parchment paper between the layers so they don't stick together. If you want to keep it longer, stick it in the fridge for up to three weeks. You can even freeze it for up to three months - just wrap each piece in plastic wrap and put them in a freezer bag. When you want to eat frozen fudge, let it thaw in the fridge overnight before serving.
 Pin it
Substitution Options
Want stronger vanilla taste? Swap in vanilla bean paste instead of extract, using the same amount. If you can't have dairy, try coconut cream instead of heavy cream and plant butter instead of regular butter. Don't have marshmallow cream? You can melt 7 ounces of marshmallows with 2 tablespoons of corn syrup as a stand-in. For a more intense chocolate layer, add an extra tablespoon of cocoa powder or use dark cocoa powder to kick up the flavor.
Serving Suggestions
Show off this fudge on a dessert plate with fresh berries and coffee for a nice after-dinner sweet. For fancy parties, put single pieces in mini cupcake papers and arrange them on a tiered stand. This fudge tastes great with coffee, tea, or sweet wines like port. For an extra special treat, warm a piece slightly and top it with a small spoonful of whipped cream to make it even more like traditional Boston Cream Pie.
The History Behind Boston Cream Fudge
This sweet treat takes its cues from Boston Cream Pie, which first appeared in 1856 at the Parker House Hotel in Boston. The original dessert had cake with custard filling and chocolate on top, all flavors you'll find in this fudge version. Boston Cream Pie was actually groundbreaking because it was one of the first American desserts to use chocolate as a topping rather than mixing it in. This fudge honors that classic by keeping all those same flavors but making them way easier to prepare in a new form.
Frequently Asked Questions
- → How can I make sure the fudge doesn’t stick to the pot?
Keep stirring the mixture and don’t leave it unattended while it cooks. Work over medium heat and lower it if needed to avoid sticking or burning.
- → What’s the trick to getting the swirl effect?
After pouring the cocoa layer over the white layer, take a toothpick and drag it gently through the layers. A few swipes will create the perfect swirl. Don’t overdo it!
- → Do I have to refrigerate for it to set?
Not necessarily. If it’s a cool day, place the fudge in a room-temperature spot to firm up. Otherwise, stick it in the fridge for faster results.
- → What if there are chunks left in the melted chocolate?
Warm it gently and keep stirring. Remaining bits should melt with the heat. Don’t panic—it’ll smooth out.
- → Can I substitute salted butter for unsalted?
Sure! But remember, it might taste slightly saltier. Skip adding extra salt if you’re swapping it.