
 Pin it
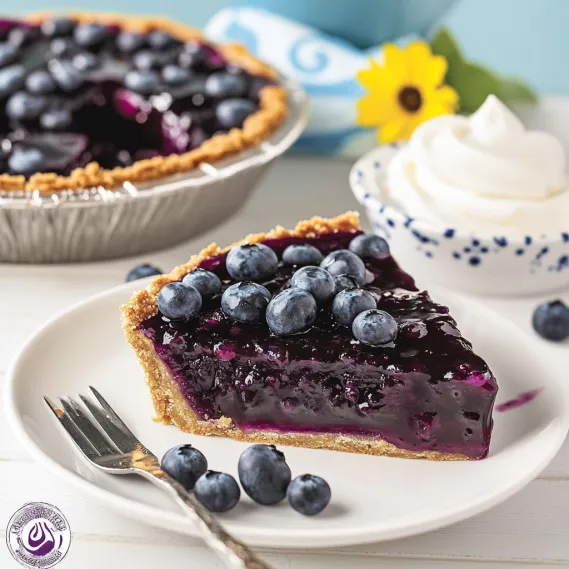
This blue Jell-O pie has the best mix of sweet and tangy flavors in a treat that'll wow everyone. The buttery Golden Oreo base sets the stage for a bright blue filling loaded with juicy berries throughout.
I came up with this idea last summer when my local farmers market was swimming in fresh blueberries. Now my family begs for it whenever these berries are available, and it's turned into our favorite summer party dessert.
- Golden Oreo cookies: Give a sweet, crumbly foundation that works amazingly with the berry filling
- Granulated sugar: Cuts through the natural sourness of the berries
- Cornstarch: Helps the filling firm up so you can cut clean slices
- Fresh blueberries: The main attraction - some mashed and cooked, others left whole for a nice bite
- Berry Blue Jell-O: Boosts the berry flavor and creates that eye-catching blue color
- Salted butter: Brings depth to the crust and highlights the sweetness
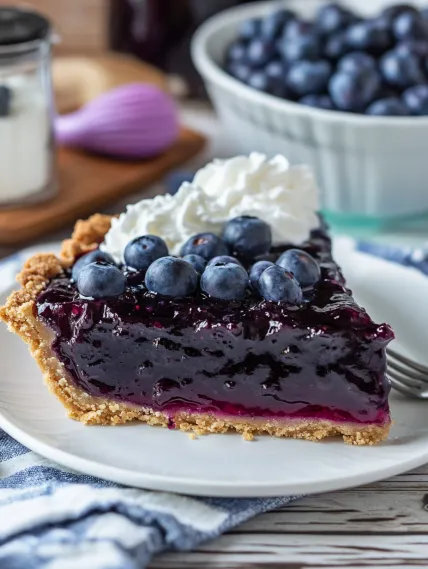
- Cool Whip: Adds a fluffy, light topping that balances the fruity filling
Making A Delicious Blueberry Jell-O Pie
- Mix up the berry foundation:
- First, put water and sugar in a medium pot over medium heat. Let it bubble gently until all sugar melts away, making a sweet liquid base for your filling.
- Get your thickener ready:
- Mix water and cornstarch in a small bowl until smooth. This mixture is key for getting that perfect wobble in your pie that'll still hold its shape.
- Make the filling:
- Pour your cornstarch mix into the simmering sugar water and stir well. Add some of your blueberries and cook them until they pop and release juice. Keep cooking about 10 minutes until it gets really thick.
- Add the Jell-O magic:
- Mix in the Berry Blue Jell-O until it's fully dissolved. This makes your filling extra blue and flavorful. Take it off the heat and let it cool all the way down before moving on.
- Put together the crust:
- Crush Golden Oreos into tiny crumbs using a food processor or by smashing them in a bag. Mix with sugar and melted butter until it looks like damp sand. Push firmly into your pie dish, covering the bottom and sides evenly.
- Quick-bake the crust:
- Bake at 350°F for just 10 minutes until it sets but doesn't brown. Let it cool completely before adding filling so it stays crunchy.
- Finish the filling:
- When your blueberry mix has cooled down, carefully stir in the rest of your fresh blueberries. This gives you that nice mix of jammy filling with whole berries scattered throughout.
- Put it all together and wait:
- Pour your finished filling into the cool crust, spread it out, and put it in the fridge for at least 4 hours until totally set. This cooling time lets everything firm up so you can cut perfect slices.
 Pin it
I gotta tell you, Berry Blue Jell-O is my hidden trick in this pie. You might want to skip it and go all-natural, but I found it gives that wow-factor color and flavor that makes everyone remember this dessert. My grandma used to make something similar, and the first time I served this to my family, they couldn't stop talking about summers spent on her porch.
Keeping It Fresh
This pie stays good in the fridge for about 4 days. Just cover it loosely with plastic wrap after it's set. The crust might get a bit softer as days go by but will still taste great. I'd wait to put any whipped topping on until you're ready to serve. If you need to prep way ahead, you can freeze the whole pie for up to 2 months. Just let it thaw in the fridge overnight before serving.
 Pin it
Other Berry Options
Blueberries shine in this recipe, but you can switch things up with other berries too. Blackberries work really well paired with Black Cherry Jell-O for a similar look. For strawberries, go with Strawberry Jell-O and cut back on sugar a bit since they're naturally sweeter. You can even try a mix of blueberries, raspberries, and blackberries with Berry Blue or Mixed Berry Jell-O. Just make sure you use the same total amount of fruit so it sets properly.
Ways To Serve It
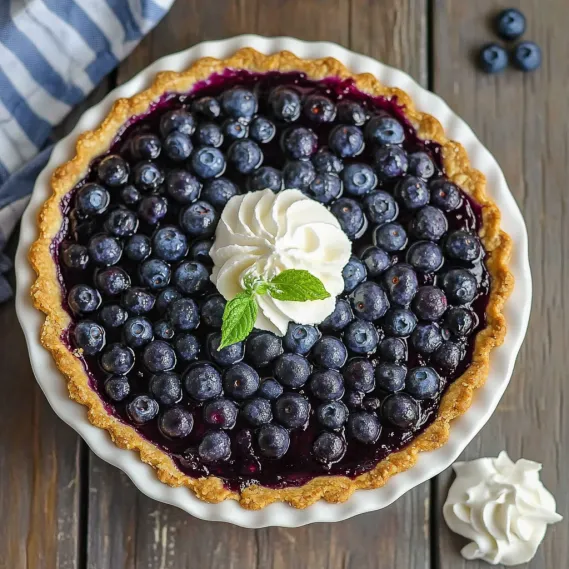
This pie looks amazing with a big spoonful of fresh whipped cream or Cool Whip on top. For fancy occasions, add a few extra blueberries and a mint leaf as garnish. It tastes fantastic with a scoop of vanilla ice cream for something more decadent. At brunch, try it with a glass of bubbly or a mimosa. The bright blue color makes it perfect for summer holidays like Memorial Day or Fourth of July when you want red, white, and blue foods on your table.
Where Jell-O Pies Came From
Jell-O pies became super popular in American homes during the 50s and 60s when everyone loved quick and easy foods. These simple desserts showed up at every potluck and family dinner, mixing homemade touches with modern shortcuts. My recipe updates the classic by using real fruit instead of just artificial flavors, so you get a dessert that feels nostalgic but tastes fresh and current.
Frequently Asked Questions
- → Are frozen blueberries OK to use?
Totally! Fresh berries add the best touch, but frozen ones work too. Just thaw and strain them first to remove extra moisture before mixing.
- → What’s the secret to a firm crust?
To keep your crust sturdy, press the Oreo crumbs tightly into the pan. A spoon or small glass helps pack it down evenly, so it stays in place after cooling.
- → Can Jell-O be swapped out?
If you’d rather not use Jell-O, try using plain gelatin with a berry puree or juice. The flavor might shift a bit, but it works great.
- → How long does the filling need to chill?
Pop it in the fridge for at least 4 hours to firm up nicely. Letting it sit overnight makes it even better!
- → Got no Golden Oreos? Use what?
No Oreos, no problem! Graham crackers, vanilla wafers, or even digestive biscuits can make a decent base for your pie.
- → What’s the best way to store leftovers?
Keep any extras in the fridge, tightly wrapped or in a sealed container. Eat it within 3 to 4 days for the best texture and taste.