
 Pin it
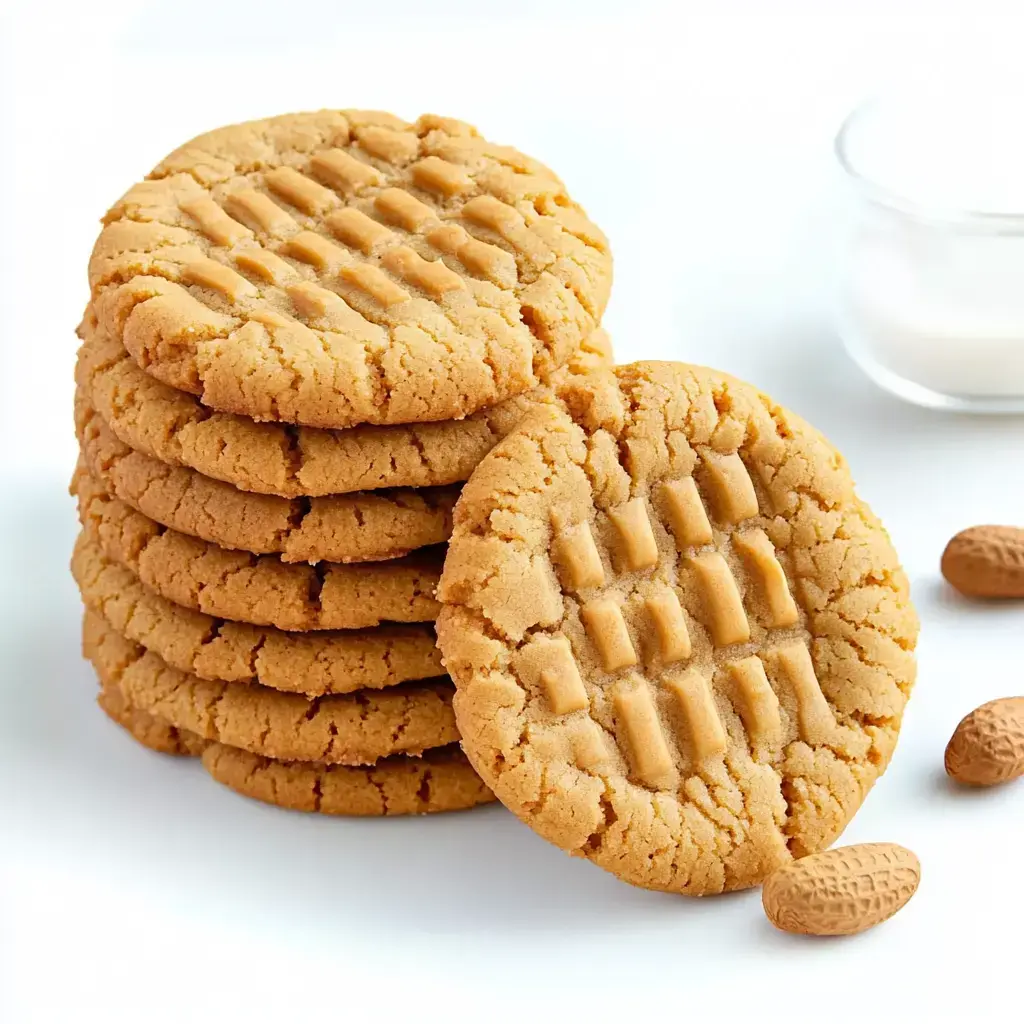
My family swears by these Peanut Butter Cookies as the tastiest treats that take almost no effort. The crisscross design and nutty taste have made them a beloved snack in our home. What's so great? You can whip these up with basic stuff you've already got in your kitchen.
Their Origin Story
The backstory of these simple peanut butter cookies goes way back. That famous criss-cross pattern we all love came from Ruth Wakefield back in 1936. Then Betty Crocker helped everybody know about them. Our take blends these old traditions into something any baker can nail, no matter their skill level.
What You'll Need
- Peanut Butter: Grab Jif or Skippy for best results, nothing complicated needed.
- Flour: Standard all-purpose works perfectly here.
- Butter: Go with the real stuff for that wonderful flavor.
- Sugar: You'll need both brown and white to get that awesome texture.
- Egg: Just one will do the trick.
- Salt: A tiny bit makes everything taste better.
- Baking Soda and Baking Powder: These create the ideal cookie structure.
Simple Instructions
- Pick Your Spread
- Stick with popular creamy peanut butter brands for best results. The fancy natural kinds might sound better, but they'll make your cookies fall apart. Regular PB has stuff that keeps cookies together just right.
- Get Set Up
- Start by putting parchment on your baking sheets and warming your oven to 350°F. Being ready makes everything go smoother. Keep some extra sugar nearby in a small dish for making those fork marks.
- Creating The Pattern
- Try this handy tip: dunk your fork in sugar between presses. This stops dough from sticking and adds a nice sparkly touch. Press lightly so you don't squash the cookies too flat.
- Watch The Oven
- Keep an eye on them while they bake. You want just slightly golden edges with soft middles. They'll get firmer as they cool, giving you that perfect chewy bite everyone wants.
- Let Them Rest
- After baking, leave cookies on the hot sheet about 5 minutes. They're super soft at first and need time to set. Then move them to a rack where they can cool completely and reach their best texture.
Tasty Twists
- Sugar Coating: Roll them in sugar for a sweet crunch outside.
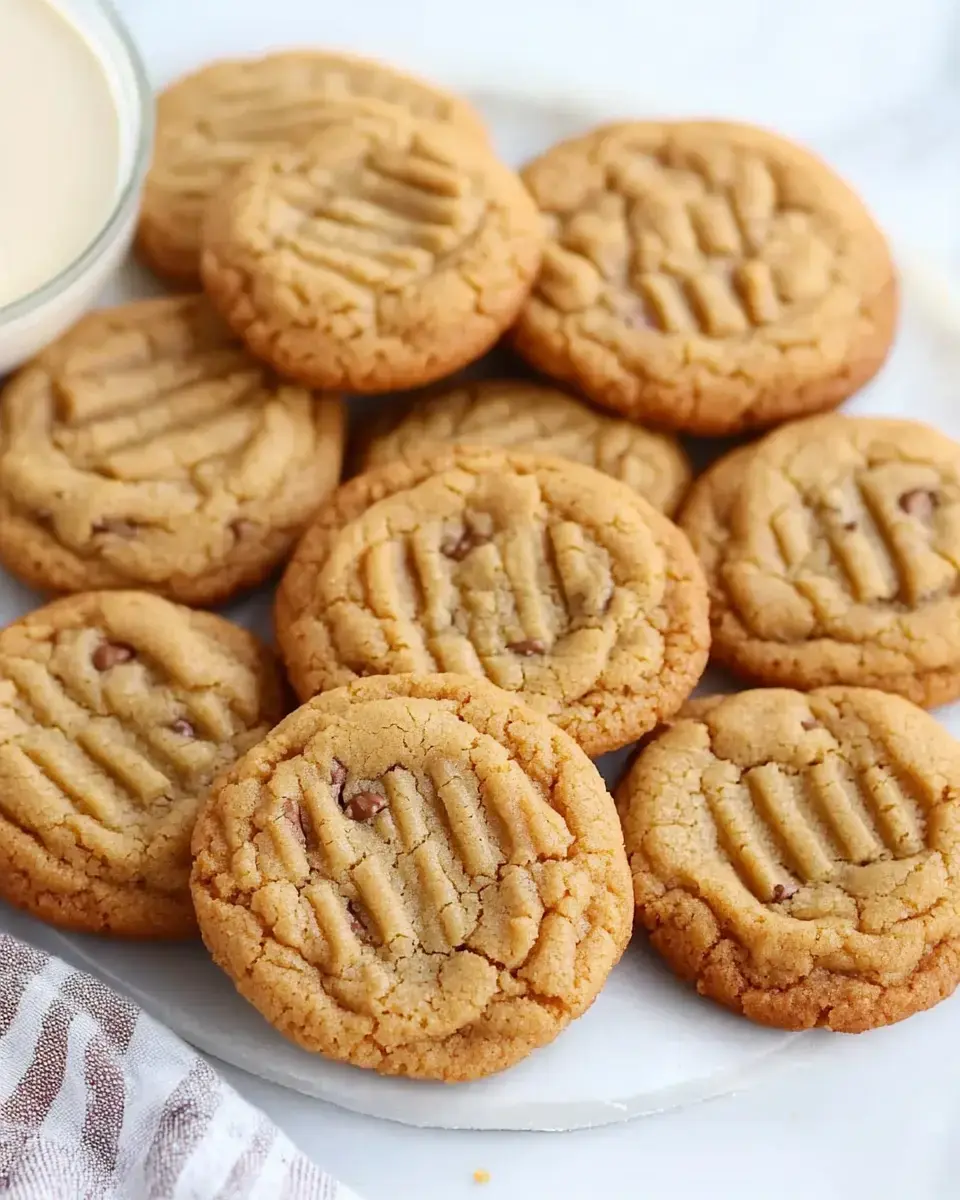
- Hershey's Kiss: Push a chocolate kiss into the center for a candy surprise.
- Almond Butter: Switch up the nut butter for a different flavor profile.
 Pin it
Keeping Them Fresh
Store your cookies in something airtight to keep them tasty. Want to plan ahead? You can freeze the shaped dough balls for up to 3 months. This works great for busy folks - just pop them straight from freezer to oven and add a few extra minutes of baking time.
What Makes Them Special
These Peanut Butter Cookies always bring joy when I make them. They turn out great whether you've baked for years or this is your first try. They show how the tastiest things don't need fancy techniques or weird ingredients.
Frequently Asked Questions
- → Why do you recommend regular peanut butter?
Peanut butters with separated oils can mess up the texture and make the cookies spread too much.
- → Do I really need to chill the dough?
Yes, this stops the cookies from spreading out too much and helps them hold their round shape.
- → Can crunchy peanut butter work instead?
Absolutely! It’ll add a bit more texture compared to smooth peanut butter.
- → Why dip the fork in sugar before making the pattern?
It stops the fork from sticking to the dough when pressing the crosshatch design.
- → What’s the reason for baking just one tray at once?
This ensures all the cookies bake evenly and brown just right.