
 Pin it
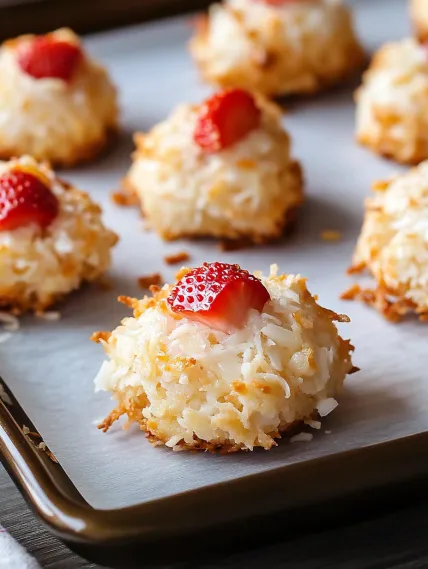
These coconut strawberry bites give you everything you want in one mouthful - a slightly crunchy outside that leads to a wonderfully sticky center. Chunks of real strawberries add splashes of flavor and cute pink spots throughout. You only need six basic items and hardly any prep time for these gluten-free treats. They pack tons of enjoyment with minimal work. It's a fantastic way to use up those sweet summer berries in a handheld treat that looks as good as it tastes.
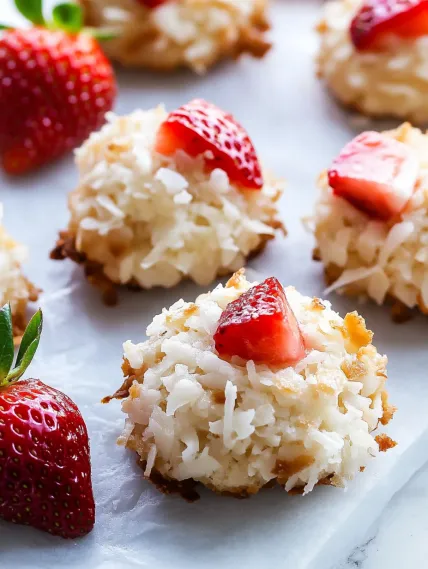
I came up with these strawberry coconut bites when I needed to use up all the berries I bought at our farmers' market. What started as just trying something new has turned into something everyone asks for. Even my coconut-hating neighbor wants these whenever strawberries show up at the market - the fresh berry flavor works so well with the coconut that it wins over folks who usually avoid coconut stuff.
Key Components and Smart Shopping Advice
- Sweetened Shredded Coconut: This main item gives your cookies that wonderful chewy feel and island-like taste.
- Egg Whites: They hold everything together and make that magic happen - crispy outside, chewy inside.
- Granulated Sugar: Adds sweetness and helps everything stick together. Don't try using less or your cookies will fall apart.
- Fresh Strawberries: Go for bright, sweet-smelling ones for best taste, but watch they aren't too soft or watery.
- Vanilla Extract: Makes both the coconut and strawberry flavors even better.
- Almond Extract: Just a tiny bit adds something special that takes these simple cookies up a notch.
Your strawberry quality really matters in these treats. I've found that buying from local farms during growing season works best, but when good fresh berries aren't around, you can use freeze-dried strawberries instead (check the notes below). Don't ever use frozen strawberries - they let out too much water and will mess up your cookies completely.
Step-by-Step Baking Guide
- Step 1: Mix Your Foundation
- Grab a big bowl and throw in 5 cups sweetened shredded coconut, 4 large egg whites, 1/2 cup granulated sugar, 1 teaspoon vanilla extract, and 1/2 teaspoon almond extract. Stir it all together until every bit of coconut gets coated. Let it sit for 30 minutes so the coconut can soak up the liquid - this keeps your cookies from spreading out when baking.
- Step 2: Add The Berries
- While waiting, chop 1 cup of fresh strawberries into tiny pieces. Put the chopped berries on paper towels and pat them with more paper towels to get rid of extra juice. Gently mix the dried berries into your coconut stuff until they're spread out evenly. You'll end up with a thick, sticky mixture dotted with pretty red and pink spots.
- Step 3: Form Your Cookies
- Heat your oven to 325°F and put parchment paper or silicone mats on two baking sheets. Use a cookie scoop or spoon to make packed little mounds (about 1 1/2 tablespoons each) and place them 2 inches apart. For better shapes, wet your hands slightly and gently press each mound into a nicer dome shape.
- Step 4: Bake Until Golden
- Bake them for 20-25 minutes until the tops and edges turn light gold. The middles will still feel soft but will harden as they cool down. If your oven cooks unevenly, turn the pans around halfway through. Watch them carefully near the end so they don't get too brown.
- Step 5: Cool and Upgrade
- Let the cookies cool completely on the baking sheets. If you want to make them extra fancy, dip the bottoms in melted dark chocolate or drizzle some on top. Wait for the chocolate to harden before eating or storing. They actually taste better the next day, so they're great to make ahead.
 Pin it
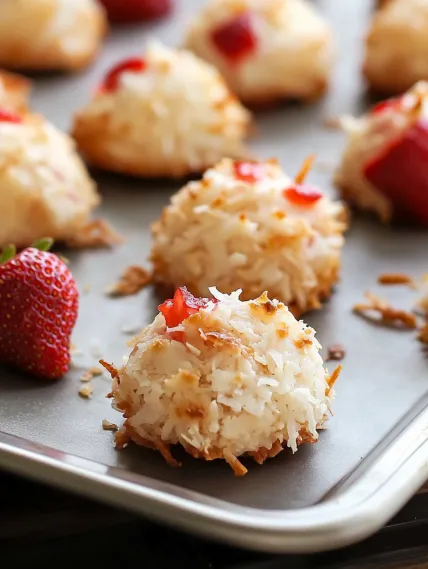
I found out why drying the strawberries matters when I messed up my first try. I added the berries right after cutting them, and my cookies turned into flat pancakes in the oven! Now I always take a few extra minutes to pat away the juice for perfectly shaped treats every time.
Finding That Amazing Texture
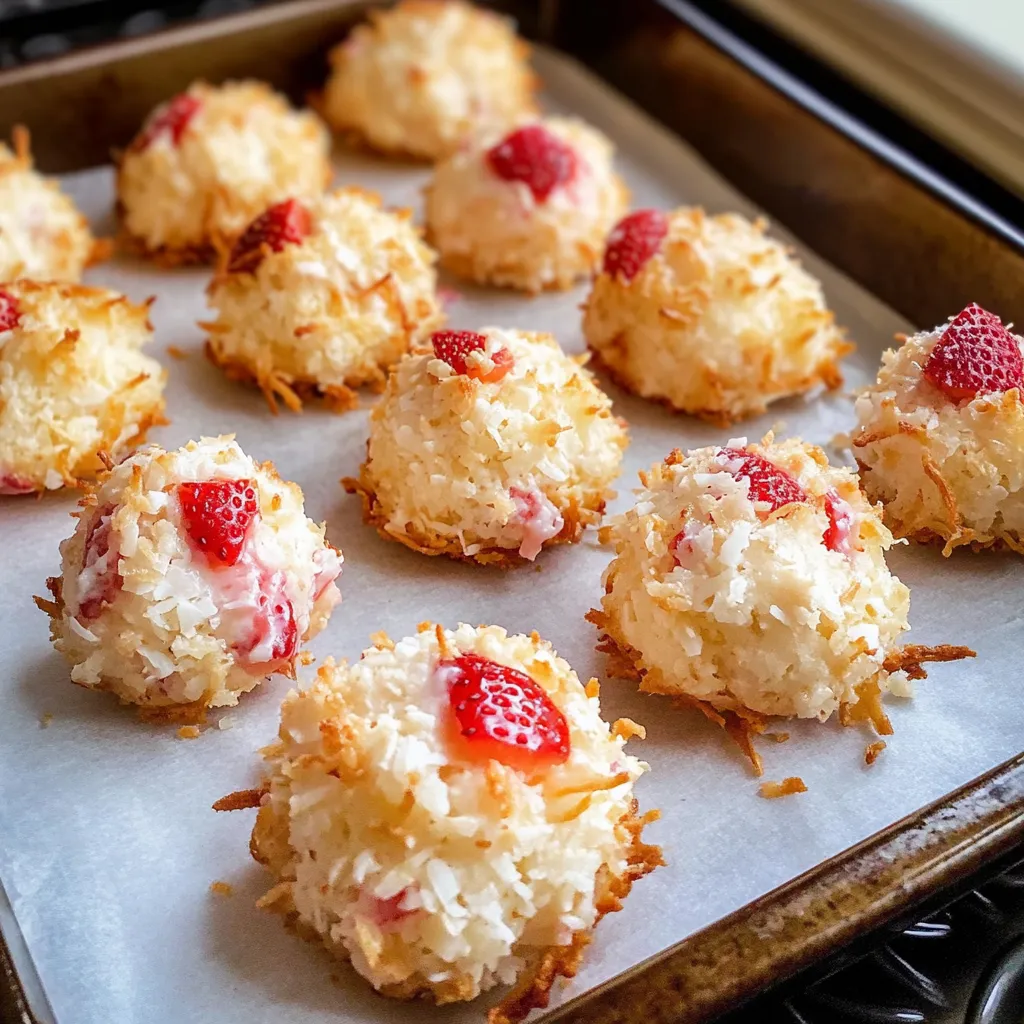
Getting that perfect cookie texture - crisp on the outside and chewy inside - comes down to using the right amount of each ingredient and baking at just the right temperature. After making many batches, I've learned that 325°F works best. It lets the outside get gently toasted while keeping the inside moist and chewy. Baking hotter browns the coconut too fast before the middle sets, while cooler temps don't give you that nice golden outside. I also found that lightly squeezing the coconut mixture helps make a more solid cookie that holds its shape better while baking. My kids love helping with this part, using their damp hands to shape each cookie - though I've noticed the amount of mixture seems to get smaller during this step!
 Pin it
Fun Flavor Twists
The strawberry version has become my go-to, but I've tried several other versions that turned out just as good. For something tropical, swap the strawberries with tiny chunks of fresh pineapple (drain it really well) and add a teaspoon of lime zest. In fall, I sometimes use finely diced apples that I've quickly cooked with cinnamon, then cooled and drained. For holiday parties, dried cranberries soaked in orange juice and then drained work great. My personal favorite for chocolate fans is adding 2 tablespoons of cocoa powder to the main mix and throwing in chopped dark chocolate along with the strawberries. Once you get the basic method down, you can come up with all kinds of tasty versions!
Ways to Make Them Look Special
These treats naturally look pretty with their golden outsides and pink-flecked insides, but for special events, I like to fancy them up a bit. For wedding showers, I dip half of each cookie diagonally in white chocolate and add a sprinkle of pearly sugar for a classy look. For kids' parties, I've made the cookies a bit flatter and topped each with a swirl of cream cheese frosting and a small slice of fresh strawberry. When serving them at dinner parties, I often put a single cookie next to a scoop of vanilla ice cream with fresh strawberry sauce for a deconstructed dessert that always makes guests smile.
Prep Ahead and Storage Ideas
One thing I really like about these cookies is how well they keep. They actually taste better and have a nicer texture after sitting for a day as the strawberry flavor spreads throughout. You can make them up to three days before you need them and just keep them in a sealed container in your fridge. For longer storage, they freeze really well for up to 3 months - just let them thaw in your fridge overnight before serving. If you've put chocolate on them, put pieces of parchment paper between layers when storing so they don't stick together. I often make twice as many, freezing half for unexpected guests or when I want something sweet. Just 20 seconds in the microwave makes a frozen cookie taste fresh again.
 Pin it
These strawberry coconut treats have become what everyone expects me to bring to spring and summer get-togethers. There's something really special about chewy coconut mixed with fresh strawberries that just feels like warm weather in every bite. And nobody needs to know how easy they are to make with just a handful of ingredients - that can be our little secret!
Frequently Asked Questions
- → Do I need to chill it?
- Yep, helps keep the mixture firm for shaping.
- → What berry options work?
- Use fresh or freeze-dried, but skip frozen ones.
- → How long do I bake them?
- Bake for 20-22 minutes and turn the pans halfway.
- → Can I freeze them?
- Yeah, freeze up to 2 months—just thaw in the fridge.
- → Good for parties?
- Totally! They're an easy grab-and-go snack.