
 Pin it
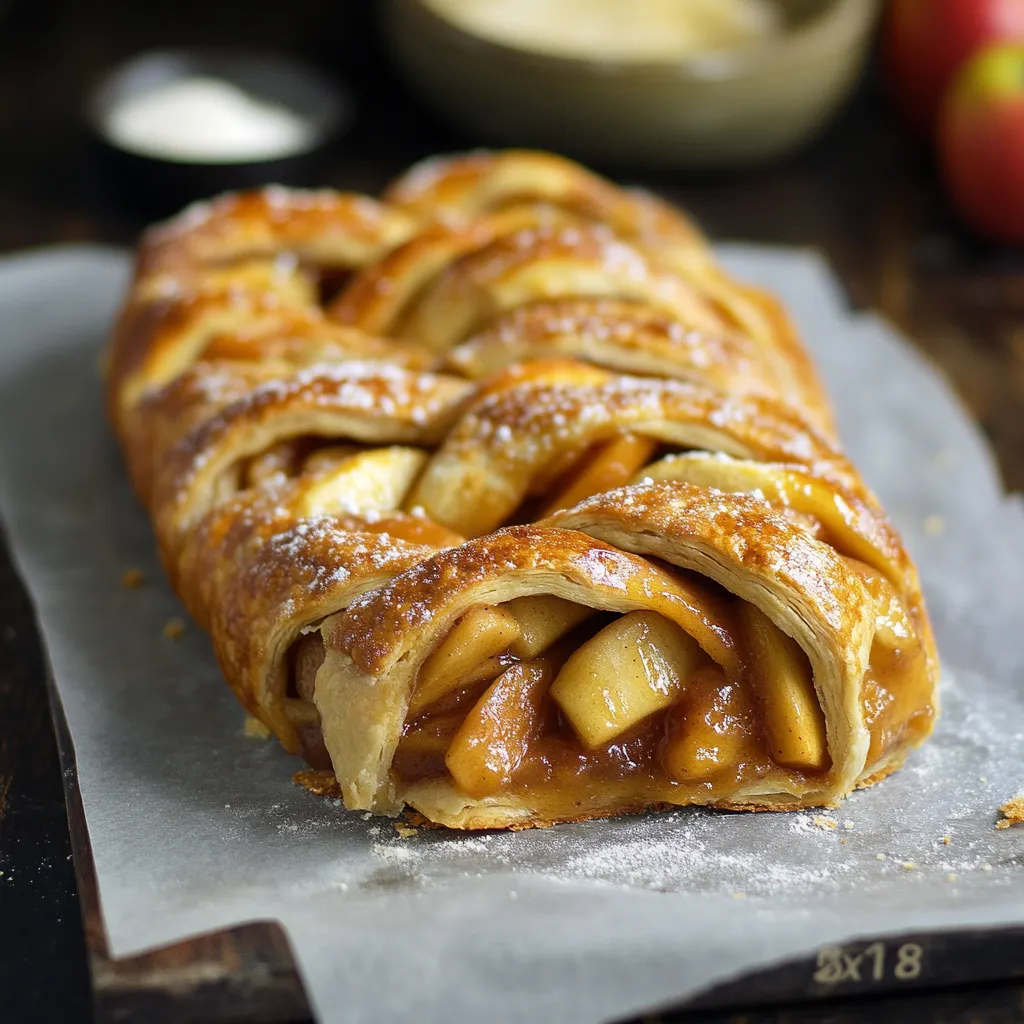
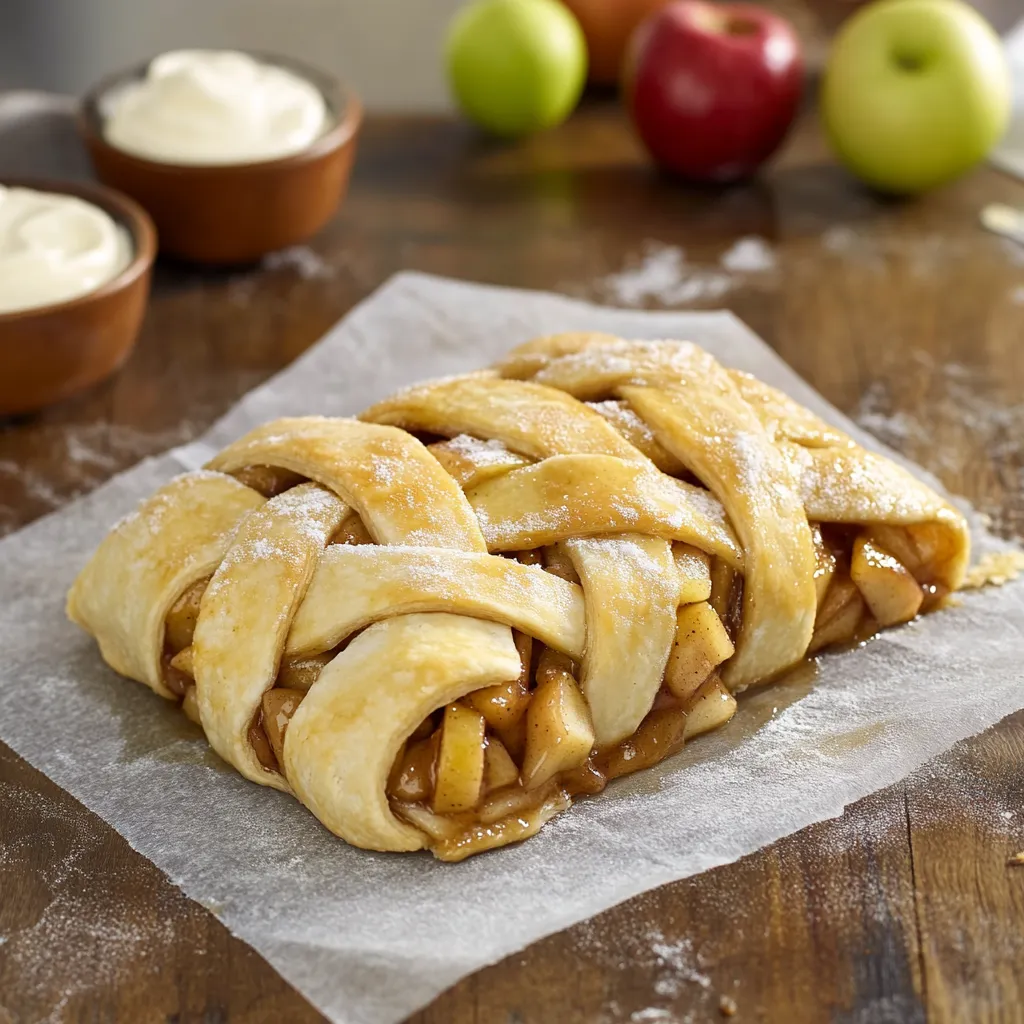
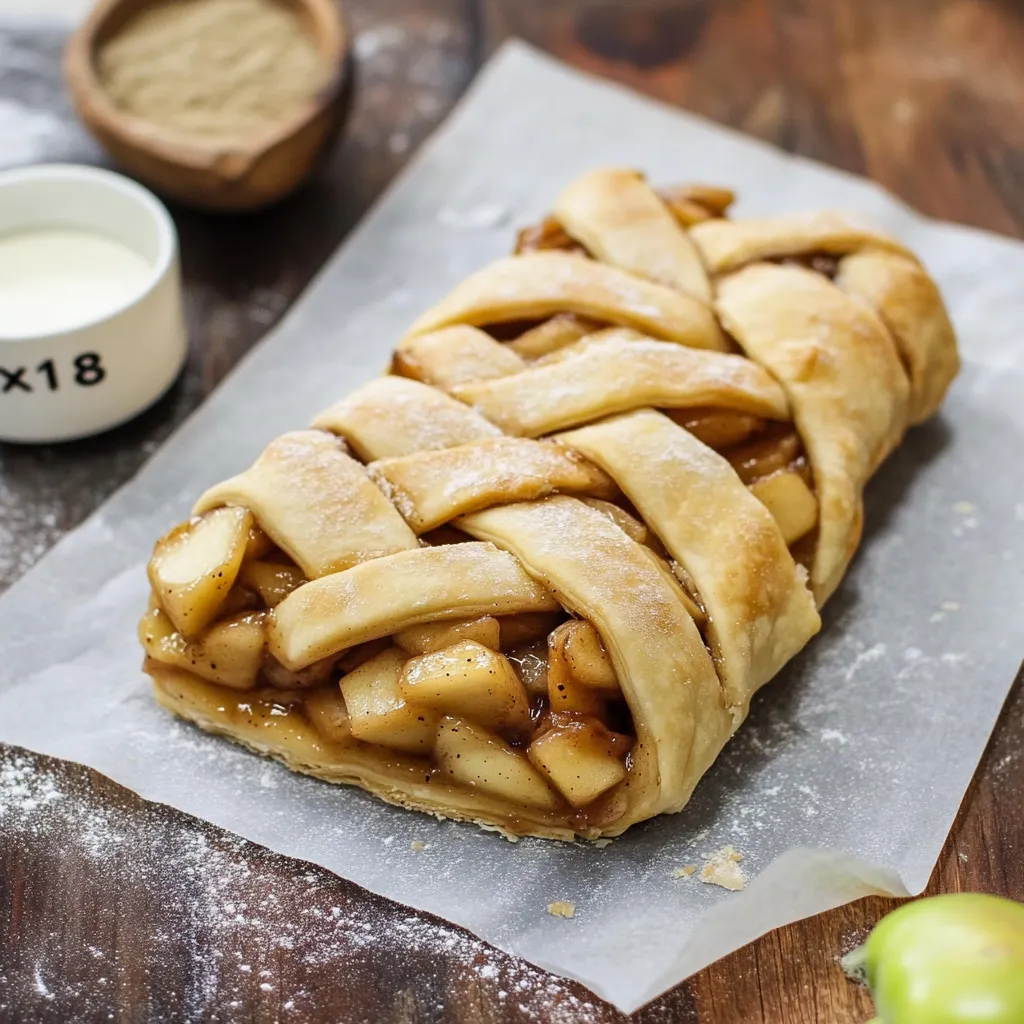
A braided apple pie elevates the classic dessert into a gorgeous showpiece that's both mouthwatering and eye-catching. The crispy, butter-rich pastry interlaces to display a warmly spiced apple mixture, delivering an unforgettable blend of textures and autumn tastes in every mouthful. This approach nails the sweet spot between old-fashioned comfort and fancy presentation.
I've baked this pie so many times for family get-togethers, and people always gasp when they see it. My little niece wanted it instead of cake for her birthday last autumn - that's how much everyone in our family loves it.
Key Ingredients and Smart Picking Advice:
- Apples - Go for crisp, sweet-tart kinds like Honeycrisp or Granny Smith. They stay firm while baking, and their sharpness cuts through the sweetness
- Cornstarch AND flour - These work together for just the right texture; cornstarch makes a clear gel, while flour gives it body
- Brown sugar - Brings richness and hints of caramel that work wonderfully with the fruit
- Butter - Pick unsalted so you can control the saltiness; better butter means a richer filling
- Coarse sugar - Don't leave this out for the top; it gives a wonderful crackly bite and pretty sparkle
 Pin it
Clear Instructions From Start to Finish:
- Nailing the Filling
- Use butter that's been sitting out so it melts smoothly
Slice apples to the same 1/4-inch thickness so they cook evenly
Mix gently but often while cooking to stop sticking
Look for when the apples start getting juicy - that's your signal to add thickeners - Getting the Braid Right
- Keep dough cool but bendable; if it feels too warm, stick it in the fridge for 15 minutes
Grab a ruler for cutting even strips
Move with purpose when braiding so the dough stays cool
Don't worry if filling peeks out - it adds charm - Baking It Beautifully
- Put your oven rack right in the middle for best heat flow
Turn the pan around halfway so everything browns the same
It's done when it's golden and the filling bubbles
Let it cool completely on a rack so the bottom stays crisp
 Pin it
Last autumn, I tried adding just a tiny bit of cardamom to the spices and it changed everything. My grandma, who's been making pies for over 60 years, now swears by this trick and says it takes her back to her mom's farmhouse kitchen.
In our home, peeling and cutting apples for this pie has turned into a beloved fall custom. The sweet smell of spiced apples always brings family members wandering into the kitchen, each hoping they'll get the first piece.
I'm fascinated by how pie fillings thicken - through lots of testing, I've found that letting the filling cool all the way means you can cut cleaner slices and the texture's much better.
Smart Baker Tricks:
- Pop the finished pie in the freezer for 15 minutes before baking to keep the braid looking sharp
- Get the egg wash into all the little gaps for that beautiful golden color
- Don't throw away the apple peels and cores - they make a tasty quick tea
This braided apple pie taught me that sometimes the recipes we treasure most come from putting a new spin on old favorites. While it looks fancy, making this pie is actually quite calming, and the results are always worth the extra time. Seeing how happy people are when they look at and taste this pie makes all the careful braiding and precise cutting worthwhile.
Tasty Combos and Ways to Serve:
Sure, vanilla ice cream works great, but I've found some surprising matches that take this pie to another level. Try pouring warm salted caramel on top for an amazing mix of hot and cold, smooth and flaky. For something different, add a slice of sharp cheddar cheese - this sweet-savory combo is big in New England and totally worth trying. My brother-in-law gave me a weird look when I first suggested it, but now he won't eat his apple pie any other way.
Changing With The Seasons:
I love tweaking this pie as the year goes on. Early fall, when apples first show up at our local farm, I keep spices light so you can really taste how fresh and crisp they are. By winter, I add more warming spices and a bit more brown sugar for a cozy flavor that feels right on cold days. During holiday time, a little splash of bourbon in the filling adds grown-up warmth that always gets compliments at family parties.
Fixing Common Problems:
After years making this pie, I've run into and solved all kinds of issues. If your dough gets too warm while you're braiding, just stop and chill it for 15 minutes - cold dough is way easier to handle. If the filling seems too wet, toss in another teaspoon of cornstarch so your bottom crust won't get soggy. And when your braid doesn't look magazine-perfect, remember that homemade charm often tastes better than perfection. Funny enough, my messiest-looking pies always get the most compliments, maybe because they clearly show someone made them by hand.
Making The Recipe Yours:
What's great about this pie is how easily you can change it up. I know bakers who add dried cranberries for tang or throw in toasted nuts for crunch. My aunt once mixed in thin pear slices with the apples, creating this subtle complexity that had everyone asking what her secret was. Feel free to play around with different apple types or spice blends until you find what you love best.
Picking The Best Apples:
Your pie's success really comes down to choosing good apples. I've learned to pick ones that feel heavy, which means they're juicy. I like mixing varieties - maybe firm Granny Smiths for structure with sweeter Honeycrisps for flavor depth. Stay away from apples with soft spots, since those parts turn mushy when baked. The guy at my local orchard taught me to gently press the bottom of an apple - if it gives even a little, it's too ripe for baking.
Getting Ready To Bake:
Being organized makes this recipe so much easier. I've got a system now that helps everything go smoothly. The night before, I get all my ingredients and tools ready so nothing's missing when I need it. I also prepare my egg wash and measure dry ingredients ahead of time. This prep turns what might seem like a big project into a peaceful baking session. There's something almost meditative about peeling and slicing apples when you're not in a rush.
 Pin it
Building Family Moments:
This pie has grown into something bigger than dessert for our family - it's become a way to make memories. My teenage daughter now joins me in the kitchen, learning how to braid dough and pick spices. We talk, laugh, and sometimes mess up (like when we forgot to set the timer and had to trust our noses to save the pie). These kitchen moments, working together, have become just as precious as the pie itself.
Old Meets New:
While this braided version might seem different from regular apple pie, I think it captures what makes the classic so good while adding its own special flair. The kitchen still fills with those familiar smells of butter, apples, and cinnamon, but the fancy look brings a wow factor that makes it feel extra special. Many of my friends have started making this for their own family gatherings, each adding their own touch to start new traditions.
Keeping It Fresh:
Storing it right means every slice stays delicious. If you'll eat the pie within two days, keep it out at room temperature under a dome to maintain that perfect crust. For longer storage, wrap single slices in parchment paper before freezing - then you can thaw just what you need. To warm it up, put a slice in a 300°F oven for 10-15 minutes to bring back the flaky crust. My pastry chef friend gave me a brilliant tip: put a few apple slices in the oven alongside the pie while reheating to bring back that fresh-baked smell.
Not Just For Dessert:
Don't just save this pie for after dinner. I've served it for brunch with sharp cheese and hot coffee, where it stands up as a fancy offering. Leftover slices (if you're lucky enough to have any) make an amazing breakfast when warmed slightly and topped with a spoonful of Greek yogurt. The protein from the yogurt balances the pie's sweetness for a surprisingly filling morning meal that even my health-conscious sister gives a thumbs up.
Frequently Asked Questions
- → Can I swap in homemade pie dough?
- Sure, feel free to use your own homemade dough instead of store-bought.
- → Why add multiple apple types?
- Mixing apples gives the filling both sweetness and a little tartness, along with a great texture.
- → Can I prep parts ahead of time?
- Yes, you can make the spiced filling a day in advance and keep it in the fridge.
- → Why chill the apple filling first?
- This helps the crust stay firm and keeps the braid from losing its shape while it bakes.
- → What's the best way to store leftovers?
- Keep it covered at room temp for up to 2 days or pop it in the fridge for 4 days.