
 Pin it
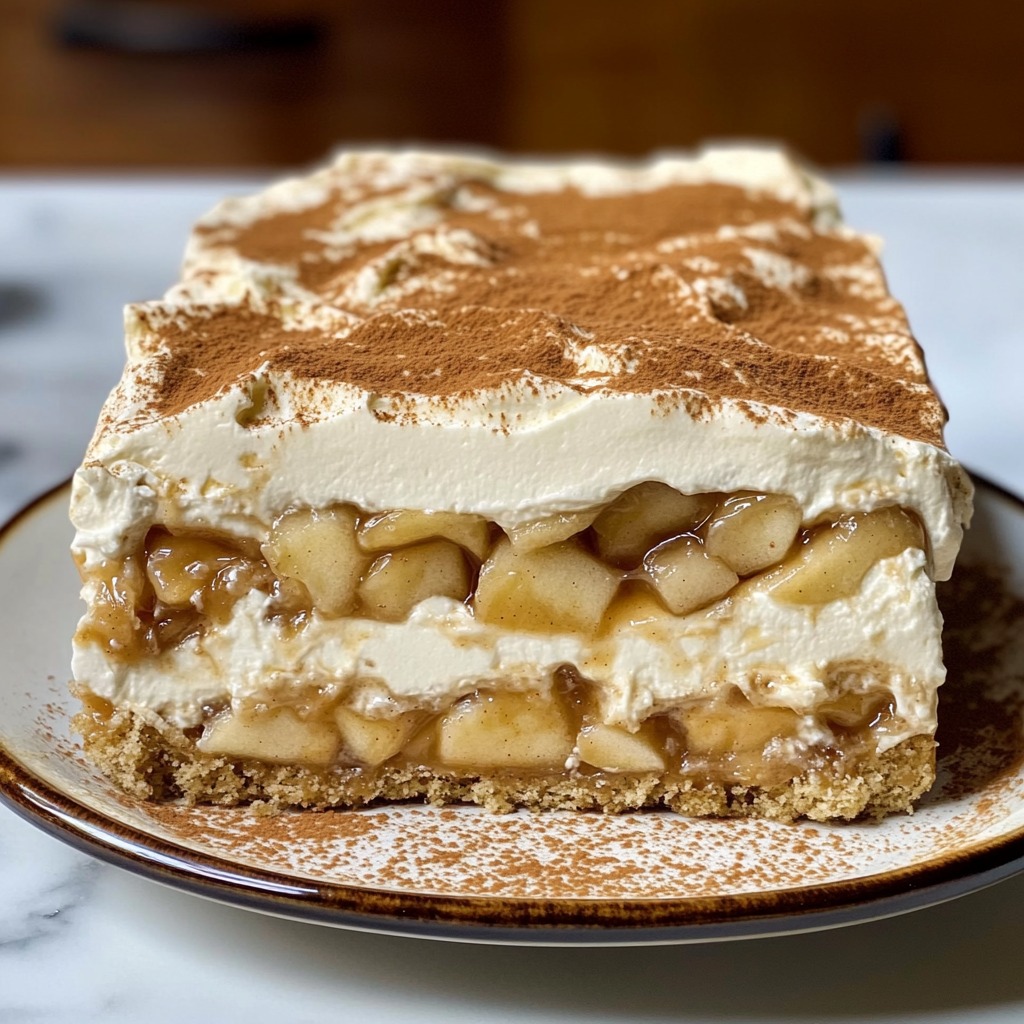
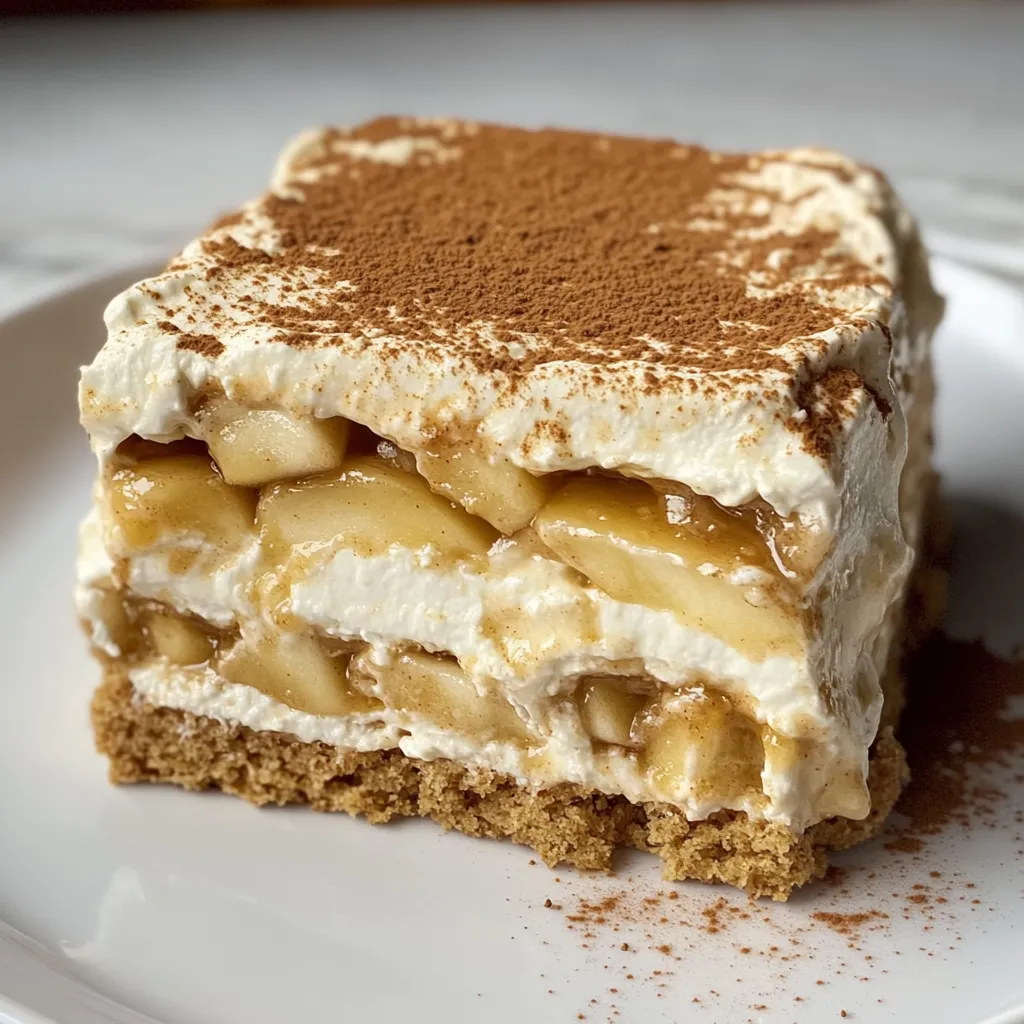
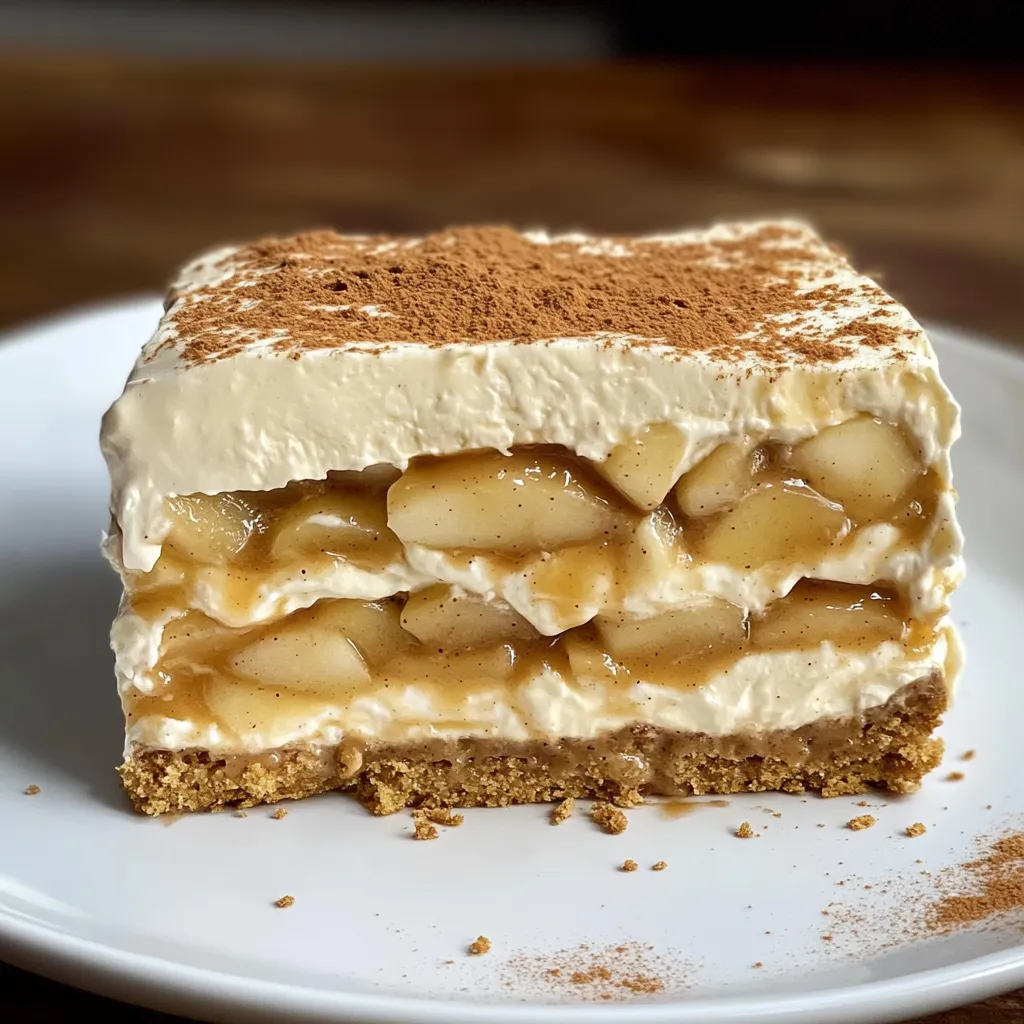
A heavenly No-Bake Caramel Apple Icebox Cake that smoothly connects summer vibes to fall feelings. Every bite shows off pretty layers of graham crackers, cinnamon-spiced cream cheese mix, and sticky apple pie filling, topped with smooth caramel sauce - making a cool treat that hits those autumn cravings without turning on your oven.
I came up with this when I wanted fall flavors but couldn't stand the thought of heating up my kitchen. The mix of cool, smooth layers with warm spices makes the perfect dessert for when seasons change.
Key Ingredients
- Cream Cheese: Left out to soften
- Heavy Cream: Kept in fridge until needed
- Graham Crackers: Full sheets
- Apple Pie Filling: From the can
- Caramel Sauce: Buy it or make your own
- Ground Cinnamon: Adds coziness
- Fresh Lemon: Gives brightness
- Pure Vanilla Extract: Adds richness
- Kosher Salt: Cuts the sweetness
STEP-BY-STEP PREPARATION
- 1. Cream Cheese Base:
- Use soft cream cheese. Mix it with both types of sugar, cinnamon, vanilla, lemon juice, and salt until it's smooth. In another bowl, whip your cold cream until it forms soft peaks.
- 2. Filling Creation:
- Add the whipped cream to the cheese mix in two batches. This makes the mixture light but still rich. Don't overmix or you'll lose the fluffiness.
- 3. Apple Preparation:
- Snip the apple chunks into smaller bits right in the can with scissors. This saves time and dishes while making perfect bite-sized pieces.
- 4. Layer Assembly:
- Put down graham crackers first, breaking them as needed to fit. Add caramel sauce, then the cream cheese mix, then apples. Keep going with these layers, finishing with crackers and the last of your cream cheese mix.
- 5. Final Touch:
- After it's been in the fridge, top with caramel-flavored whipped cream in pretty swirls. A tiny sprinkle of cinnamon looks nice too.
 Pin it
The real magic happens with waiting. My grandma always told me, "An icebox cake's like a good buddy - it only gets better as time goes on."
Storage and Make-Ahead Success
You can keep this cake in your fridge for up to 3 days if it's wrapped in plastic. For the prettiest look, wait to put the caramel cream topping on until you're about to serve. The cake actually tastes better after a day in the fridge as the crackers get soft and all the flavors mix together.
Temperature and Serving Variations
This cake tastes best when it's cold. If you want to fancy it up, add some thin apple slices, extra caramel drizzle, or sugar-coated pecans on top. When it's hot outside, try putting it in the freezer for 15 minutes before eating for an extra cool treat. It's great with hot coffee or warm apple cider if you're having it for brunch.
 Pin it
Fun Twists to Try
You can change up this dessert all year by switching the fruit - maybe peaches in summer or berries in spring. Throw in some chopped nuts between layers for some crunch, or try different cookies like gingersnaps or biscotti for the base. During the holidays, add some nutmeg or cardamom to the cream cheese mix. Since you don't have to bake it, you can play around with the flavors while keeping that cool, creamy texture everyone loves.
Frequently Asked Questions
- → Can I prepare this in advance?
- Definitely! Make it up to a day ahead but only add the whipped topping right before eating.
- → What type of caramel is best?
- Thick caramel, either homemade or store-bought, works perfectly.
- → Why chop the apple filling?
- Smaller bits make slicing and serving much easier.
- → Can this dessert be frozen?
- Nope, freezing can mess with the texture and make it watery after thawing.
- → How long will it last in the fridge?
- Keep it covered in the fridge, and it’ll stay good for up to 3 days.