
 Pin it
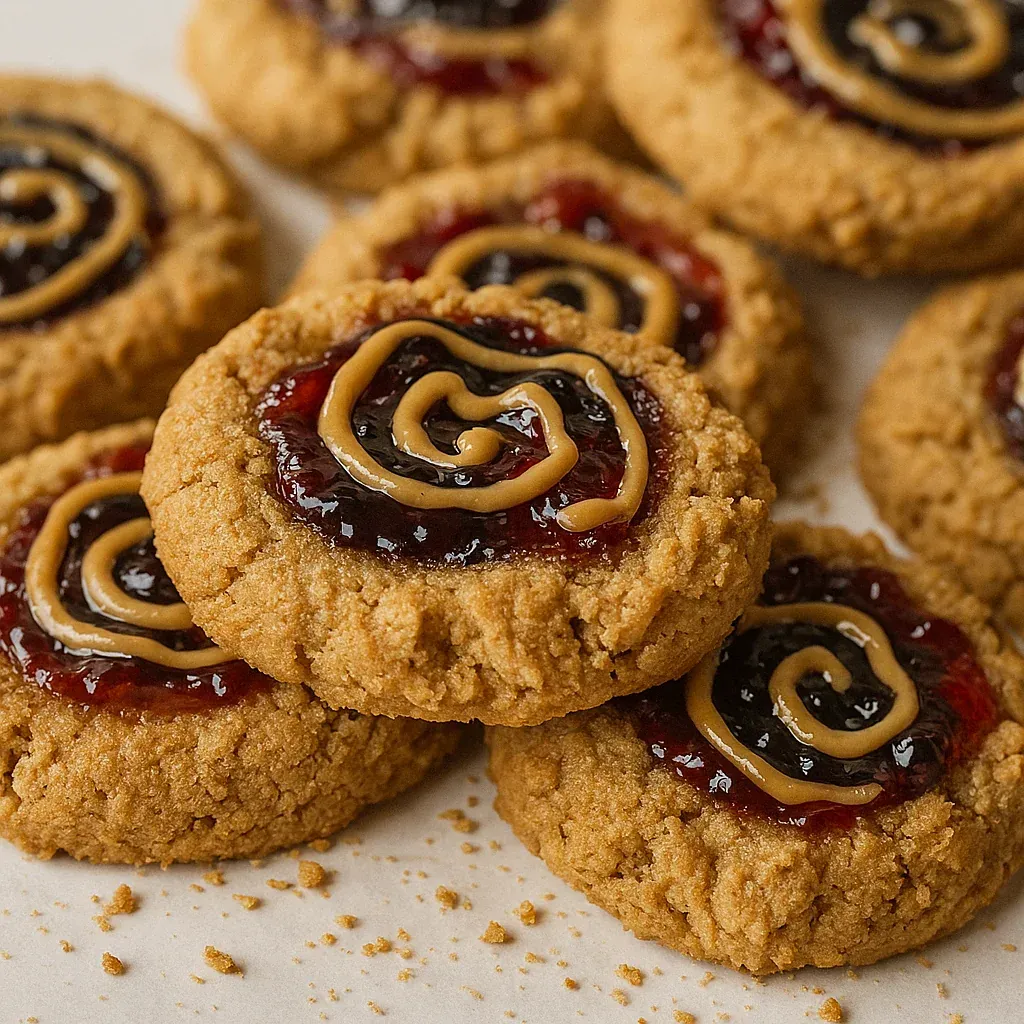
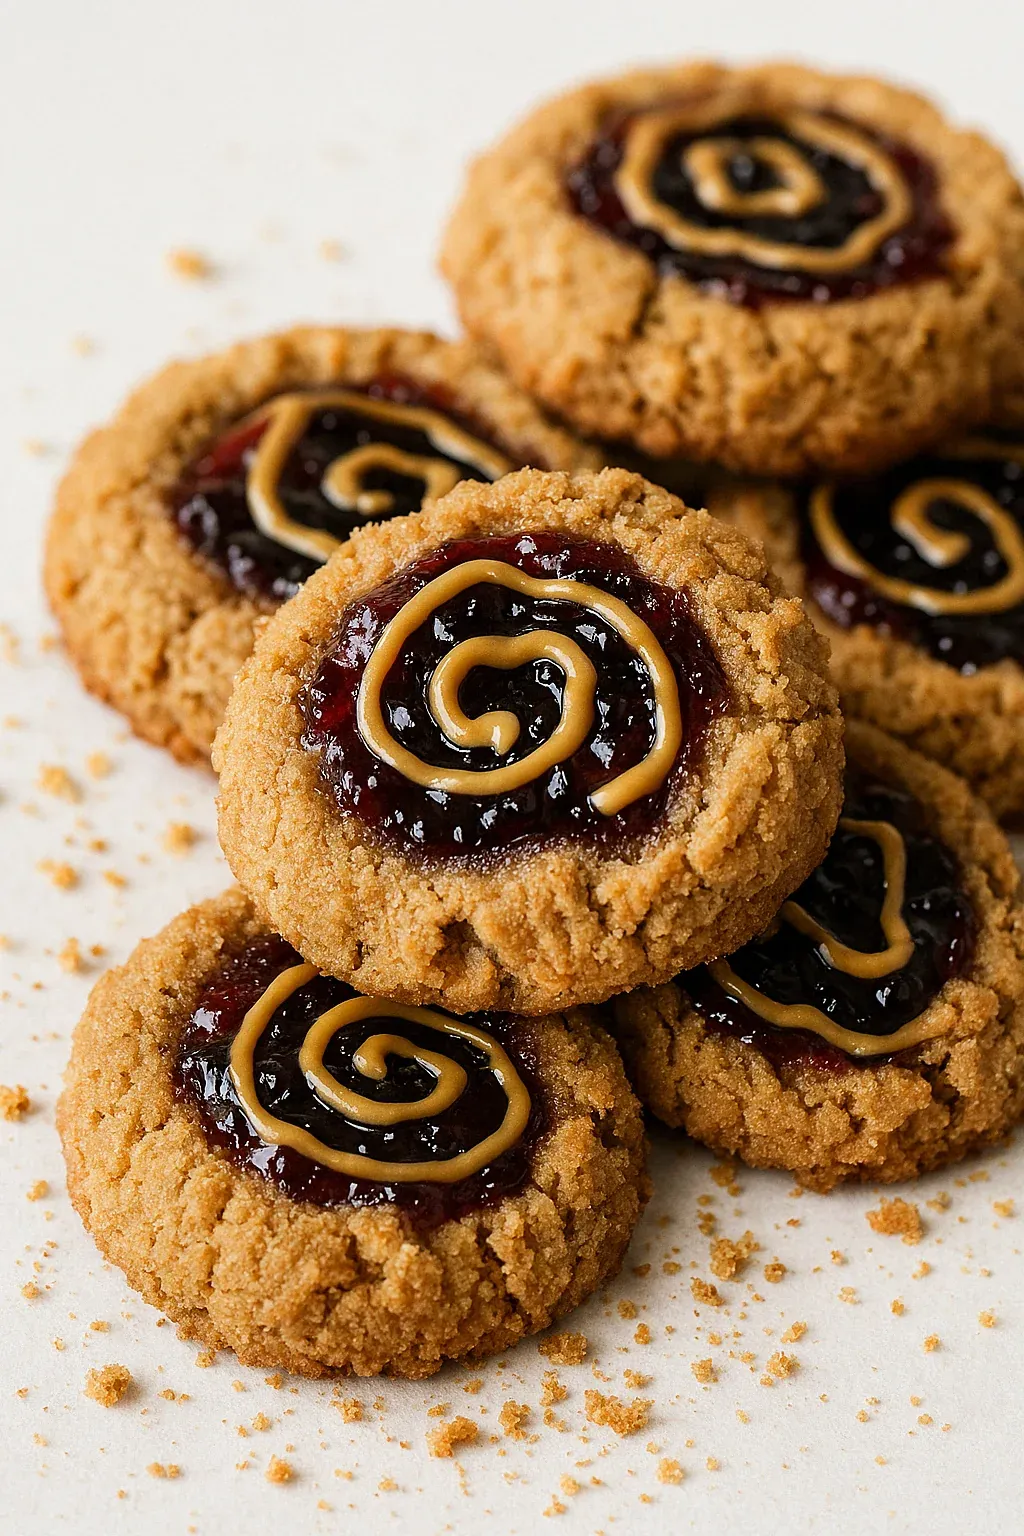
This cookie turns your favorite sandwich combo into a tasty treat that'll take you right back to your childhood days. Each bite brings you the perfect mix of soft peanut butter cookie with a sweet jam middle that everyone in the family will go crazy for.
I came up with these cookies one stormy day when the kids wanted something sweet but we'd run out of chocolate chips. Now they ask for these PB&J treats way more than regular peanut butter ones, and the cookie jar ends up empty in just a few days.
What You'll Need
- Unsalted butter: Adds body and taste while letting the peanut butter really come through
- Brown and white sugar: Work together to make them chewy and just sweet enough
- Creamy peanut butter: Gives that unforgettable flavor and holds everything together
- Egg: Makes the cookies sturdy and rich
- Vanilla extract: Boosts the overall taste without taking over
- All purpose flour: Forms the base of your cookies
- Baking soda: Makes them puff up just right
- Grape jelly or other fruit preserves: Creates that yummy sweet center
- Extra melted peanut butter: For that pretty drizzle on top that makes them look special
How To Make Them
- Get everything ready:
- Heat your oven to 350°F and put parchment on your baking sheets. This stops the cookies from sticking and makes cleanup super easy. Having everything set up first helps the whole process go smoothly.
- Blend the wet stuff:
- In a big bowl, mix the butter, both kinds of sugar, and salt until it's fluffy. This puts air in the mix, which makes your cookies tender. Then add peanut butter, egg, and vanilla, and mix till it's all combined. Don't forget to scrape the bowl so everything gets mixed in.
- Put in the dry ingredients:
- Carefully mix in the flour and baking soda until you've got thick, even dough. Don't mix too much or your cookies might turn out tough instead of soft. The dough should stick together but not be overworked.
- Form your cookies:
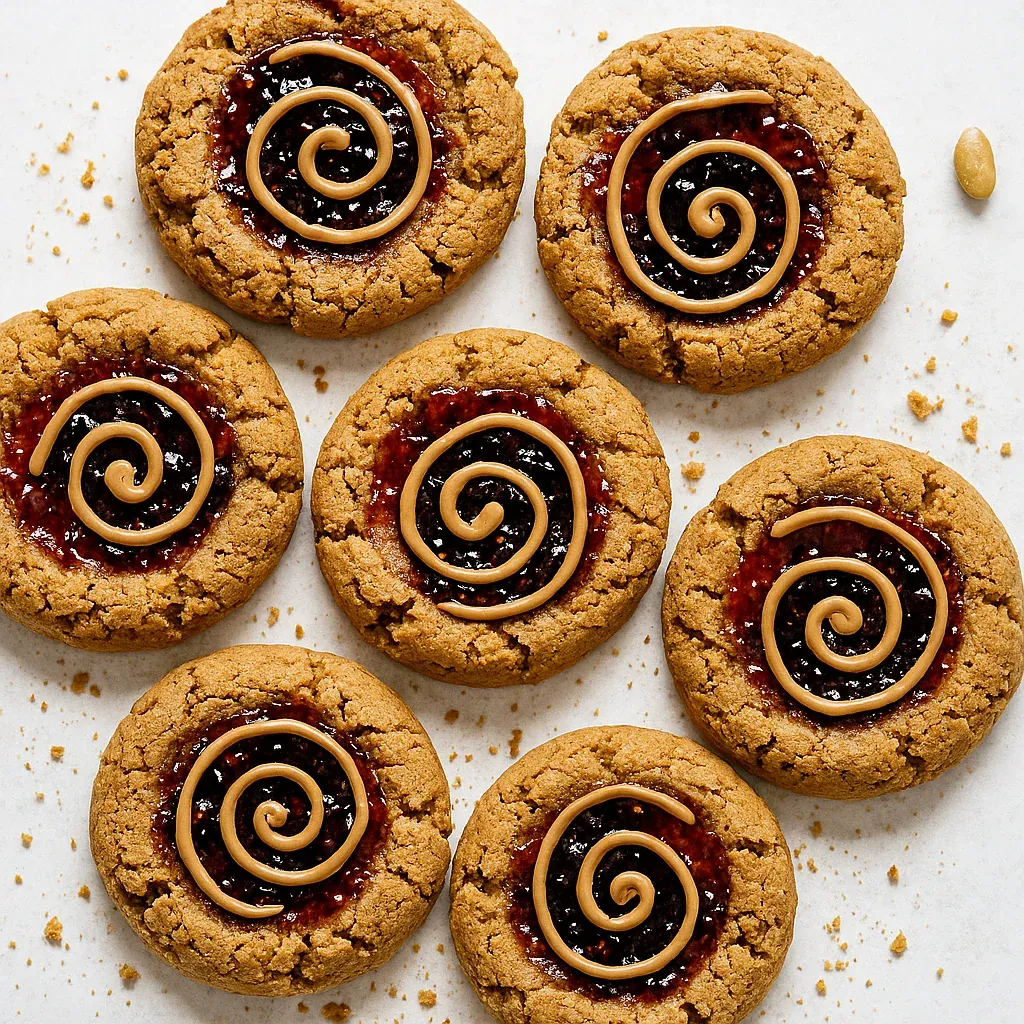
- Scoop out balls of dough with a 2-inch cookie scoop and place them a couple inches apart on your trays. Use the back of the scoop to make a little dent in the middle of each one. This little hole will hold your jelly and keep it from running all over.
- Add the sweet stuff:
- Put about a teaspoon of grape jelly, strawberry jam, or raspberry preserves into each dent. Don't put too much or it'll spill over while baking. The mix of sweet fruit and nutty peanut butter is what makes these cookies so amazing.
- Bake them up:
- Cook the cookies for just 13 minutes until they're slightly golden around the edges. Let them sit on the tray for 5 minutes before moving them to a cooling rack. This quick rest helps them firm up so they won't break when you move them.
- Finish with style:
- Warm up some extra peanut butter until it's runny enough to drizzle. Put it in a piping bag and swirl it over the jam center on each cookie. This last touch makes them look awesome and gives an extra peanut butter kick.
 Pin it
I always pick grape jelly for these cookies because it brings back memories of my lunch box days. I once made these for my boy's first kindergarten day and tucked them in his lunch. His teacher told me later that he proudly told everyone his mom made "sandwich cookies way better than actual sandwiches."
Ways To Switch It Up
The standard version uses grape jelly, but feel free to try different jams to make them your own. Strawberry gives a sharper, tangy taste, while raspberry adds a fancy touch. You might even want to give apricot or blackberry preserves a shot for something totally different.
If you're making them for a special event, try adding some chopped peanuts around the edges before you bake them for extra crunch and a nice look. The mix of smooth cookie and crunchy nuts creates a really interesting combo.
 Pin it
Saving For Later
These cookies actually taste better the next day, so they're great to make ahead. Once they've cooled completely, store them in an airtight container with parchment paper between layers so they don't stick together. They'll stay fresh and tasty for 2-3 days at room temperature.
If you need them to last longer, keep them in the fridge for up to a week or pop them in the freezer for up to three months. To freeze them, lay them out on a baking sheet until they're solid, then put them in a freezer bag. Let them sit at room temperature for about an hour before eating.
The jam in the middle helps keep these cookies moist, so they won't dry out as fast as regular peanut butter cookies. Just make sure they're totally cool before you pack them away, or they might get soggy from steam.
Great To Serve With
These throwback cookies go perfectly with a big glass of cold milk, giving you the ultimate comfort food moment. For grown-ups, try them with a sweet dessert wine or a coffee with a splash of cream for a fancy treat.
For a cool dessert idea, put a small scoop of vanilla ice cream between two cookies to make your own ice cream sandwiches that'll wow everyone at your next party. The mix of cold ice cream with the sweet, nutty cookies makes an amazing texture and flavor combo.
Frequently Asked Questions
- → Can I replace creamy peanut butter with crunchy?
Crunchy peanut butter works great for the dough, but it’s not ideal for the topping since smooth peanut butter spreads better.
- → Which jelly flavors work best?
Grape jelly is the classic pick, but strawberry or raspberry jam adds a fun twist to these cookies.
- → What’s the best way to store these cookies?
Once cooled, keep them in an airtight container at room temperature for 2-3 days. For longer freshness, refrigerate for up to a week or freeze for 3 months.
- → Can I use gluten-free flour?
Yes! A 1-to-1 gluten-free flour mix should give you excellent results as a substitute.
- → How’s the peanut butter swirl made?
Heat smooth peanut butter in the microwave for half a minute, give it a stir, and pipe onto cooled cookies for a pretty finish.
- → Do I have to use parchment paper for baking?
It’s best to use parchment paper to stop sticking, but a non-stick baking mat works too if you don’t have any.