
 Pin it
I've whipped up this chocolate sauce at home for so long, and it totally outshines anything you'd grab at the store. It's unbelievably fast and easy with just water plus four simple items. Nothing fancy required - just grab some cocoa powder, sugar, salt, and vanilla. Forget those store options full of corn syrup and weird stuff - this sauce is pure chocolate delight ready in just minutes.
Essential Items For Chocolate Bliss
- Cocoa Powder: About half a cup, make sure it's unsweetened.
- Sugar: A full cup gives the perfect sweetness.
- Salt: A tiny pinch helps the chocolate taste pop.
- Vanilla Extract: Get the real kind, you'll need a teaspoon.
- Water: Just a single cup does the trick.
Creating Your Chocolate Dream
- Combine The Dry Ingredients
- Use a nice saucepan and mix your cocoa, sugar and that small amount of salt together. Work out any lumps in the cocoa as you go.
- Pour In Water
- Add your water and mix until it looks smooth. Using warm water makes this part much easier.
- Start Cooking
- Set heat to medium and don't stop stirring. You'll notice it bubble and get thicker within minutes. Stay right there and keep mixing!
- Add Your Vanilla
- Take it off the stove and mix in vanilla. You'll love how good it smells.
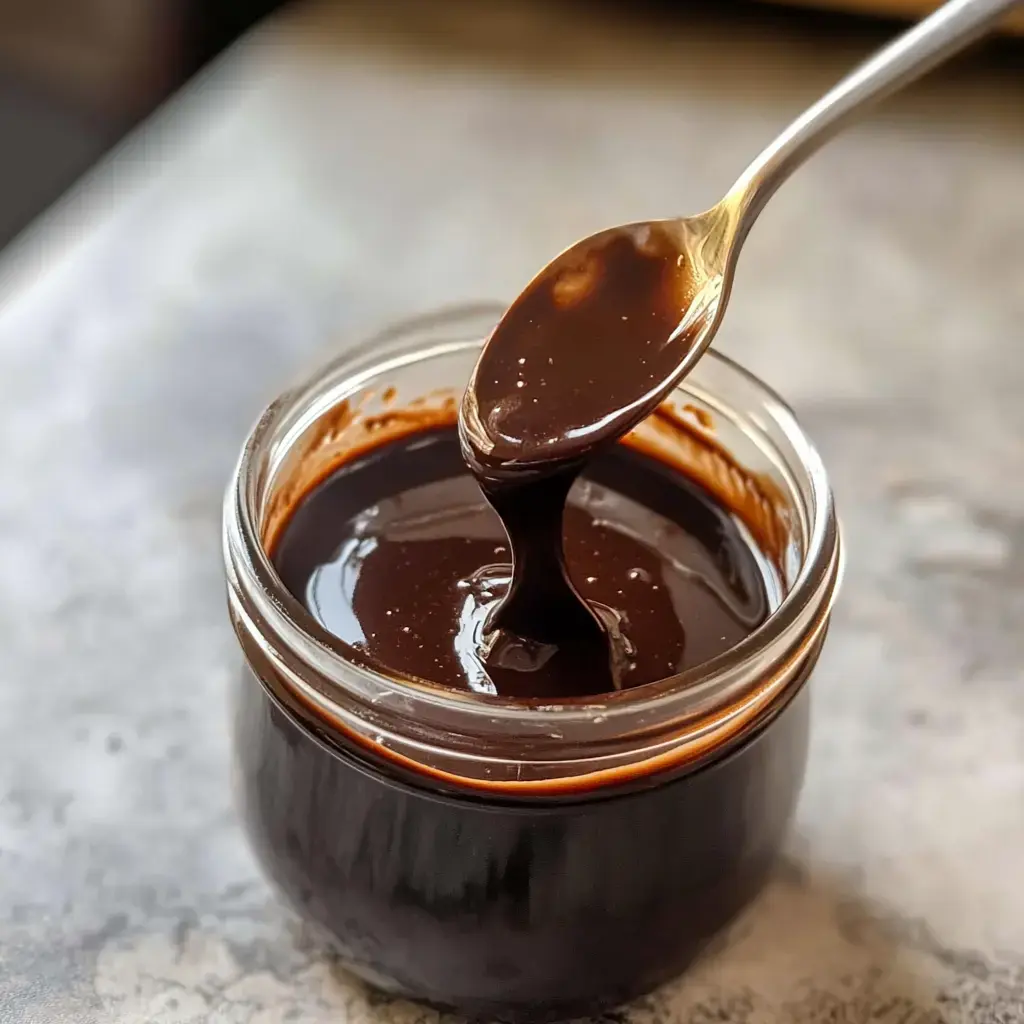
- Let It Rest
- Wait a bit before you put it in a jar. As it cools down, it gets thicker like magic.
Why This Sauce Stands Out
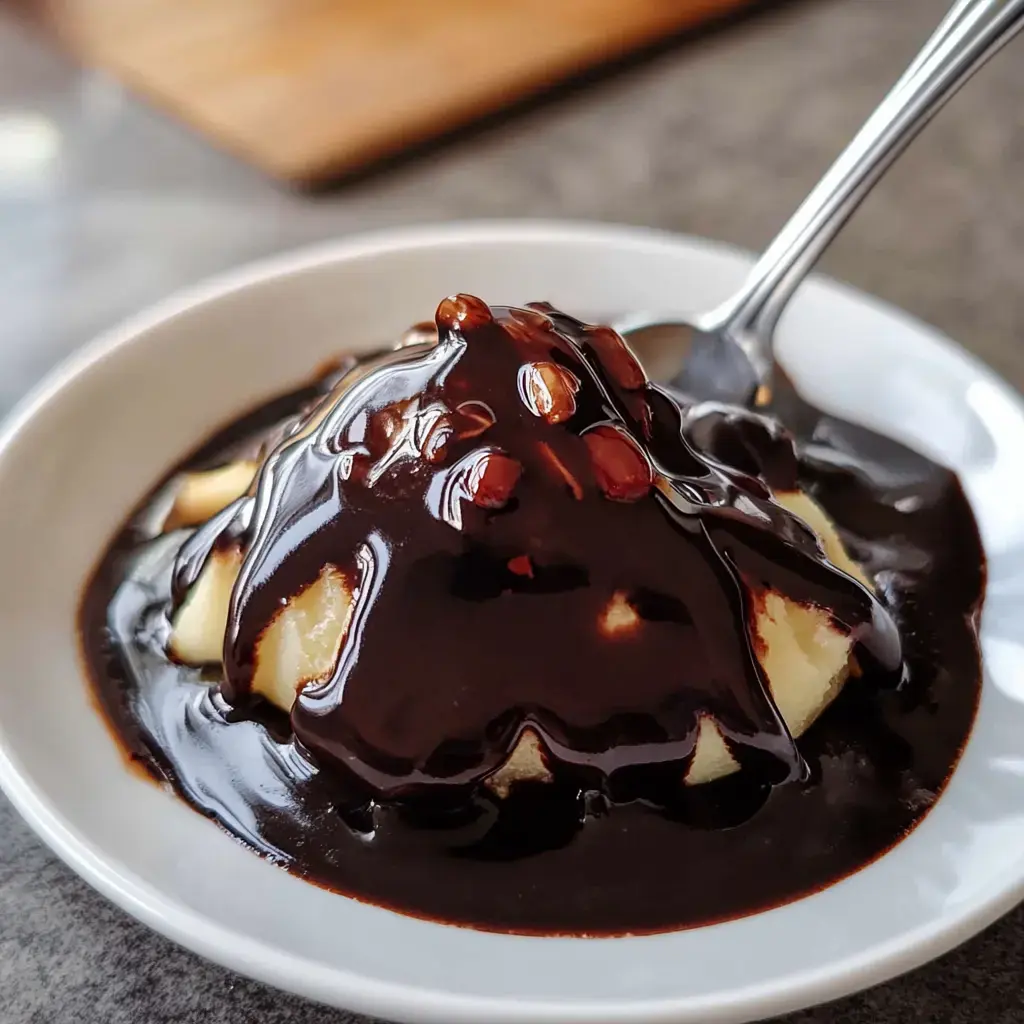
Everyone at my house loves how this sauce falls somewhere between everyday chocolate syrup and thick fudge topping. It flows nicely when warm but thickens up after cooling. You won't need any cream or butter for that perfect texture, just basic stuff working together wonderfully.
Custom Tweaks To Try
- For creamier results, swap water for warm milk.
- When you want it richer, drop in some butter at the end.
- To get a caffeine boost, mix in espresso powder.
- If you enjoy heat, try a tiny bit of cayenne pepper.
- During the holidays, add a touch of peppermint extract.
Delicious Ways To Enjoy
- Pour it warm over vanilla ice cream.
- My children love mixing it with cold milk.
- Pour some over fresh-baked brownies for a treat.
- A quick swirl makes any dessert look fancy.
- Try dipping fresh strawberries into it.
- Package in cute jars for wonderful gifts.
Storage Tips
You'll get about 2 cups from this batch and you won't need much - about 2 tablespoons works for serving. Store in your fridge where it'll stay good for two weeks, though at my place it's always gone way before that. Just warm it up briefly when you want some. Need to make more? Just double everything, works great.
 Pin it
Irresistible Chocolate Delight
This sauce vanishes so quickly whenever I make it. There's something truly magical about chocolate sauce you've made yourself that improves everything it touches. Whether you're pouring it on ice cream, mixing it in milk, or giving it away, everyone will smile when they taste it.
Frequently Asked Questions
- → Why does the chocolate sauce sometimes end up gritty?
Be sure to stir the cocoa powder and sugar together really well before adding water. Slowly heat the mixture while stirring constantly to avoid the sugar forming crystals.
- → What's the shelf life of homemade chocolate sauce?
If you pop it into an airtight jar and store it in your fridge, it'll keep fresh for up to two weeks. Heat lightly before using if it thickens.
- → Why do we start with a cold pan?
Starting with a cold pan keeps your cocoa and sugar from burning or clumping. It gives all the ingredients time to mix together nicely as they heat up.
- → Can I make a sugar-free version?
Absolutely! Swap the sugar for any granulated alternative you like. Just keep an eye on it because the cooking time and texture might differ.
- → What if my sauce ends up way too thick?
It’s normal for the sauce to thicken as it cools. To fix it, gently warm it up and add a little water until it’s the way you like it.