
 Pin it
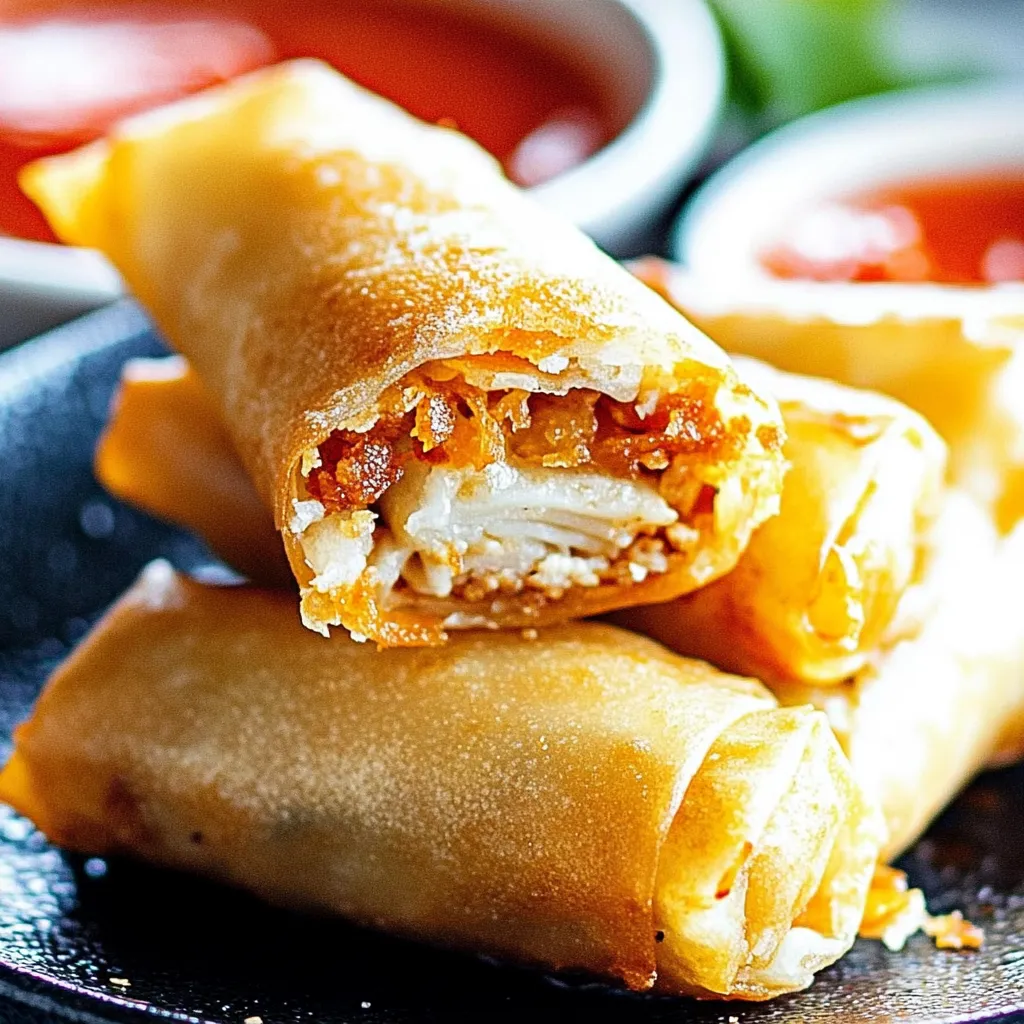
These handmade chicken spring rolls have a lightly crunchy exterior wrapping juicy shredded chicken and crisp veggies. Every bite gives you that perfect mix of snap and flavor that's way better than what you'd get dining out.
When we hosted folks for dinner last week, these rolls disappeared fast. Everyone followed their noses to the kitchen where the smell of seasoned chicken and veggies had them waiting impatiently for each new batch from the fryer.
Essential Ingredient Breakdown
- Chicken: Go with newly prepared or day-old chicken breast, torn into tiny shreds. If you're cooking chicken fresh, leave it slightly underdone since it'll finish cooking while frying.
- Cabbage: Look for solid white cabbage with snappy leaves and bright, unwilted centers.
- Wrappers: Stick with standard wheat egg roll sheets - don't swap in rice paper. They should feel soft and bendable.
- Vegetables: Pick out hard carrots and veggies with bright colors. Slice them all the same size like little matchsticks.
- Oil: Go for something plain with a high heat tolerance like veggie or canola oil.
Putting It All Together
- Mix Your Filling:
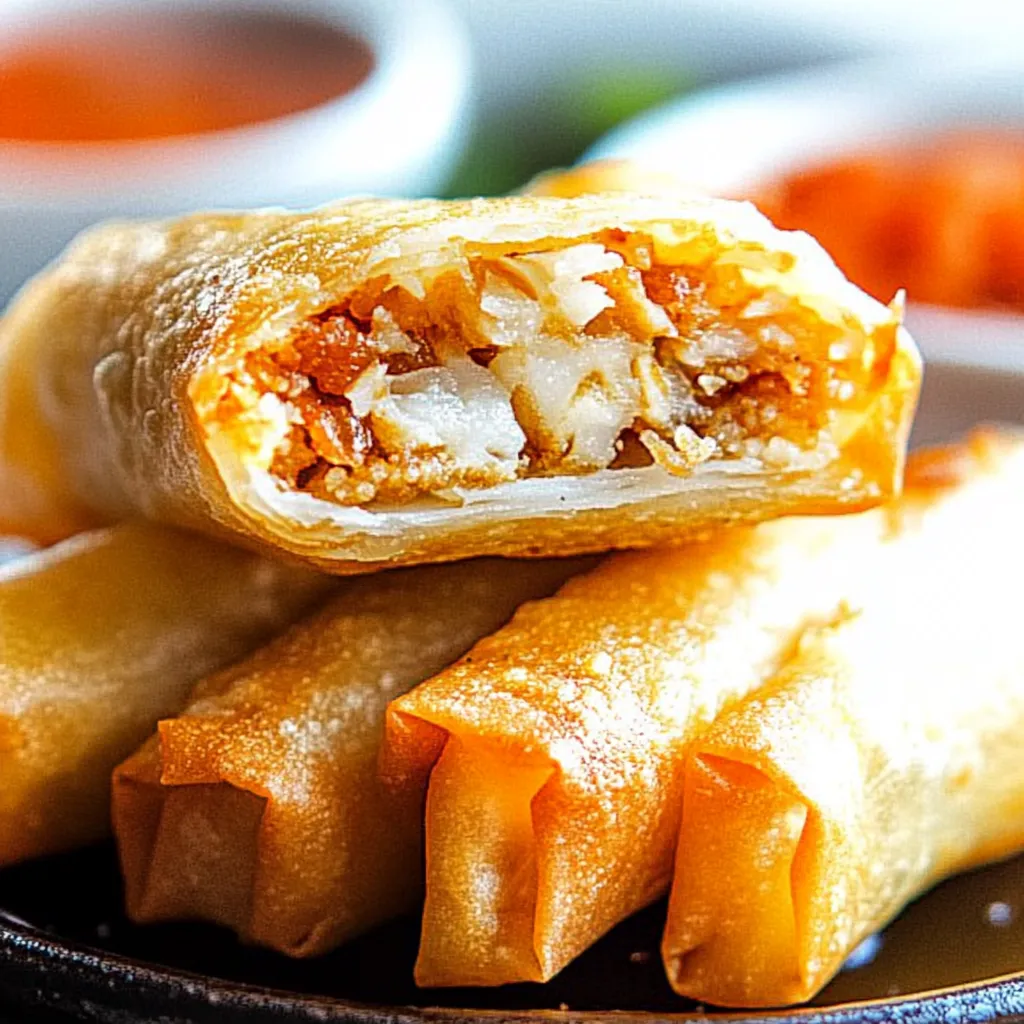
- Pull chicken into small, even bits. Combine thoroughly with shredded cabbage and carrot sticks, making sure everything's evenly mixed.
- Working With Wrappers:
- Arrange wrapper like a diamond. Cover the rest with a slightly wet towel so they won't dry out. They should feel soft but not soggy.
- Wrapping Technique:
- Put two spoonfuls of filling just below the middle. Fold the bottom point up and over, pulling slightly to tighten. Tuck side corners in to make an envelope shape.
- Closing It Up:
- Keep rolling upward with steady pressure. Wet the final edge with water so the filling stays put.
 Pin it
My grandma taught me her secret - getting the tightness just right matters a ton. Too loose and they get soggy, too tight and they'll pop open when frying.
Cooking Know-How
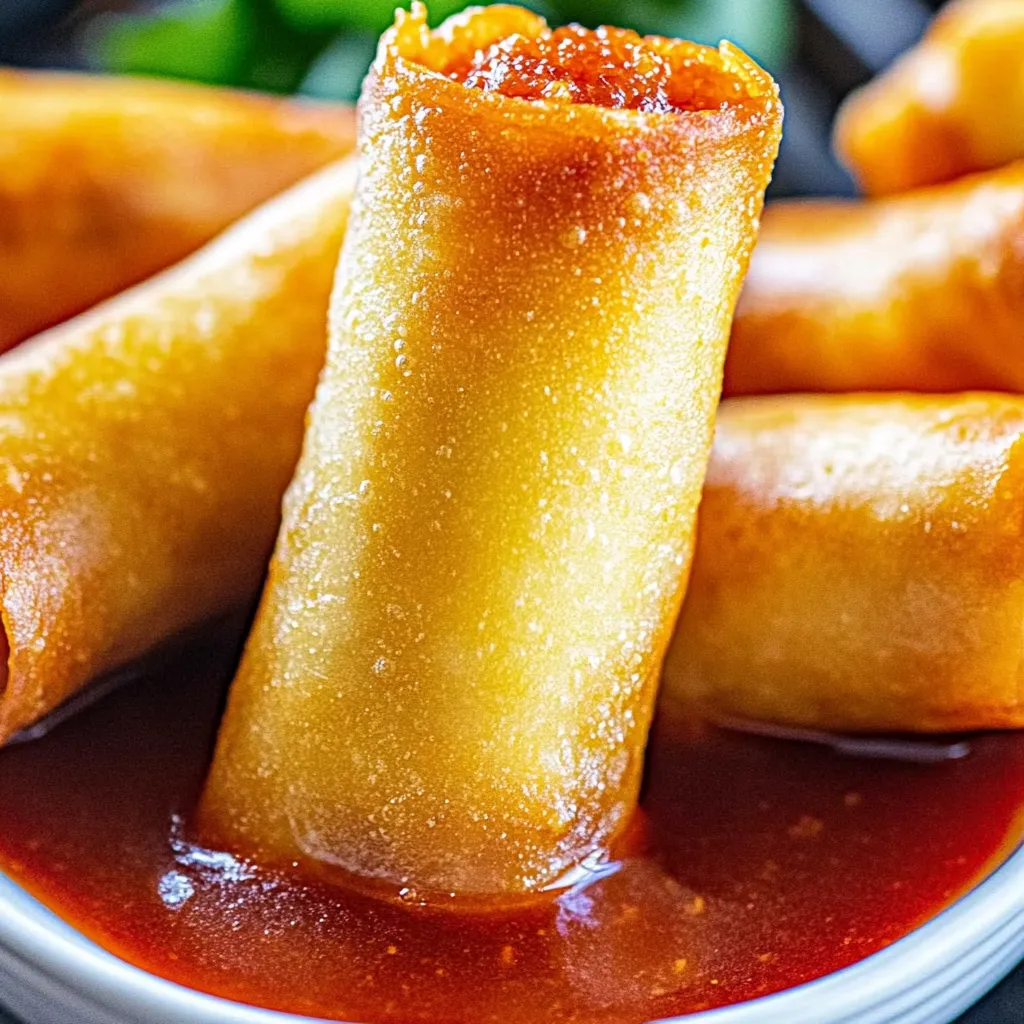
Keep your oil at a steady 350°F. Cook 3-4 rolls at once for about 3-4 minutes on each side until they turn golden brown.
Serving Suggestions
Put them out hot and crunchy on a nice plate with different dips nearby. Cut them at an angle if you're serving them as starters.
Mix-It-Up Ideas
Play around with different veggie combos or spice blends in your filling. Throwing in some water chestnuts adds a nice crunch.
Keeping Them Fresh
Stack uncooked rolls between sheets of parchment in your fridge. Bring back the crunch to leftover fried ones using your oven or air fryer.
 Pin it
After making these for years, I've learned that taking your time and getting the technique down is what counts. Once you've got these basics down, you'll make spring rolls at home that beat anything from a restaurant.
Frequently Asked Questions
- → Can I make the filling early?
- For sure, get the filling ready beforehand. Just don’t roll or fry until serving time to keep them crunchy.
- → Can these go in the oven?
- Yep! Brush with oil and bake at 400°F for 15-20 minutes. Turn them over halfway for even texture.
- → What's the best way to freeze them?
- Lay unfried rolls on a tray to freeze first. Move them into a freezer bag once solid. Fry frozen, and just cook them longer.
- → What if I don’t eat chicken?
- No problem! Swap in shrimp, pork, or even tofu. All of them work great as tasty alternatives.
- → Why do they split open while frying?
- Make sure you seal the edges well, don’t overfill them, and roll them loose enough for steam to escape.