
 Pin it
Man, there's nothing like a pot of my hearty beef chili when it's freezing outside! I've spent ages fine-tuning this simple method over time, and now my crew asks for it constantly during winter. Last week my next-door neighbor actually came knocking after catching a whiff over the fence – now her family can't get enough either! It works perfectly for watching sports, snuggling up at home, or whenever you need a filling, scratch-made dinner.
What Makes This Chili Stand Out
Let me break down why this chili is different from the rest. For starters, I've got my little trick – a bit of cocoa powder that creates amazing complexity without any chocolate taste. This straightforward approach also combines both crushed tomatoes and paste for that unbeatable thick texture. My wife's mom, who swore nobody could top her own recipe for decades, now begs me to cook this whenever she stops by. Don't skip the vinegar splash at the end – it seriously wakes up all the tastes!
Your Shopping List
- For Protein: Pick up 80% lean ground beef to keep your chili nice and moist.
- Bean Selection: Dark red kidney beans do the job perfectly here.
- Tomato Components: You'll want crushed tomatoes plus some paste.
- Flavor Base: Don't forget chili powder, cumin, and paprika.
- Aromatics: One large yellow onion and plenty of fresh garlic cloves.
- Magic Touch: Some unsweetened cocoa powder takes this chili to another level.
- Liquid Gold: Quality beef broth – homemade works best if you've got it.
- Brightness Booster: A bit of apple cider vinegar ties everything together.
- Supporting Cast: Oregano, bay leaves, and cayenne if you want some kick.
Creating The Delicious Bowl
- Build Your Foundation
- Kick off your chili by heating up a large pot – I always reach for my grandmother's Dutch oven. Get those onions sizzling in oil until they're tender and your house smells wonderful. Add garlic and let it work its charm. We're layering flavors from the ground up.
- The Critical Step
- Now for the good part – add that tomato paste and cook until it darkens and starts to stick slightly. That's pure taste development right there! My mother always skipped this part, but it really transforms the final product.
- Beef It Up
- Add your ground beef and break it into small pieces. For top results, let it get properly browned – those crispy edges pack in so much flavor. Don't try to save time here, those extra minutes make all the difference.
- Add Your Seasonings
- This is the fun part – dump in all those spices! Let them warm in the pot briefly until your home fills with amazing aromas. Don't forget to add the cocoa powder now too.
- Combine Everything
- Pour in the tomatoes, broth, and beans. This mixture needs about an hour of gentle bubbling to come together properly. I give it a stir occasionally and taste test to adjust seasonings as needed.
- Finishing Touches
- You're nearly there! Remove the lid for the final 15 minutes if you want thicker chili. And remember that splash of vinegar at the end – it really makes everything pop!
Smart Kitchen Shortcuts
After cooking this chili countless times, I've learned a few things. Always go for fresh spices – stale ones just can't deliver the same kick. When you're browning your beef, work in batches if needed so the meat isn't crowded. My sister showed me how adding a bit of masa harina toward the end creates an amazingly thick texture with subtle corn notes. And that vinegar finish might seem weird, but I was doubtful too when I first tried it – now I can't imagine my chili without it!
 Pin it
Custom Finishing Touches
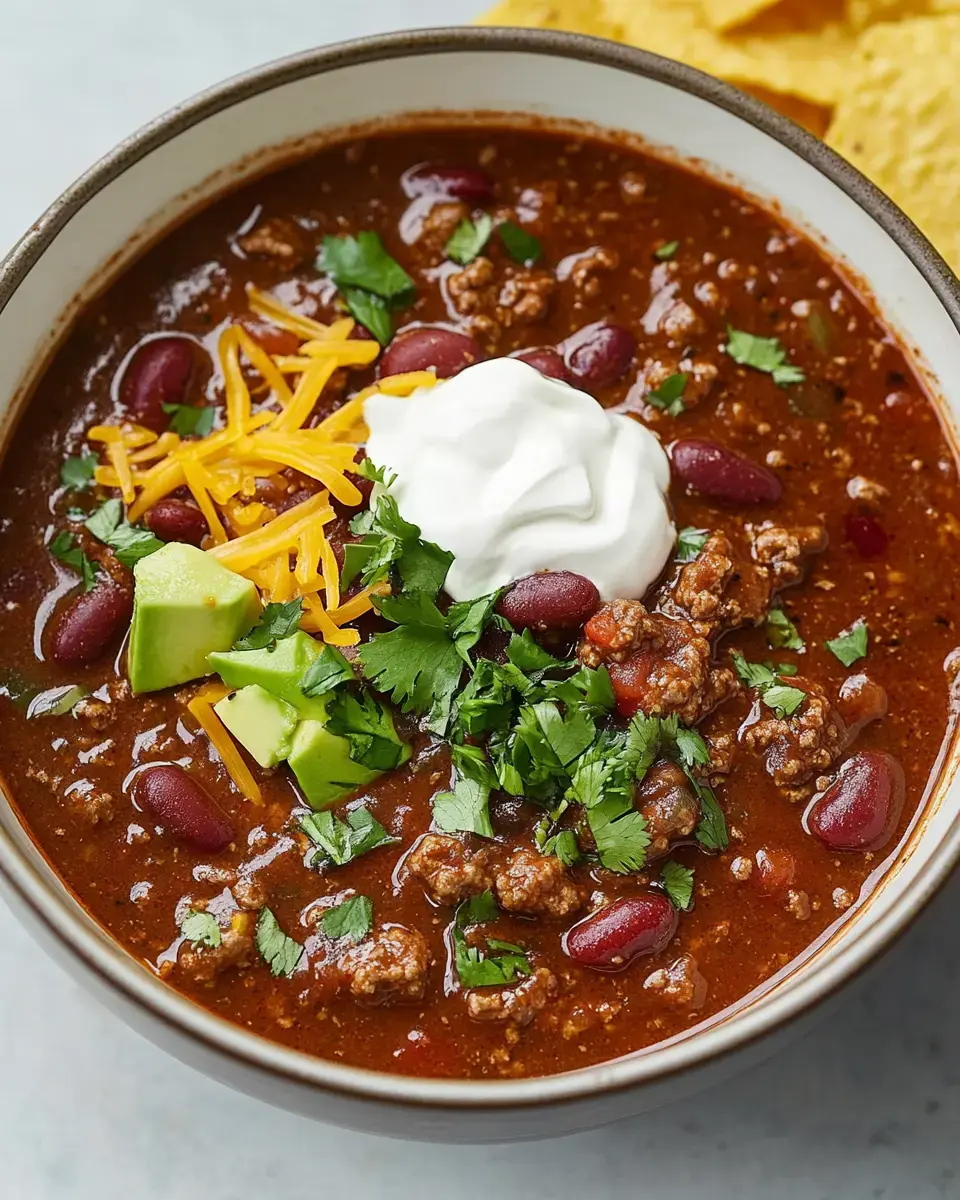
The coolest thing about this simple method is all the ways you can jazz it up! We love piling our chili with tons of extras. My husband won't eat his without crushed tortilla chips on top, and my kids bury theirs under mountains of cheese! I always keep chopped onions, fresh cilantro, and lime wedges handy. Sometimes we throw on avocado chunks or a scoop of sour cream. When friends come over for sports, I create a whole topping station so everyone can fix their bowl exactly how they want it.
Enjoy It Tomorrow Too
Here's another bonus – this stuff tastes way better the day after you make it! You can keep your chili in the fridge for about four days, or stick it in the freezer for later. I usually cook twice as much and freeze portions for quick meals down the road. There's nothing better than having ready-to-heat chili waiting on busy evenings! Just warm it slowly, adding a splash of broth if it's too thick. I love dropping off containers for friends with new babies or folks going through tough times – it always gets two thumbs up!
Frequently Asked Questions
- → What’s the deal with cocoa powder?
A small amount of cocoa adds richness and complexity without turning the chili into something sweet.
- → How can I make it hotter?
If you’re into spicy food, just up the cayenne pepper or toss in some finely chopped chili peppers.
- → Why are fire-roasted tomatoes better?
They give an extra smoky taste to the chili. If you don’t have them, regular canned tomatoes are fine too.
- → Can I make chili in advance?
Totally! It actually tastes better the next day. Store it in the fridge for up to 3-4 days.
- → What’s up with adding vinegar at the end?
A splash of vinegar sharpens the flavors so everything tastes more balanced.