
 Pin it
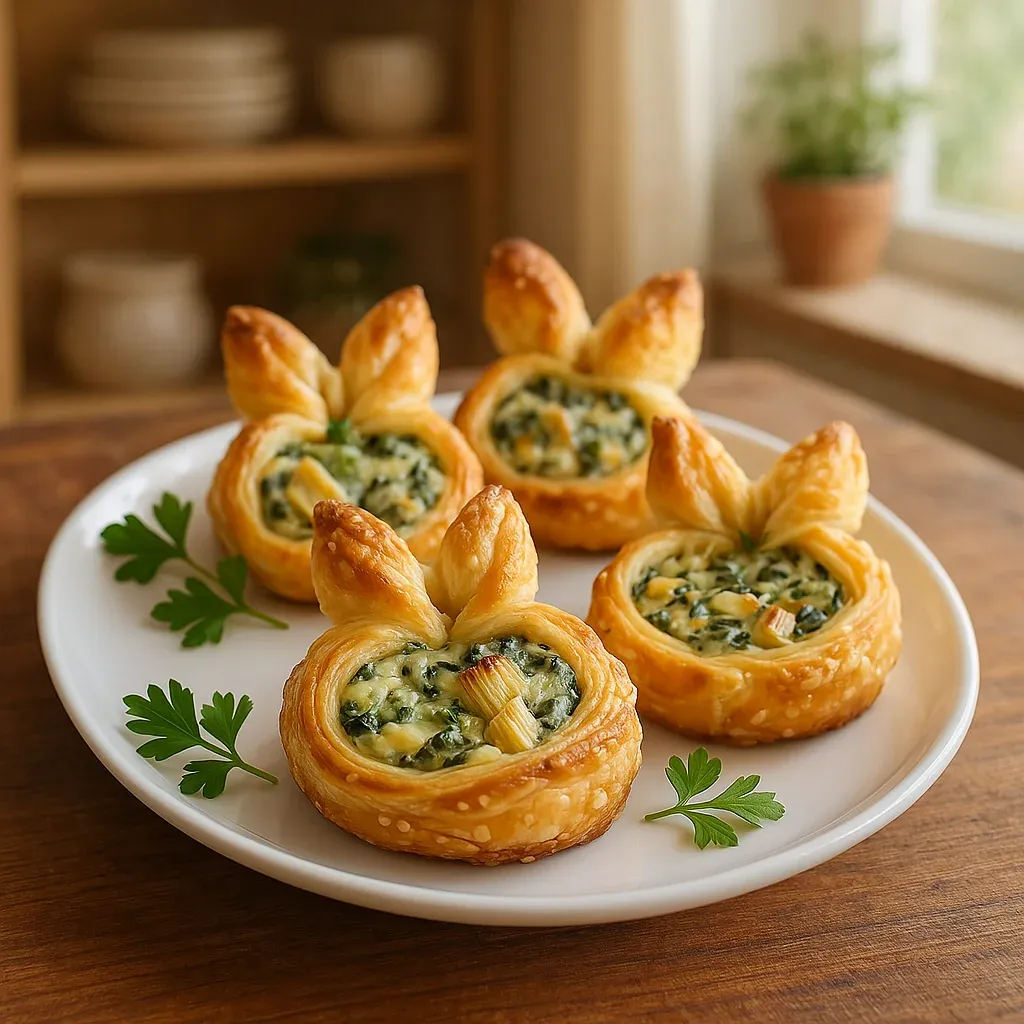
These adorable Easter Bunny Crescent Bites turn regular crescent dough into cute and tasty holiday snacks everyone will love. The clever twist? Crescent dough shaped into little cups filled with creamy spinach-artichoke dip and topped with bunny ears cut from the same dough. The mix of flaky, buttery pastry with the rich, savory filling makes for perfect bite-sized treats.
When I put these out as people were showing up for our family Easter get-together last year, something magical happened. My normally quiet niece became the star of the show, proudly telling everyone how she helped make the bunny ears. Even my brother-in-law, who usually goes straight for the meat and cheese, couldn't stop eating these little treats and wanted to know how to make them before he left.
Key Ingredients and Shopping Advice
Crescent Roll Dough: The brand really counts here. I've tried cheaper options but honestly Pillsbury gives you the best results every time. Go for the regular kind instead of butter flavored since it works better with all kinds of fillings
What To Put Inside: The spinach artichoke filling looks pretty with its spring green color that fits the Easter theme perfectly. But feel free to try different things. Cold fillings like herbed cream cheese or chicken salad work really well and make it easier to stick those bunny ears in
Non-Stick Spray: Don't be stingy when coating your mini muffin tin. The trick to those perfectly shaped cups is making sure they pop out easily after baking
Through lots of trial and error, I've figured out that dough temperature makes a big difference. If you chill your dough for about 10 minutes in the fridge after opening the package, you'll get much cleaner cuts for those bunny ears compared to room temperature dough, which tends to get too soft and stretchy.
Step-by-Step Cooking Guide
- Get Your Dough Ready:
- Start by heating your oven to 350°F and spray your mini muffin tin generously with non-stick spray. Open your crescent dough can carefully and instead of breaking it into triangles, lay it flat on a lightly floured counter. Push all the perforated lines together to make one big rectangle. Use your palm to gently press the seams together instead of pinching hard with fingers, which might make thin spots.
- Cut Out Your Circles:
- Take a 2.5-inch round cookie cutter or a glass and push down firmly to cut circles from the dough. You should get about 4 complete circles from one can. Push straight down and lift straight up rather than twisting, which can mess up the shape. If your circles stretch while you're moving them, just reshape them with your fingers. Keep all the leftover dough bits - you'll need these for making the ears.
- Make Your Dough Cups:
- Put each circle over a hole in your mini muffin tin. Use your fingers to push down the middle first, then work outward so the dough lines the cup fully. Don't stretch it too thin or it might tear. Poke the bottom of each cup a few times with a fork so they don't puff up too much and leave room for your filling.
- Shape The Bunny Ears:
- Take all your leftover dough pieces and gently press them together - don't knead or work the dough too much or it'll get tough. Roll it out to about 1/8-inch thick. Use a sharp knife or small cutter to make bunny ear shapes around 1.5 inches tall. For the most natural look, make each ear slightly curved with a pointed top.
- Bake Until Golden:
- Put the muffin tin with dough cups on the middle shelf of your hot oven. On another baking sheet with parchment paper, lay out your bunny ears with some space between them. The cups need about 8-10 minutes to bake, but the ears only need 3-5 minutes. Watch them closely because those thin ears can burn really fast.
- Make Space For Filling:
- Once the cups turn golden brown, take them out. While they're still hot, use the round end of a wooden spoon to gently push down the centers, making deeper wells for your filling. This step really matters if the centers puffed up during baking - it reshapes them without breaking the cups.
- Add Filling And Ears:
- Let everything cool completely before adding filling. If using cold filling like spinach-artichoke dip, spoon it generously into each cup, making a small mound on top. For hot fillings, you can either fill before or after baking while still warm. To finish your bunnies, gently stick a pair of ears into each filled cup, placing them toward the back edge.
 Pin it
I learned a valuable lesson with my first batch when I put the ears too close to the middle and they just fell over. Now I always place them near the back edge of the cup and angle them slightly outward. This makes them more stable and looks more like a real bunny too.
Prep-Ahead Options
Want to save time on the big day? Make parts ahead! You can bake the cups and ears a day early and keep them in a sealed container at room temp. If you need to work even further ahead, freeze the baked pieces for up to a month and let them thaw at room temperature before using. Cold fillings can be made up to two days before and kept in the fridge. For the best look, fill the cups no more than an hour before serving and add the ears just before taking them to the table.
Different Fillings To Try
While the spinach-artichoke dip gives you that perfect spring green look, these little cups work great with tons of different fillings. For a breakfast or brunch spread, try them with scrambled eggs mixed with herbs and tiny bits of ham or smoked salmon. Want something sweeter? Fill them with whipped cream cheese sweetened with honey and top with fresh berries. One of my biggest hits was using buffalo chicken dip - it gave spice lovers something to enjoy while still looking super cute.
 Pin it
Serving Suggestions
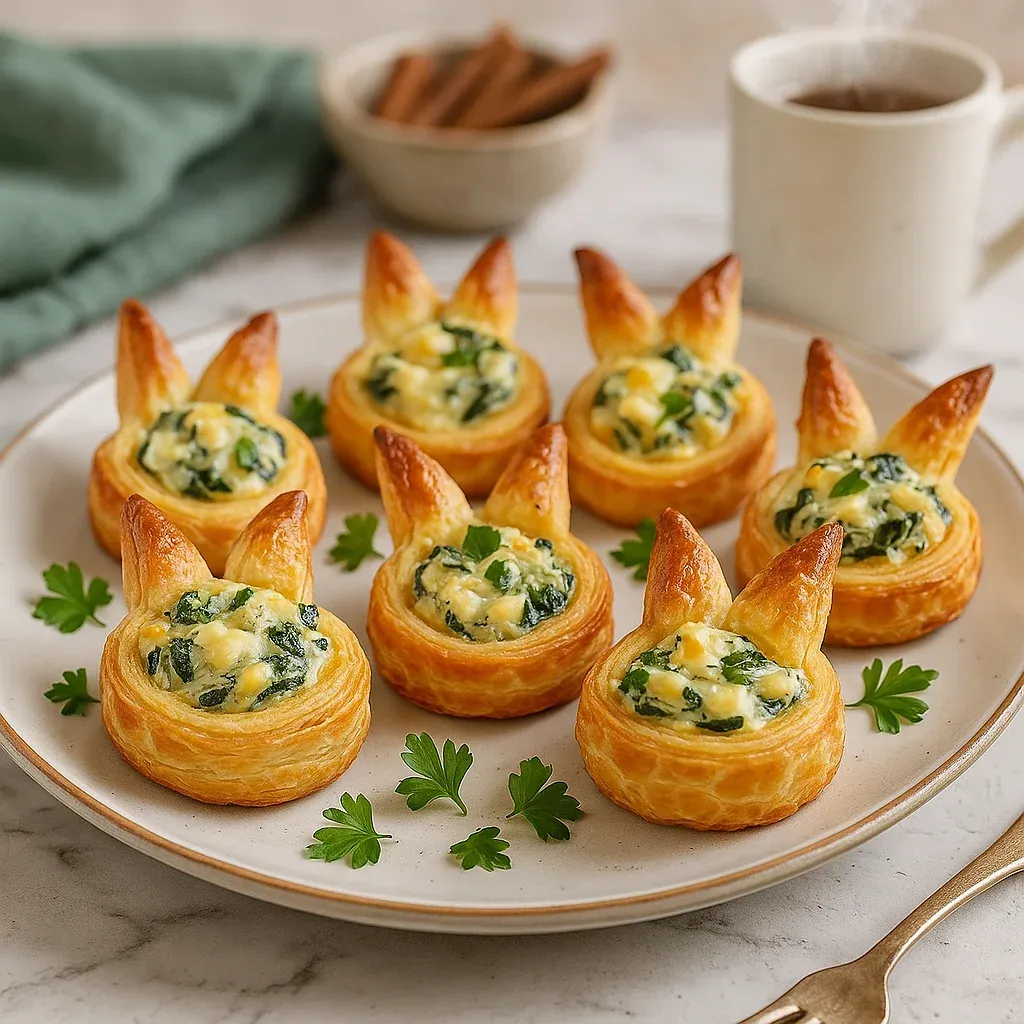
To really wow your guests, serve these treats on a bed of Easter grass or arrange them on a platter surrounded by fresh herbs like parsley or microgreens. Small edible flowers placed around the display add to the spring garden feel. For a kids' Easter party, create a 'bunny garden' by arranging them in patterns on a big platter, with carrot sticks 'planted' among them to carry on the rabbit theme. Since these treats look as good as they taste, spending a few extra minutes on presentation is totally worth it.
Fun Project With Kids
These Easter Bunny Crescent Bites are perfect for getting kids involved in the kitchen. Little ones as young as three can help push the dough into muffin tins, while kids a bit older can cut out the circles and make the bunny ears. Teens can handle the whole process, even coming up with their own filling ideas. Kids stay interested because they can see their creations change in the oven, and they'll feel so proud serving something they helped make.
What makes these Easter Bunny Crescent Bites so special is how they bring happiness through both looks and taste. They turn a simple snack into something that captures the fun spirit of Easter. Whether they're greeting guests at the start of your holiday meal or taking center stage at a spring party, these little bunnies create those special moments when food becomes more than just something to eat – it becomes part of the celebration itself.
Frequently Asked Questions
- → How can I keep the bunny ears standing tall?
Stick the ears toward the back edge of the cup with a slight tilt. To keep them sturdy, make tiny slits in the filling for extra support.
- → Can I prepare these snacks beforehand?
Absolutely! Bake the cups and ears a day early. Just store them tightly sealed and fill them before serving so they stay fresh.
- → What other fillings could I use?
Spinach-artichoke works great, but you can try cream cheese, scrambled eggs, or even a sweet option like whipped cream with fruit.
- → How do I stop the dough from tearing?
Keep the dough slightly cold—it’ll be easier to handle. If it does rip, patch it with small dough pieces since the filling will hide any flaws.
- → Can I use a budget-friendly crescent dough brand?
You can, but Pillsbury crescents tend to have the best flavor and texture for this snack.
- → How should I present these to look festive?
Lay them on a bed of fresh herbs or edible Easter grass. Add fun touches like flowers or carrot sticks for a bright, spring vibe.