
 Pin it
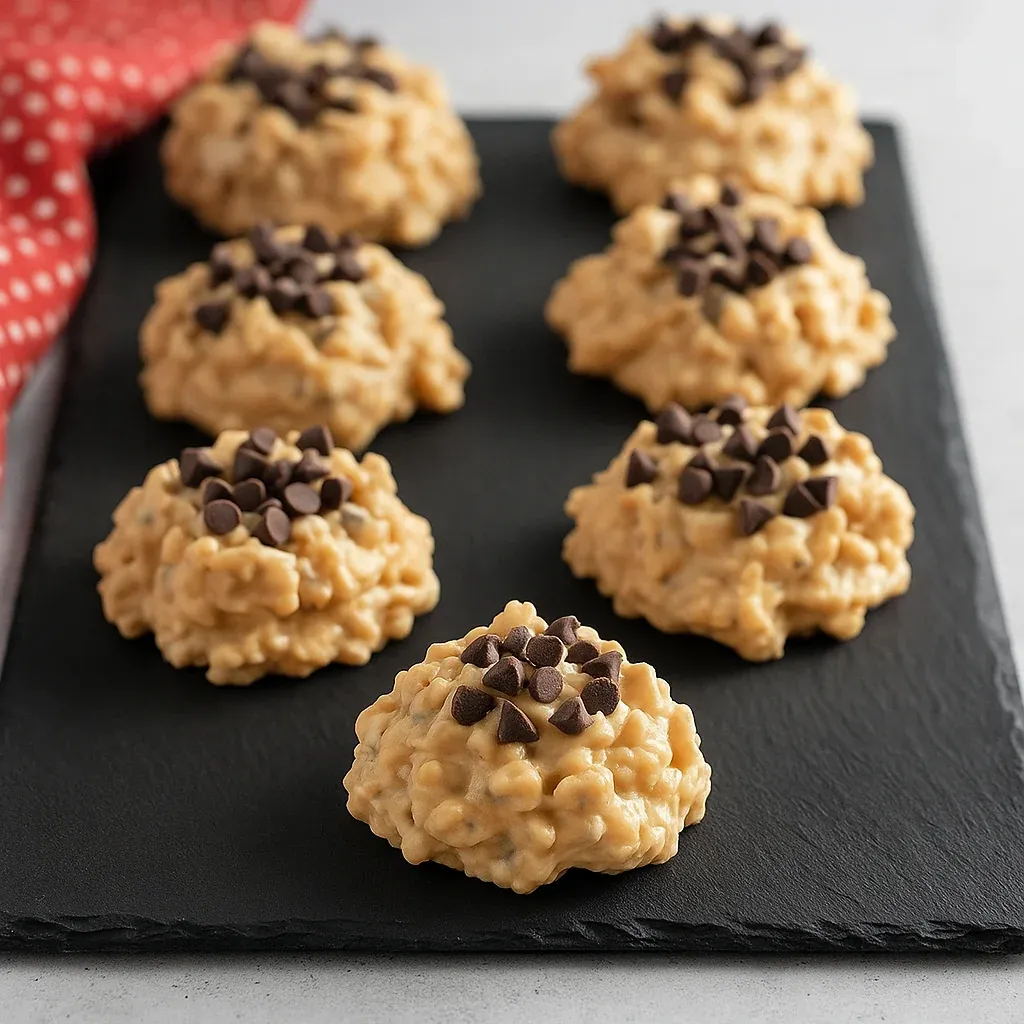
Whip up these delightful no-bake Avalanche Cookies using basic ingredients from your kitchen shelf. They mix white chocolate with peanut butter, crunchy cereal, fluffy marshmallows, and chocolate chips for a quick treat that everyone grabs first at parties. The combo of smooth and crispy makes these bites totally addictive.
I came up with these during a hot afternoon playdate when turning on the oven wasn't happening. The children had a blast helping mix everything together, and they've become our must-have treat that shows up on every holiday sweet tray now.
Ingredients
- White melting chocolate: forms the smooth foundation that glues everything in place. Go for a good quality melting type to avoid any burning problems.
- Creamy peanut butter: gives that wonderful nutty taste that works so well with white chocolate. Its oils also help create just the right consistency.
- Rice Krispies cereal: adds that famous light snap and makes the cookies look fun with its puffy shape.
- Mini marshmallows: create soft spots of sweetness and that yummy stretchy texture everybody wants.
- Mini chocolate chips: pop with chocolate goodness that stands out against the white chocolate background.
Step-by-Step Instructions
- Prepare the Baking Sheet:
- Put parchment paper on a big cookie sheet. This stops sticking and makes cleanup super easy. The flat surface helps your cookies come off perfectly after they've cooled.
- Melt the White Chocolate:
- Be careful with the package directions since white chocolate can get tricky. If using a microwave, go 30 seconds at first, stir, then switch to 15-second bursts as it starts melting. Stop when most chunks are gone and just keep stirring until smooth. The warmth will melt any leftover bits without burning.
- Create the Base Mixture:
- In a big bowl, mix your melted white chocolate with peanut butter until they're completely blended. This mix creates the tasty, creamy base that will hold everything else. Make sure your bowl's big enough for all ingredients.
- Add the Texture Elements:
- Carefully fold in your Rice Krispies, mini marshmallows, and most of the chocolate chips. Move fast but gently so everything gets mixed without smashing the cereal or melting the chips. You want everything evenly spread but still recognizable.
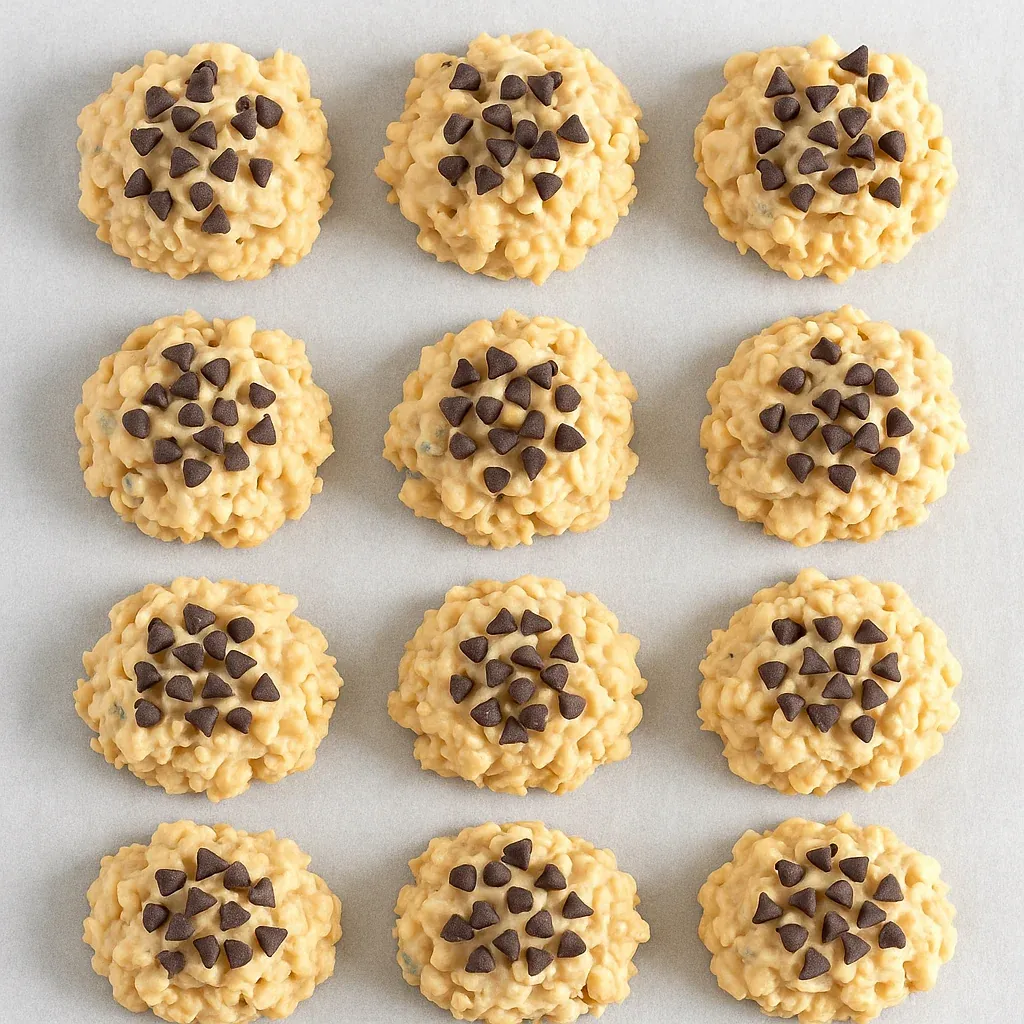
- Form the Cookies:
- Using a cookie scoop or spoon, drop portions onto your parchment paper. While they're still soft, press down a bit on each cookie and sprinkle the saved chocolate chips on top, pushing slightly so they stick.
- Chill Until Set:
- Put the tray in your fridge for about 20 minutes until they harden. The cookies should feel solid when touched and keep their shape when picked up. This cooling time can't be skipped if you want the right texture.
 Pin it
I secretly love the mini marshmallows most in these cookies. Those little soft pockets of sweetness make each bite amazing. My little girl always asks me to make these for her school birthday treats because they're so different from the usual cookies her friends bring in.
Choosing White Chocolate
The white chocolate you pick really matters here. Look for ones marked as "melting chocolate" or "almond bark" instead of regular white chocolate chips. Regular chips have stuff added that keeps them from melting smoothly and can make your cookies feel grainy. Good choices are Ghirardelli white melting wafers, Wilton candy melts, or vanilla almond bark—they all melt nicely and firm up with just the right feel.
Creative Variations
These cookies can be changed up however you like them. If nuts are a problem, try Biscoff cookie butter or sunflower seed butter instead—they'll still give you that creamy texture. You can swap the mini chocolate chips for chopped nuts, fun sprinkles, or even smashed candy canes at Christmas time. Adding a tiny bit of cinnamon brings a cozy flavor that's perfect for fall. For chocolate lovers, try using cocoa rice cereal which goes great with the chocolate chips.
 Pin it
Storage Tips
Your Avalanche Cookies will stay yummy when stored right. Keep them in a sealed container at room temp for up to five days. If you're putting them in layers, add wax paper between each layer so they don't stick together. You don't need to keep them in the fridge after they've set, but it can help them last longer in hot weather. These treats freeze really well for up to three months too. Just put them in a freezer container with parchment between layers, and let them sit out about 30 minutes before eating.
Frequently Asked Questions
- → What's the best white chocolate to use?
Pick a melting-style white chocolate or candy coating like almond bark. Regular chips aren't ideal since they can scorch during heating.
- → Can peanut butter be replaced?
Definitely! Swap it with almond butter, Biscoff spread, Nutella, or Sunbutter, depending on your taste or allergy needs.
- → Where's the best place to store these cookies?
Keep them in a sealed container at room temperature for up to five days. Add wax paper in between cookie layers to avoid sticking.
- → Got any fun ways to mix it up?
Sure! Try adding cinnamon, substituting chocolate rice cereal, or tossing in some chopped nuts for a crunchy twist.
- → How much time is needed?
It takes around 30 minutes total—10 to prep and 20 to chill. Quick and easy!